NOTE: I was not maintaining this blog in 2021, but this tweetstorm contains the most comprehensive documentation of the project’s origins, and is presented here as posted at that time.
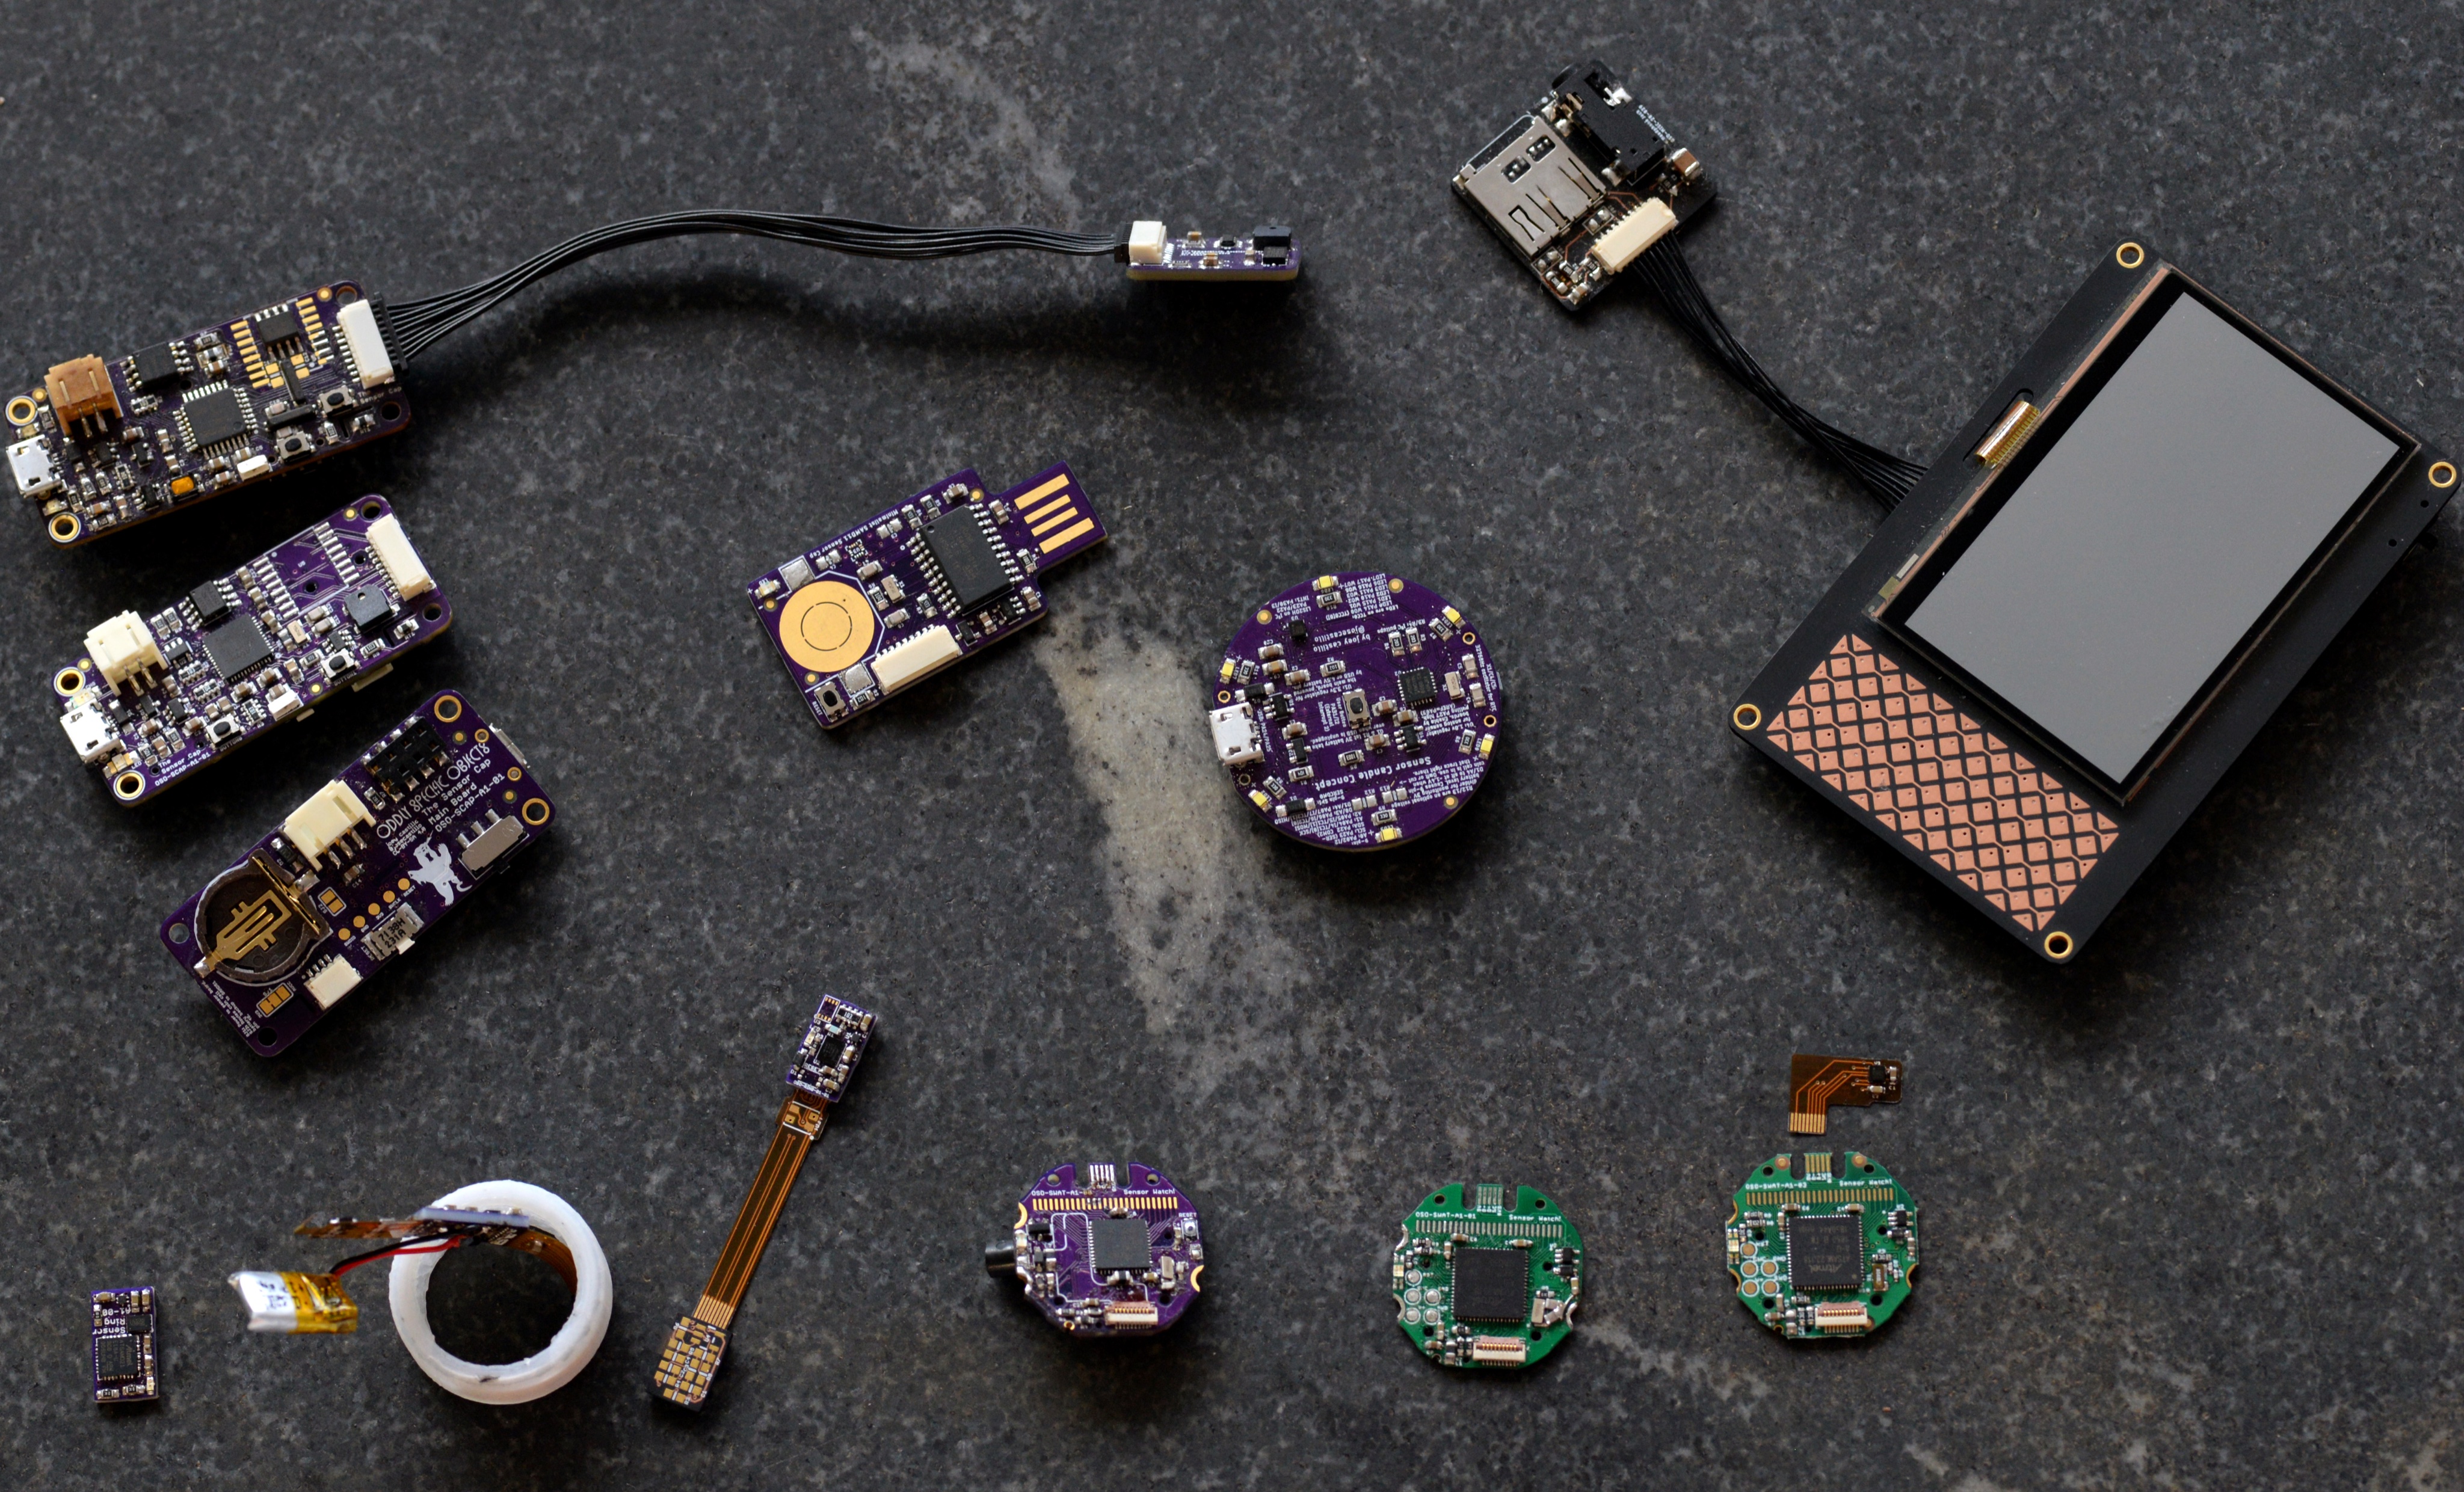
Yesterday @falconsview asked if I had a writeup of my process for the watch and it occurred to me: it’s an interesting story. It traces back a year and a half, through a menagerie of gadgets. I was even able to gather some for a family portrait! Join me in a retrospective THREAD:
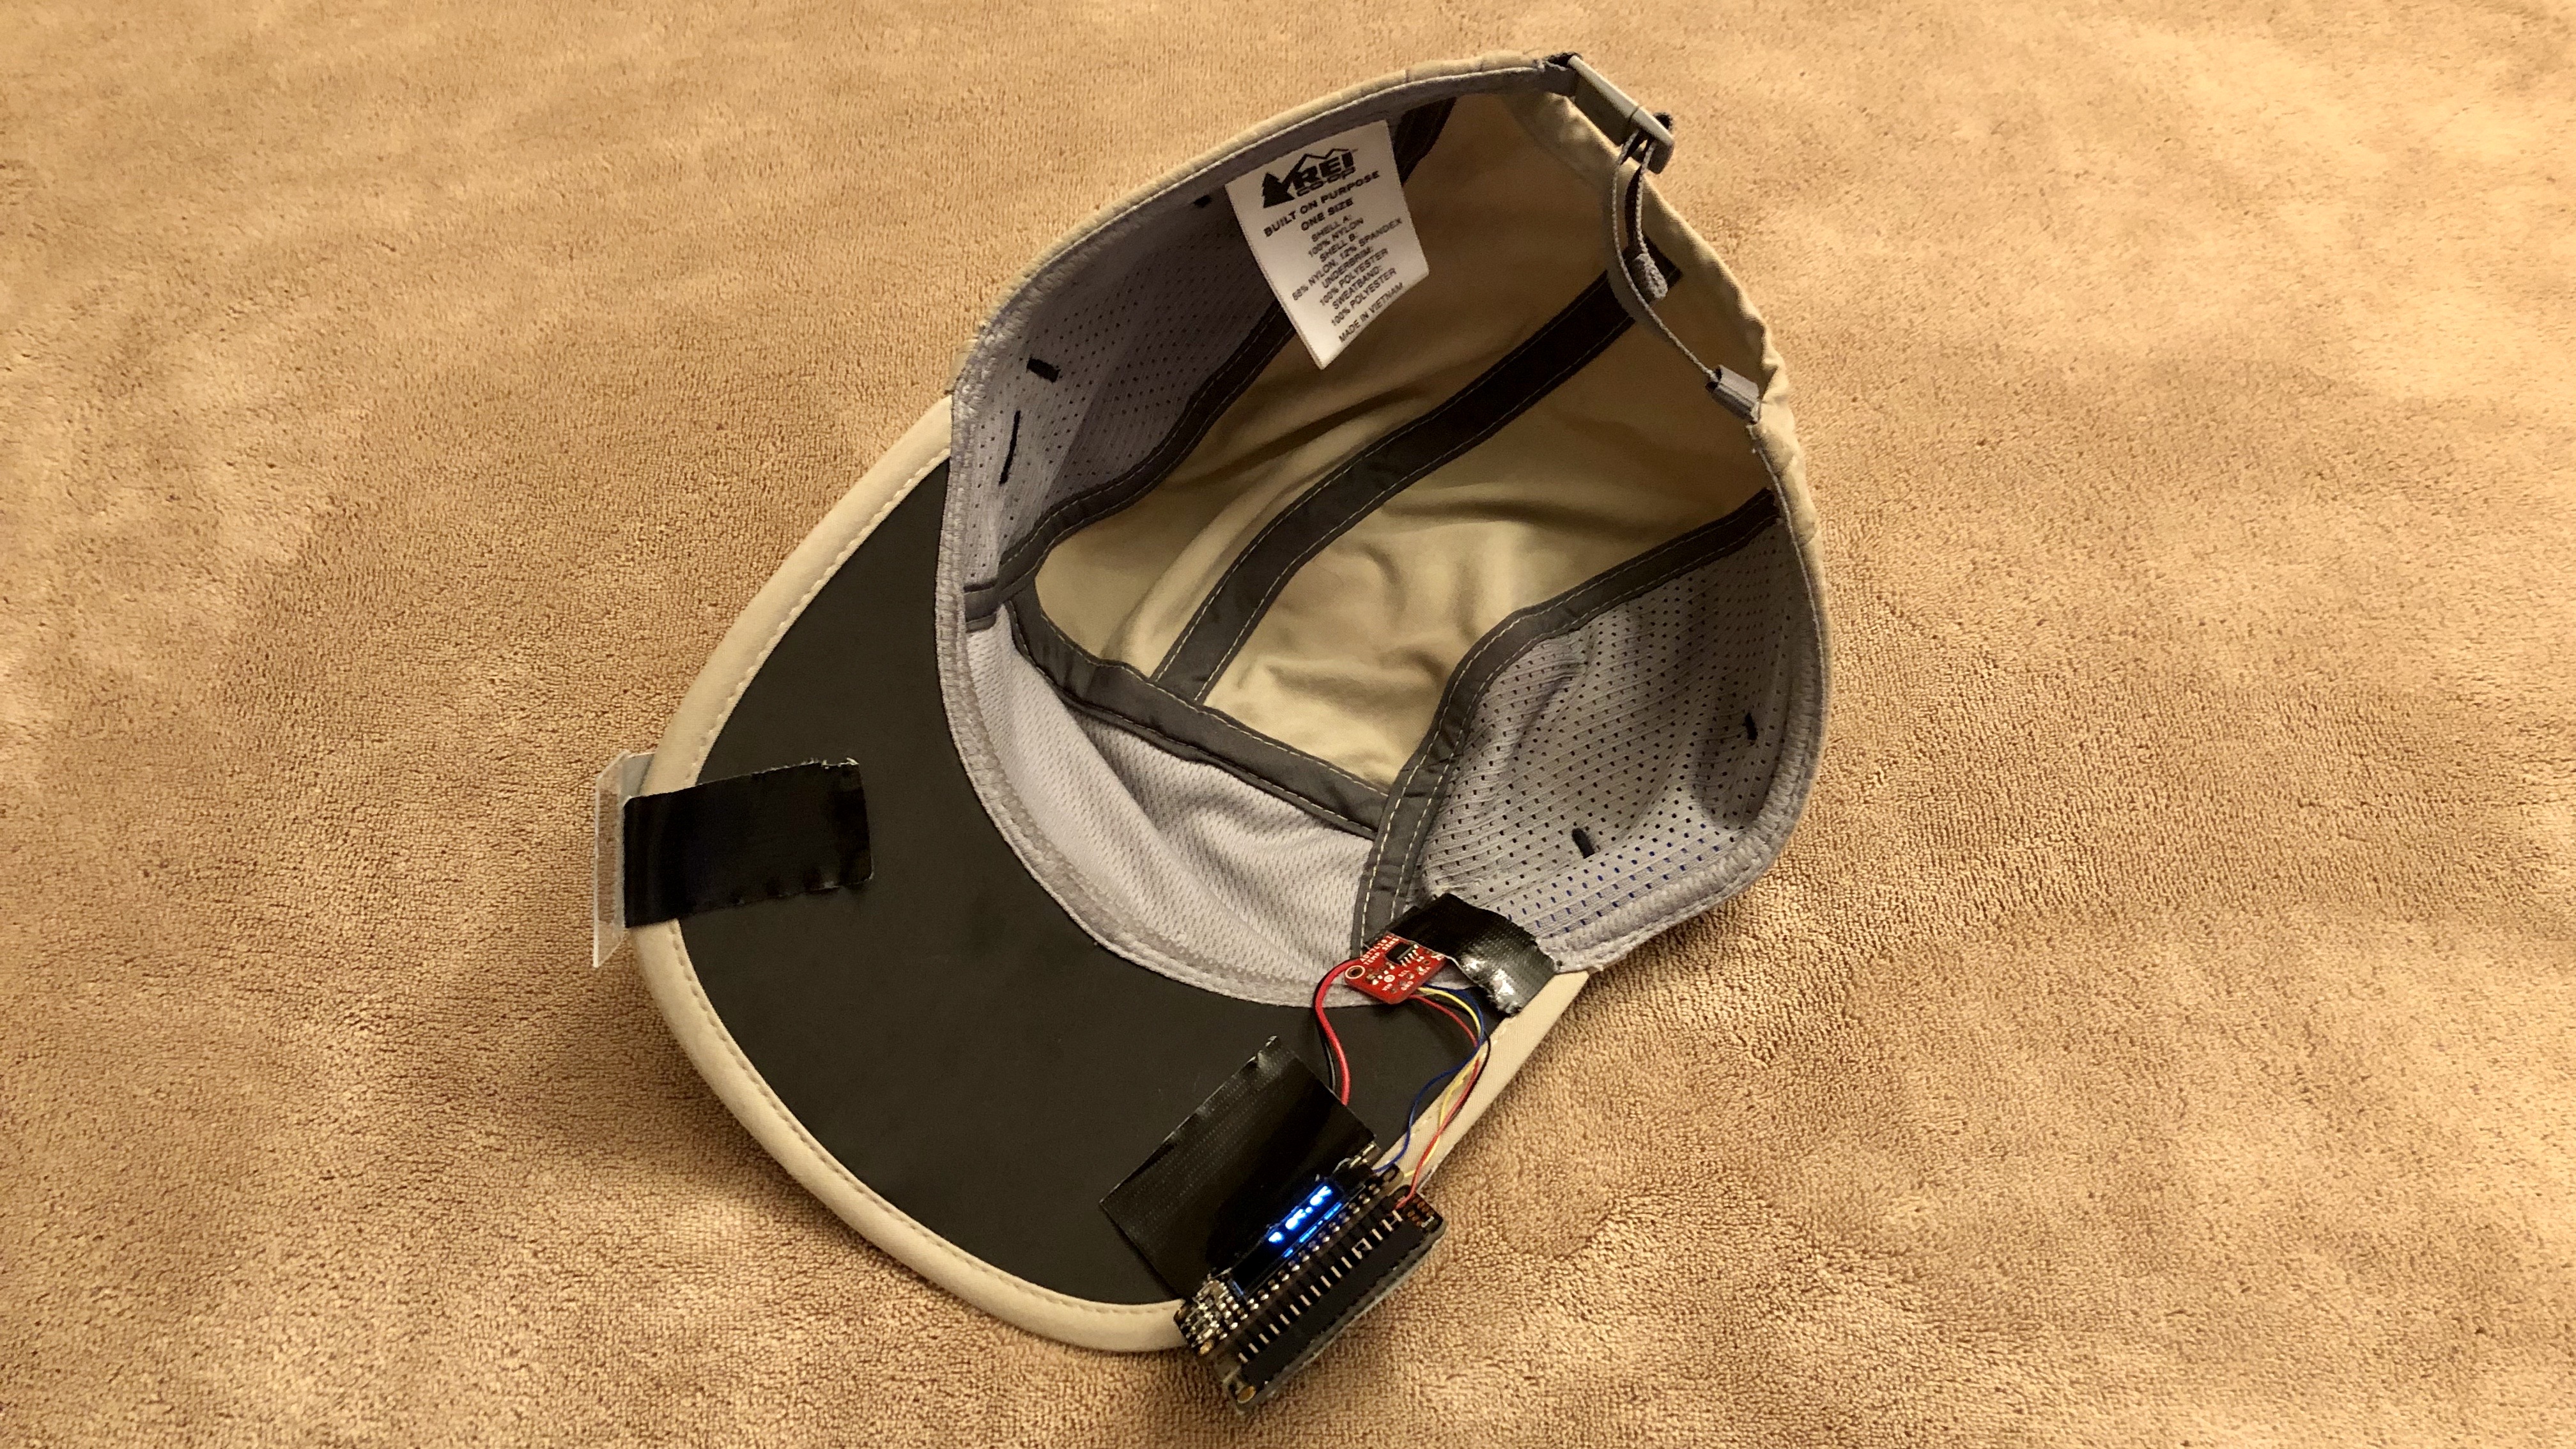
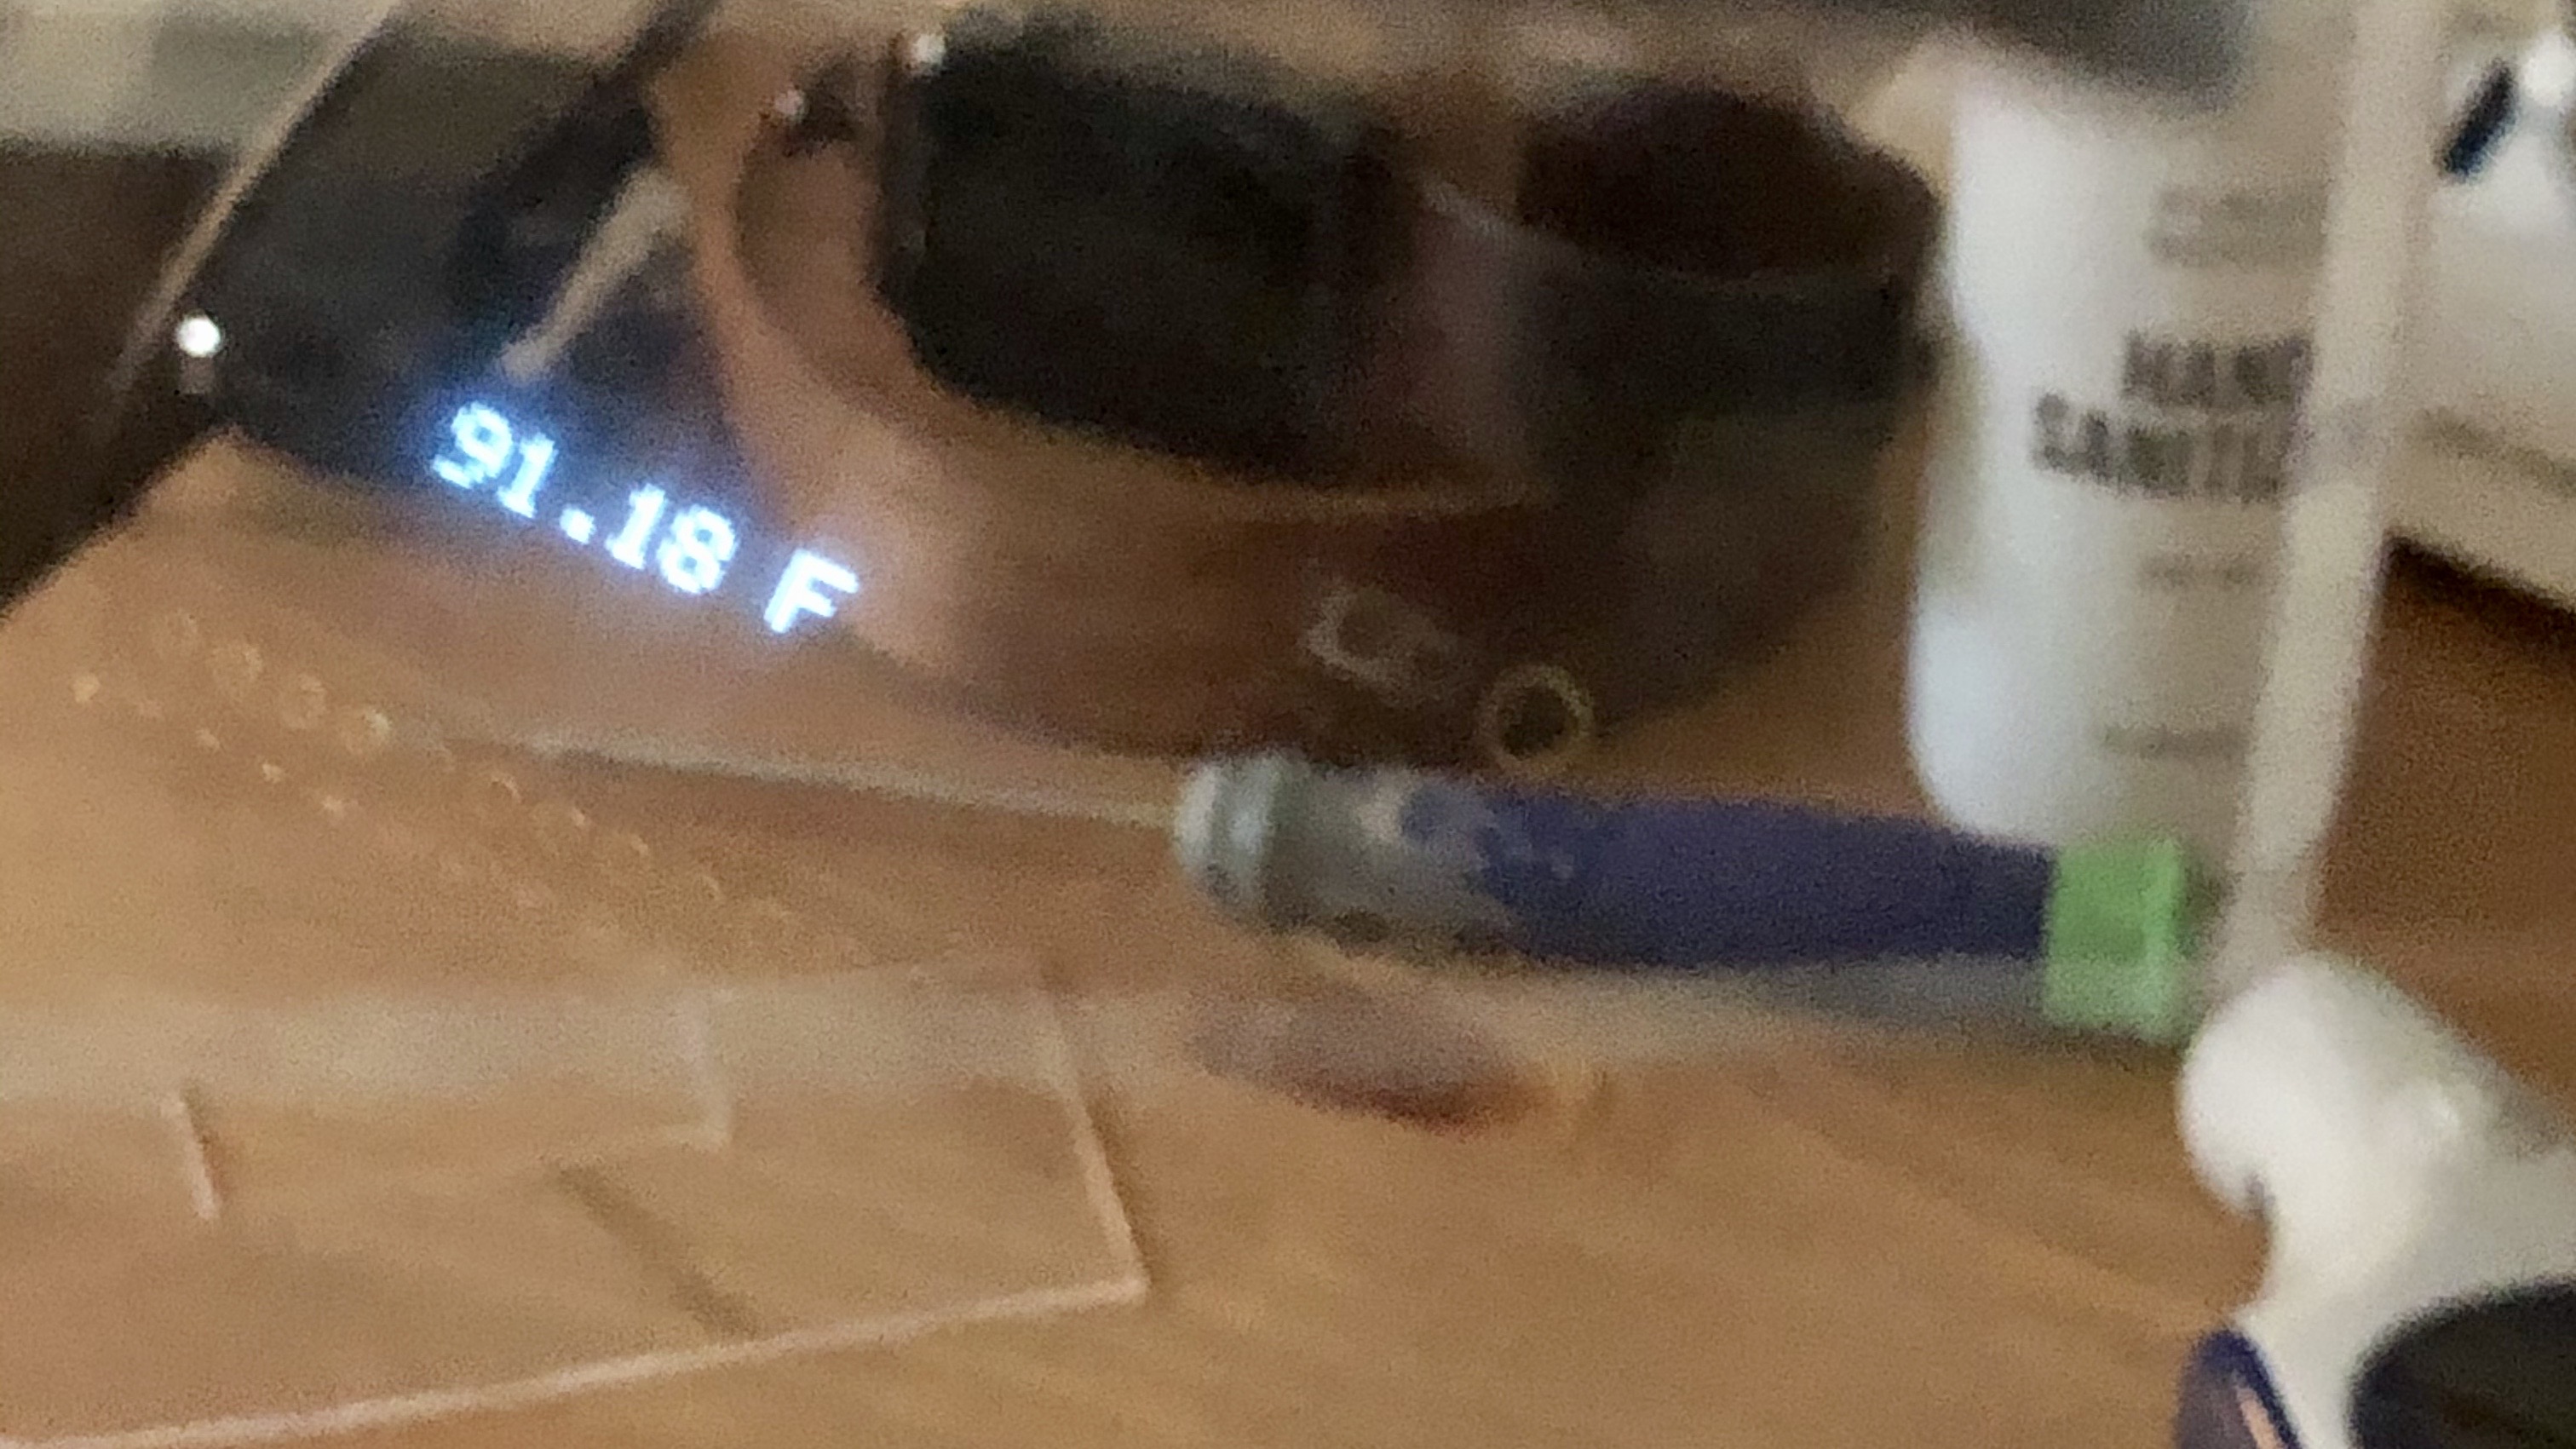
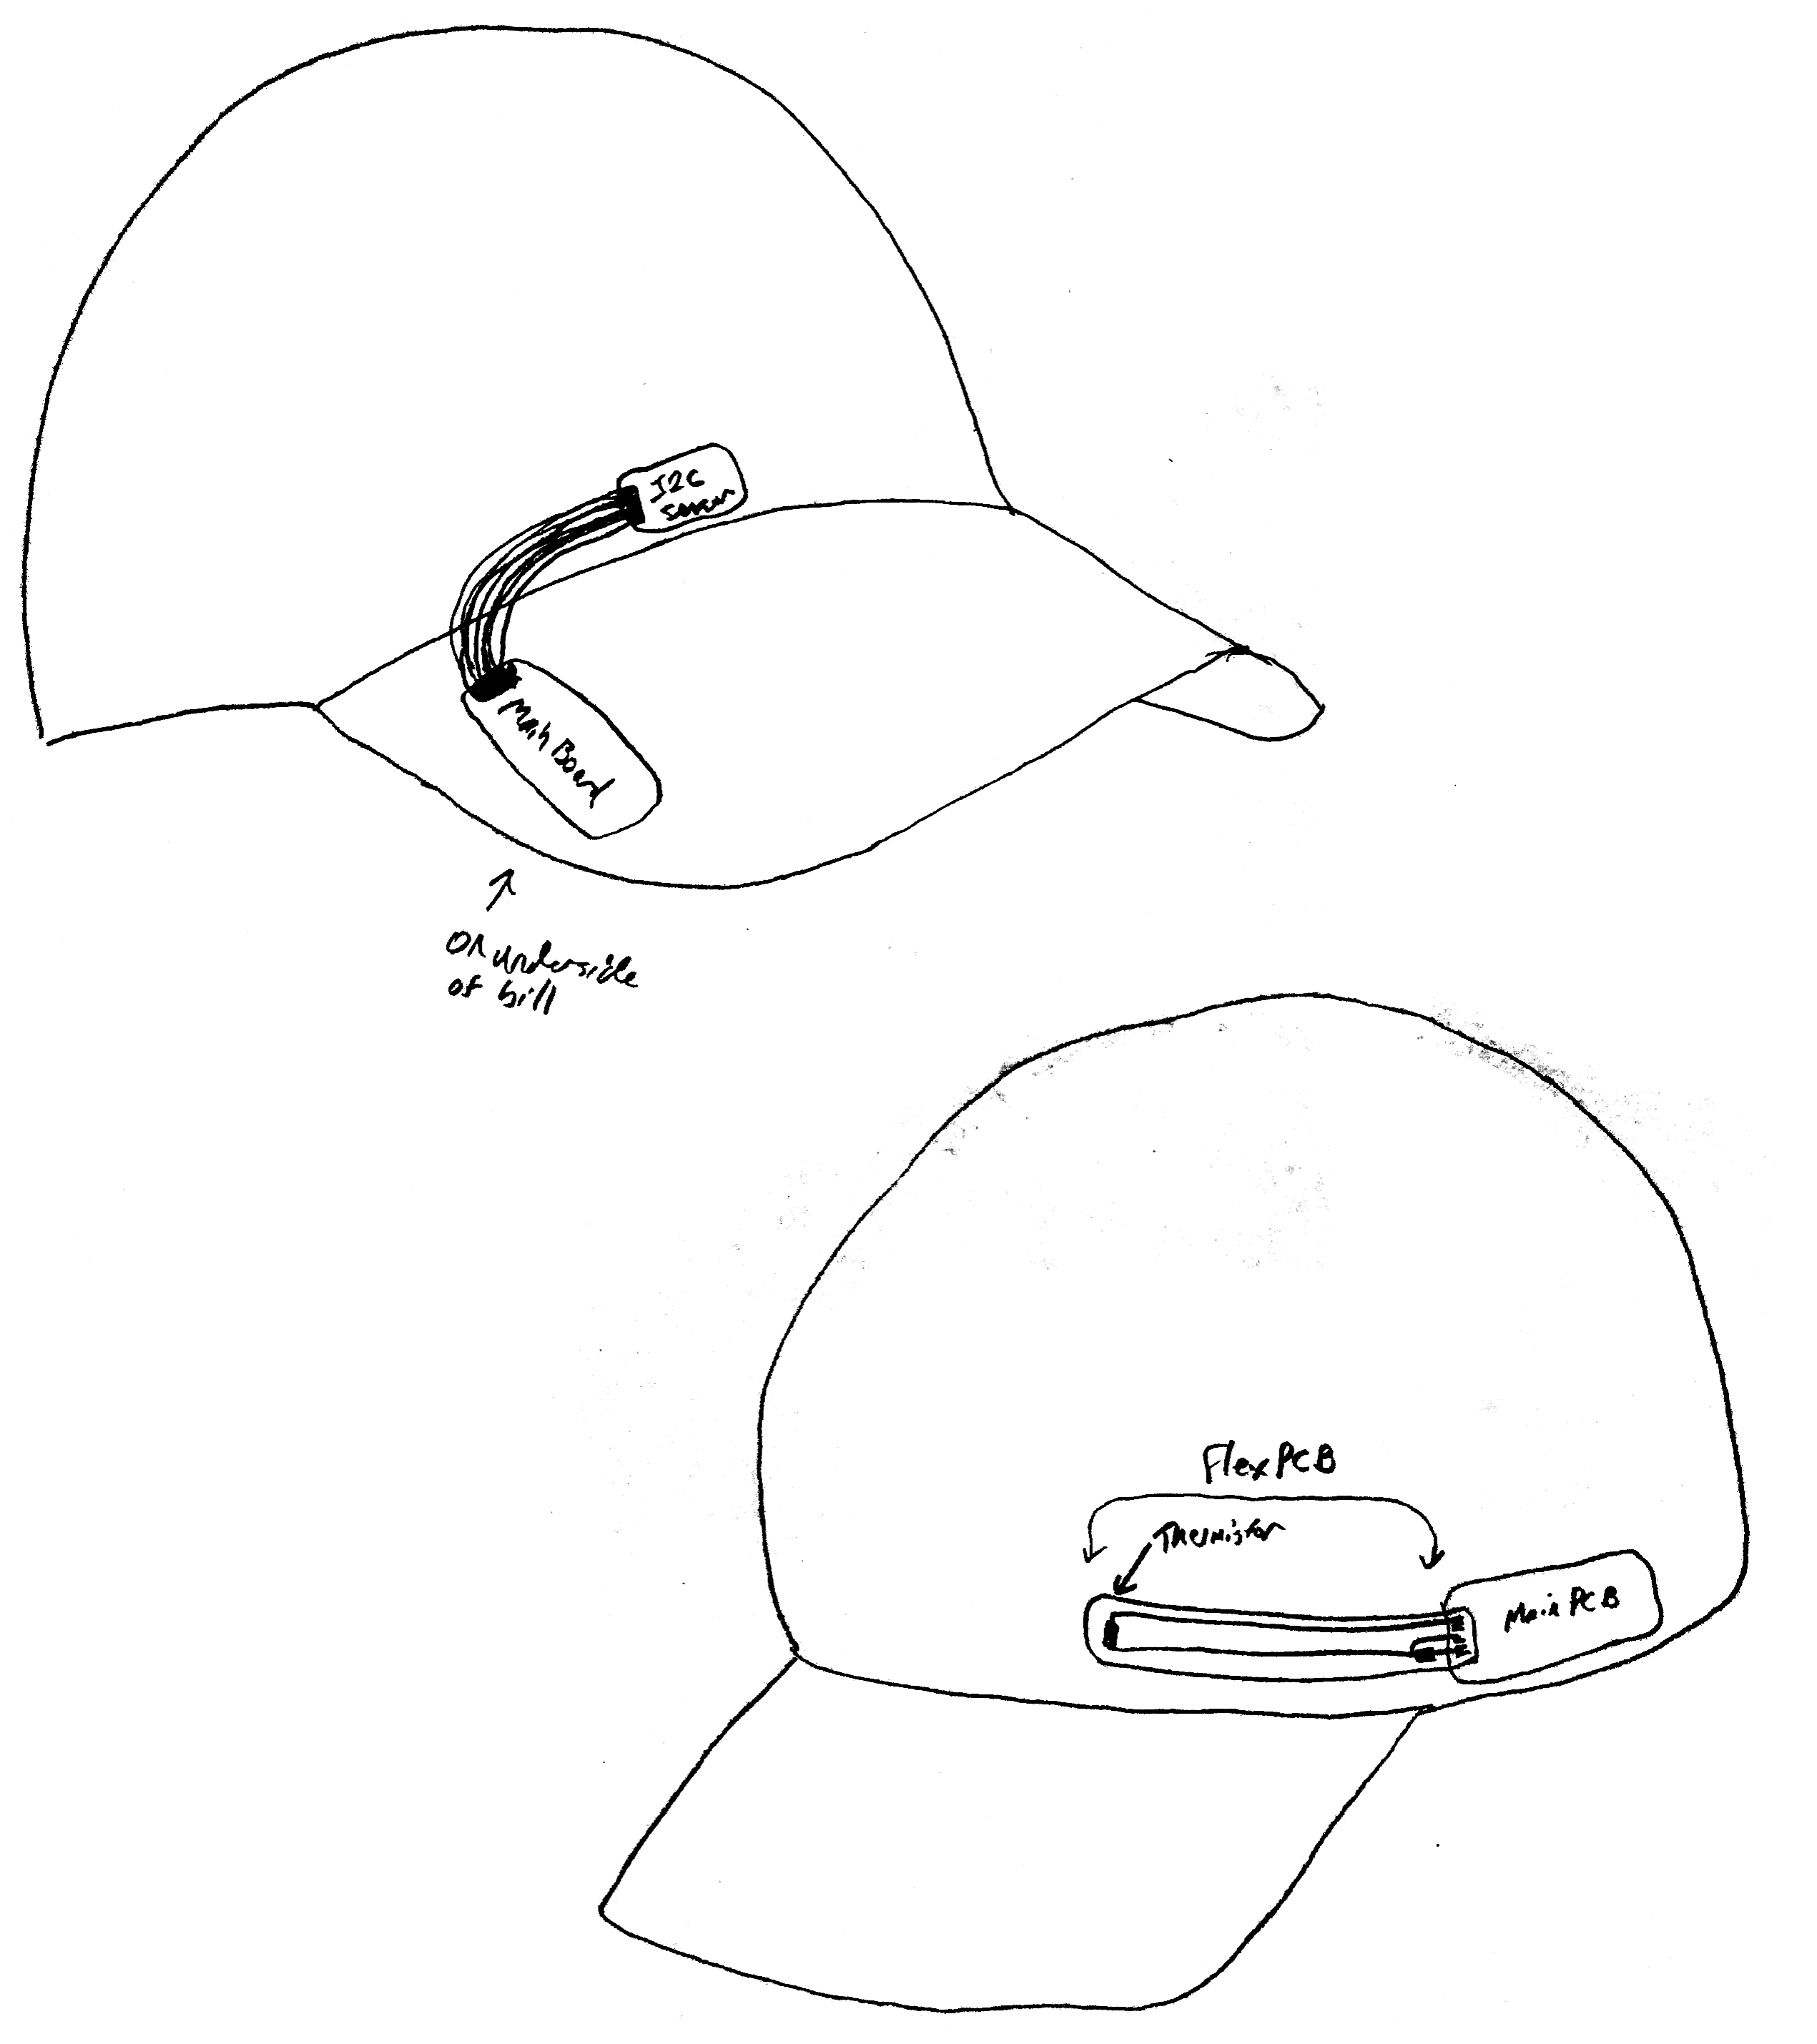
The story begins in March of 2020, the beginning of the pandemic. I’d just fled from New York to Texas, and in quarantine, I thought continuous temperature sensing could be a useful technology. So I put a Feather with a temperature sensor in a baseball cap:
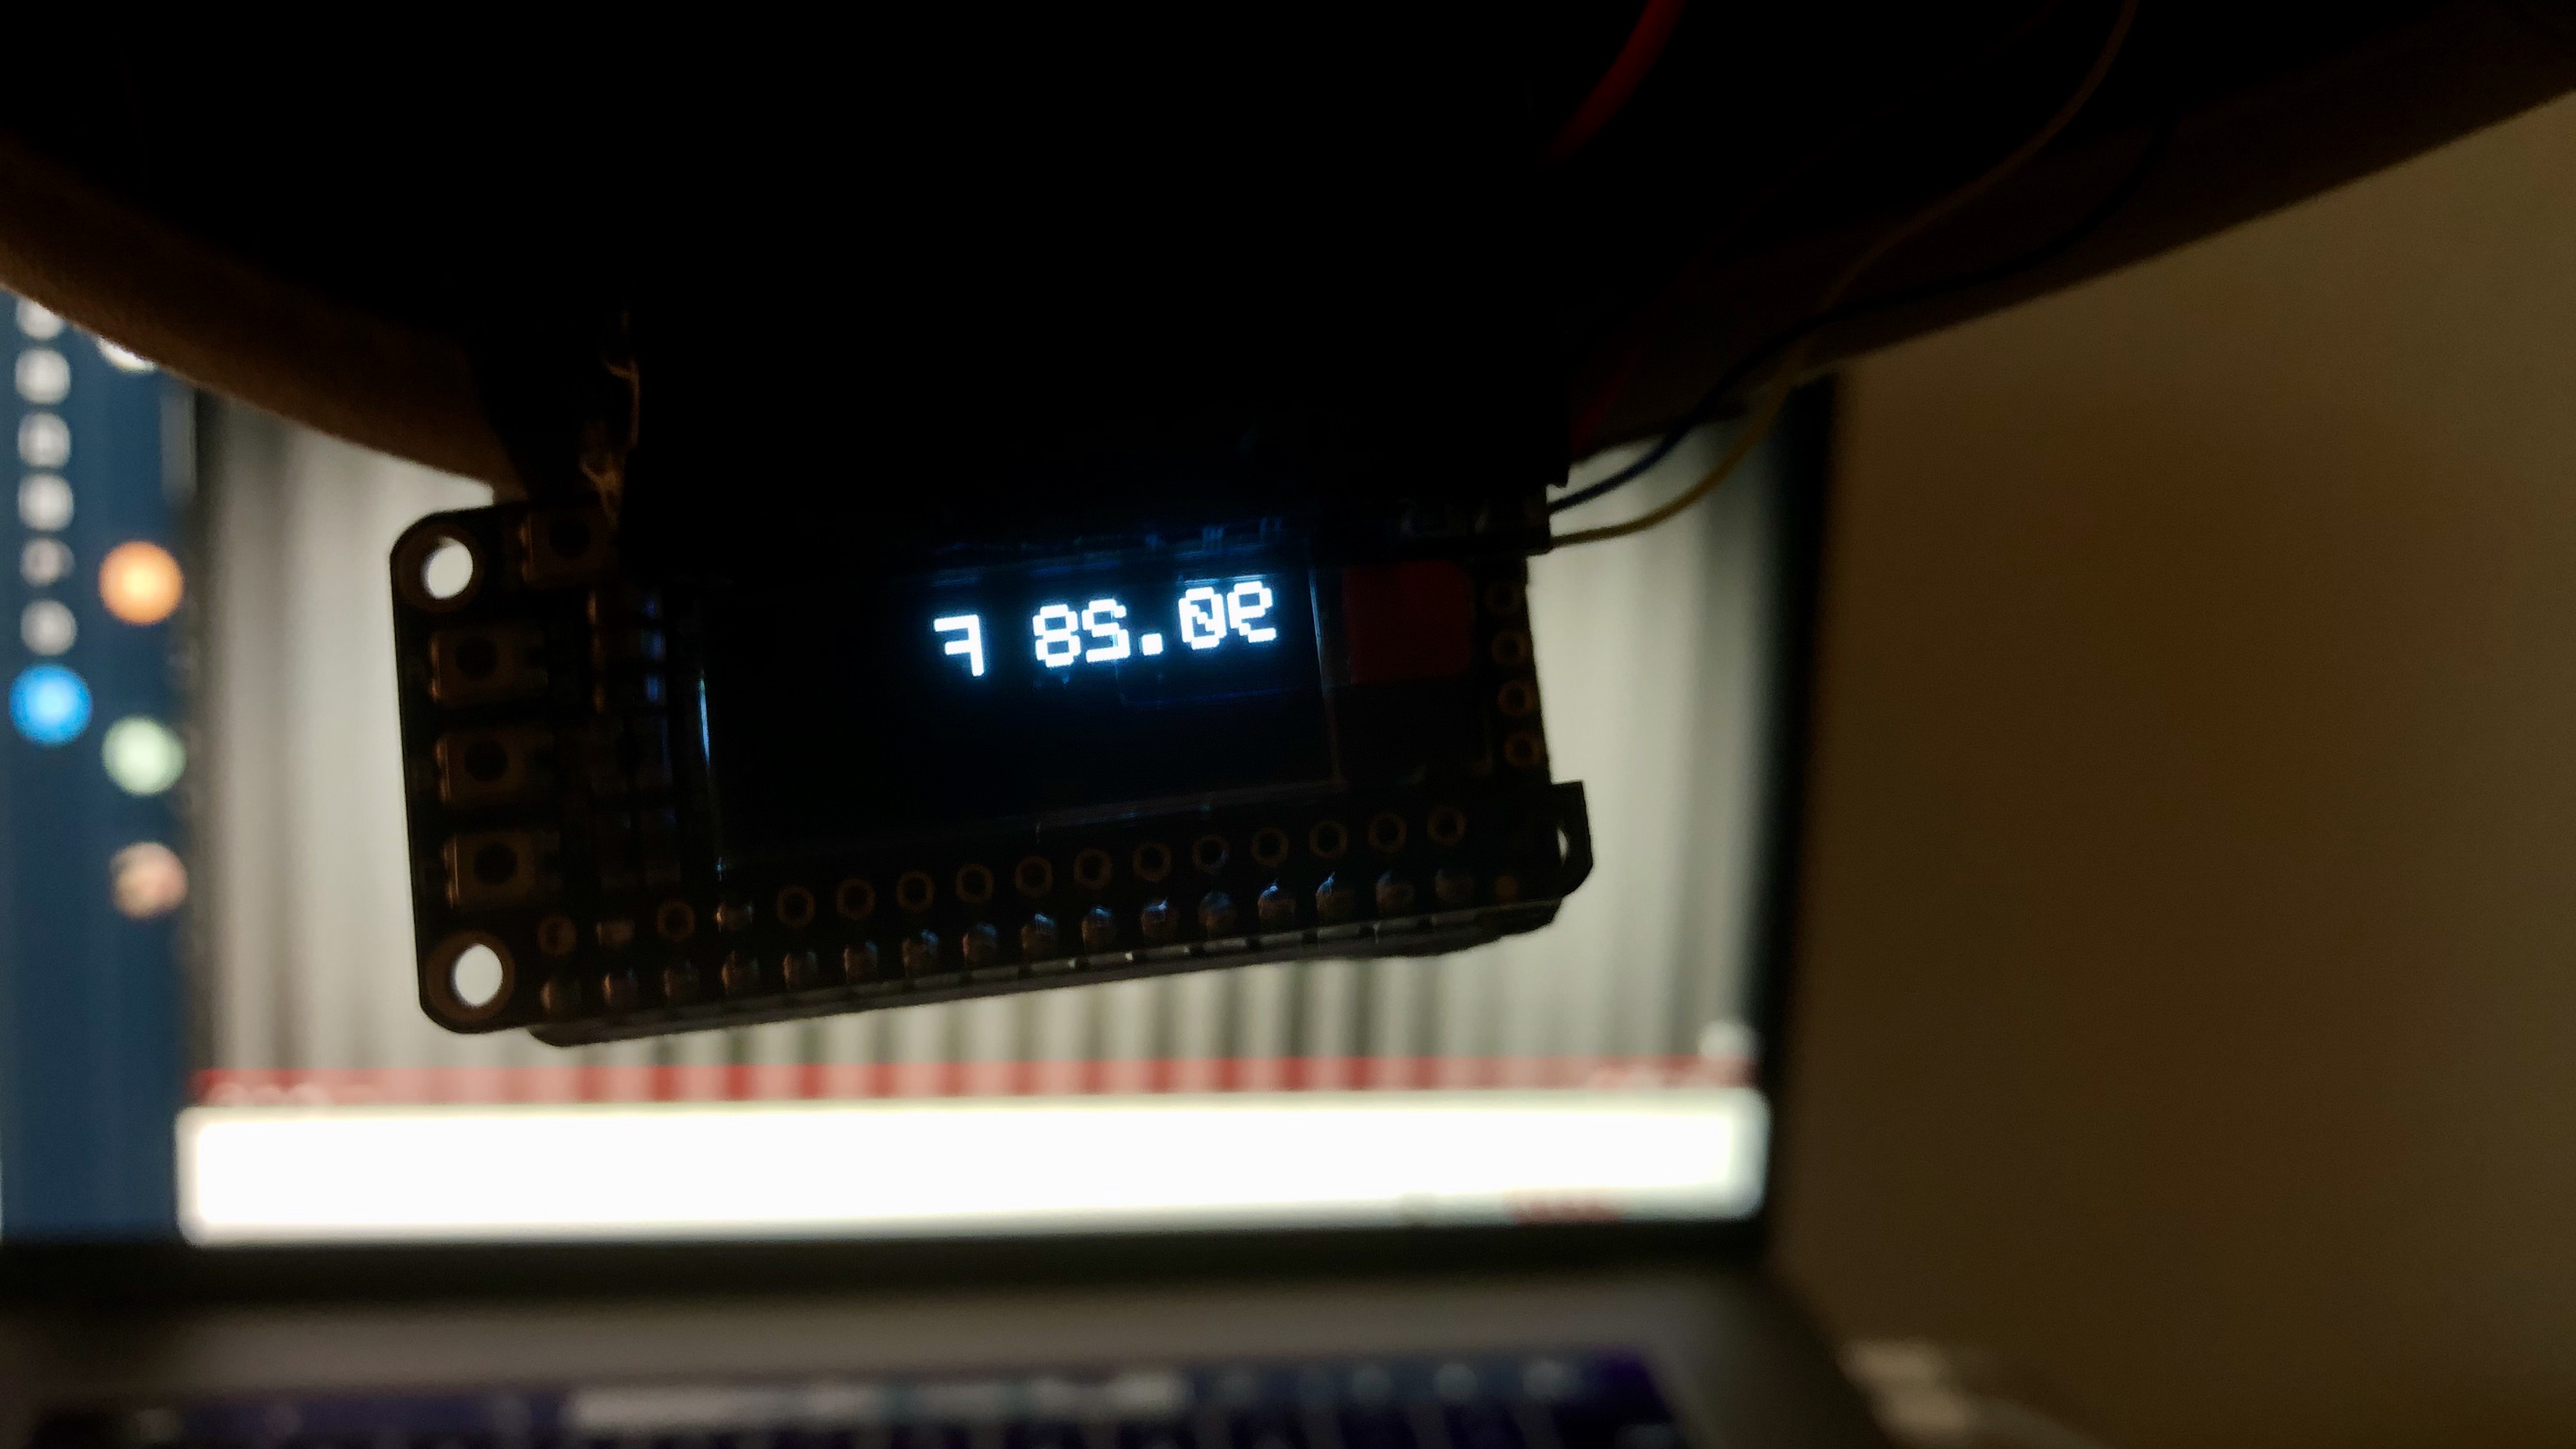
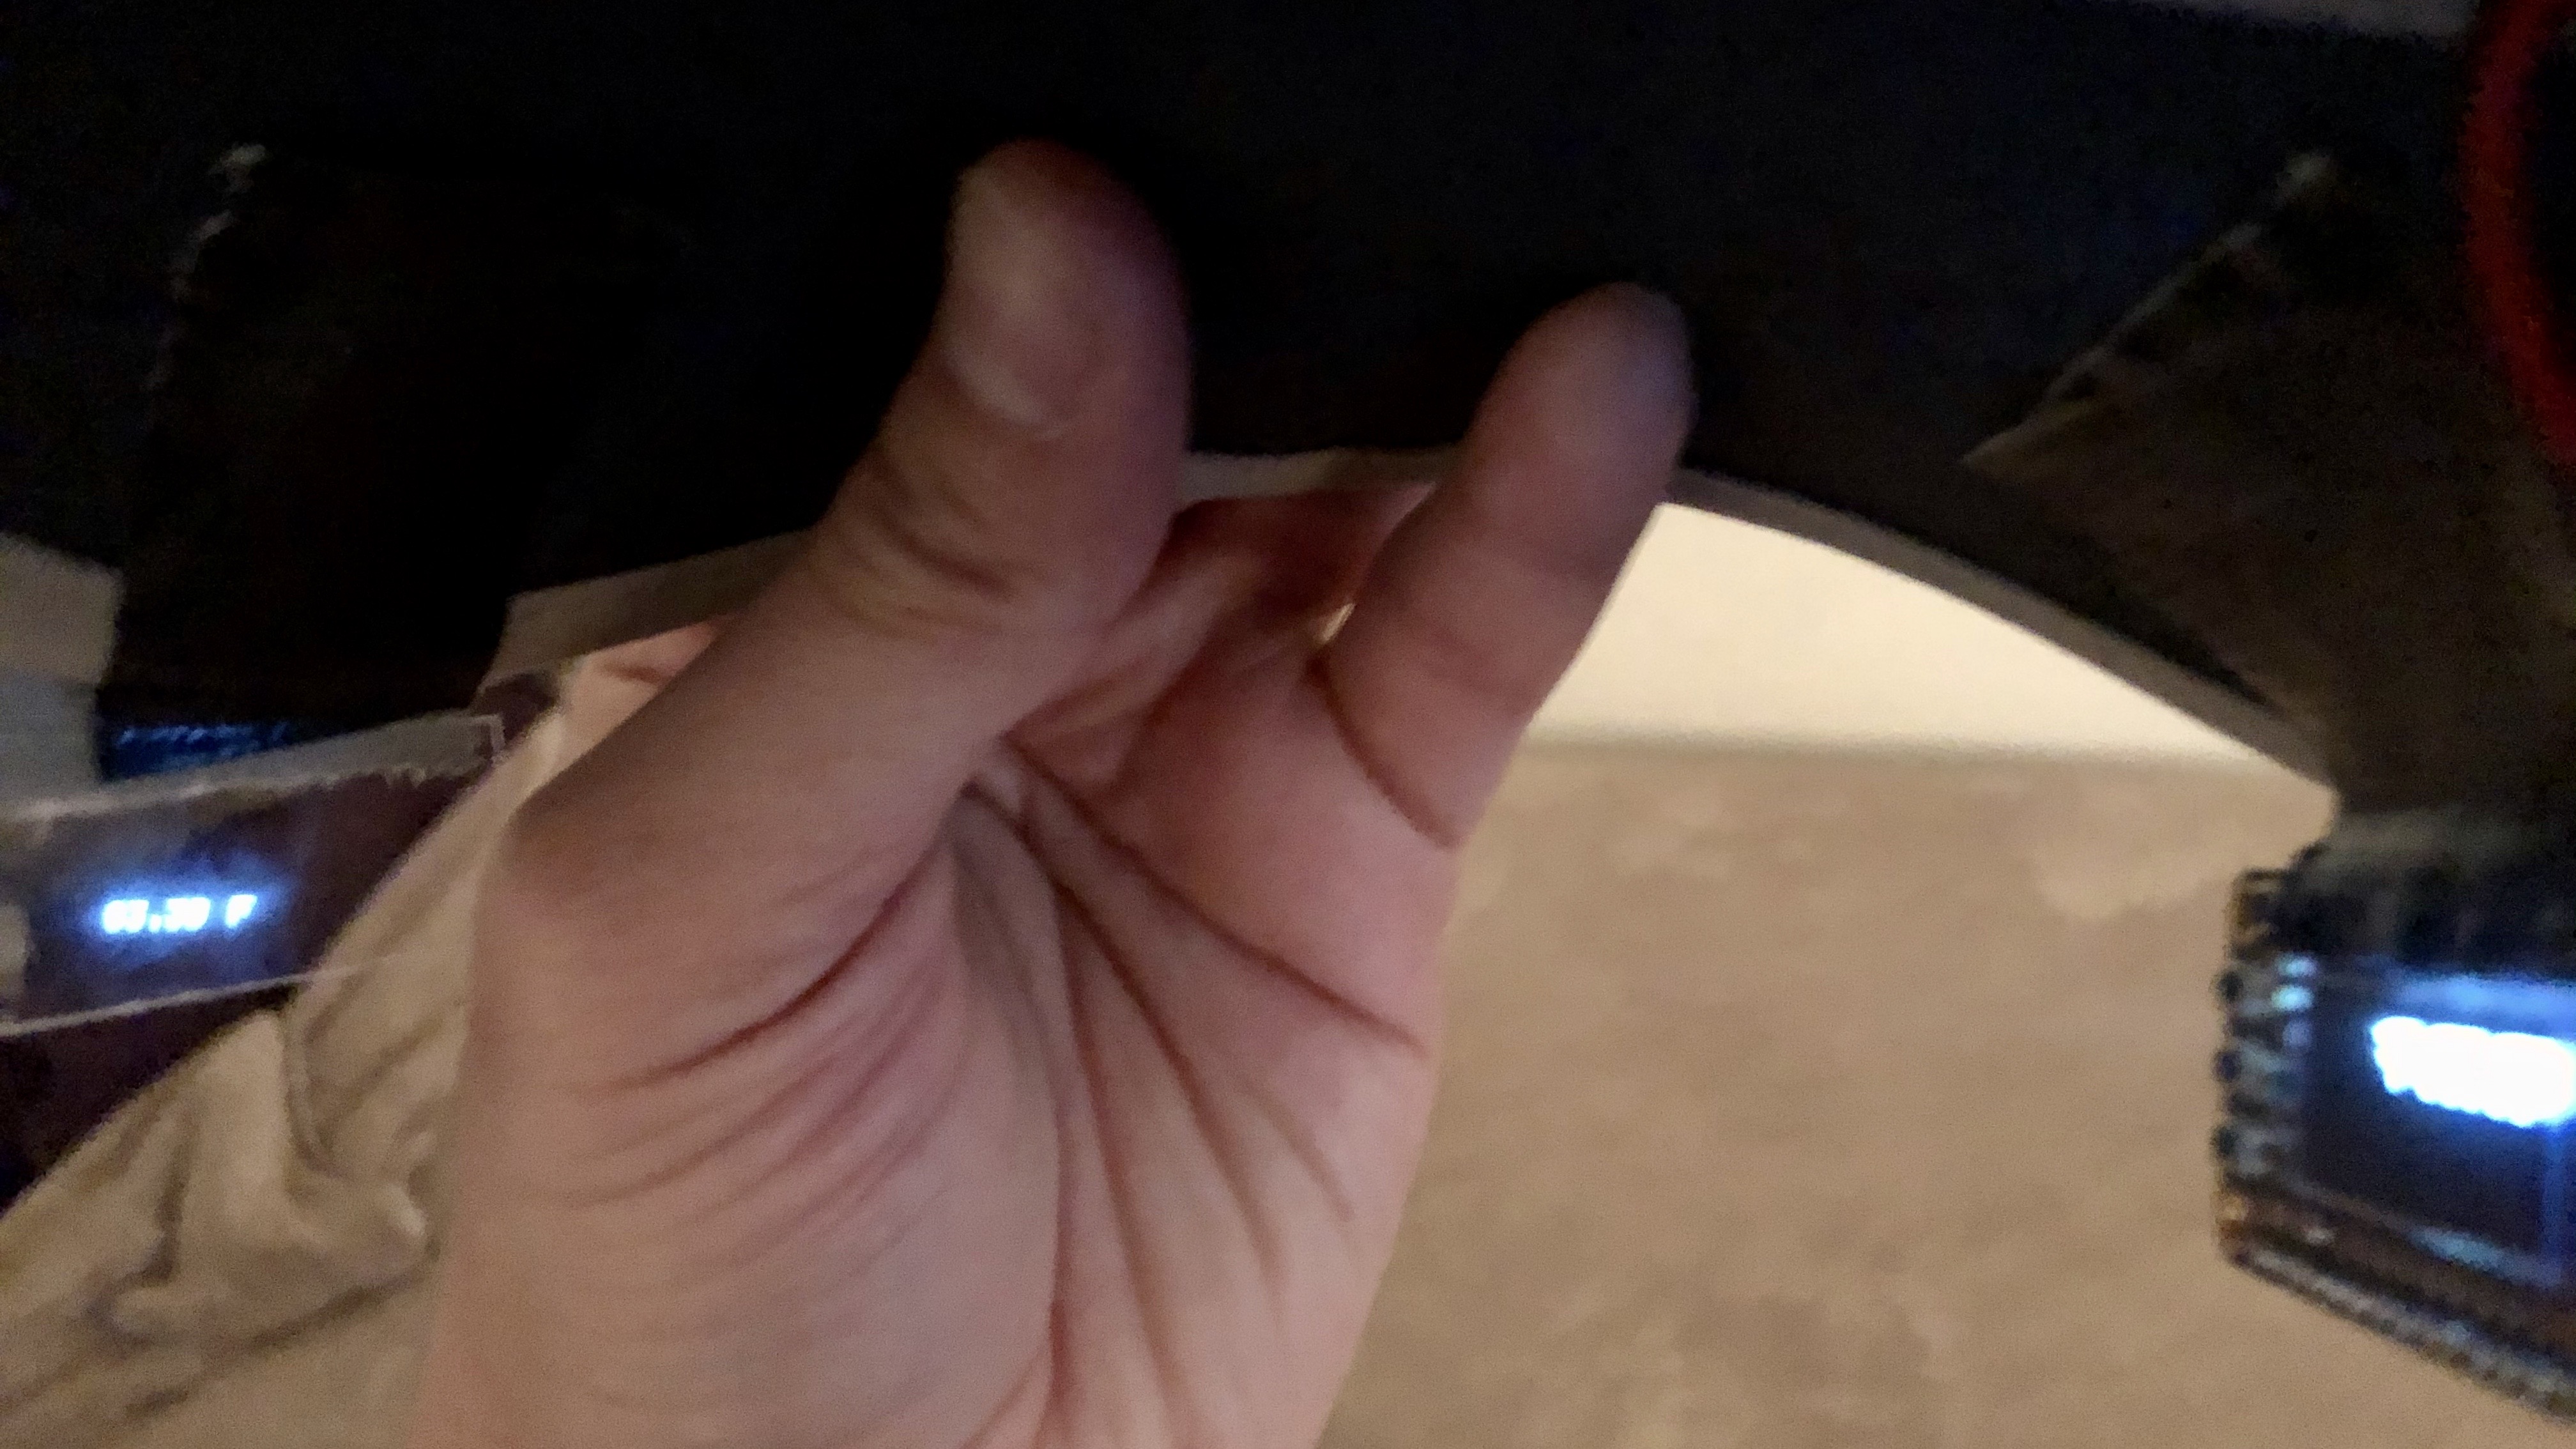
2020-03-19: Wasn’t able to get in to the big @adafruit Show and Tell (popular this week!), but wanted to share what I’m hacking on anyway. Very prototype: I put a Feather in my cap. And a temperature sensor, OLED display and some clear acrylic, to make a wearable, real-time AR thermometer.
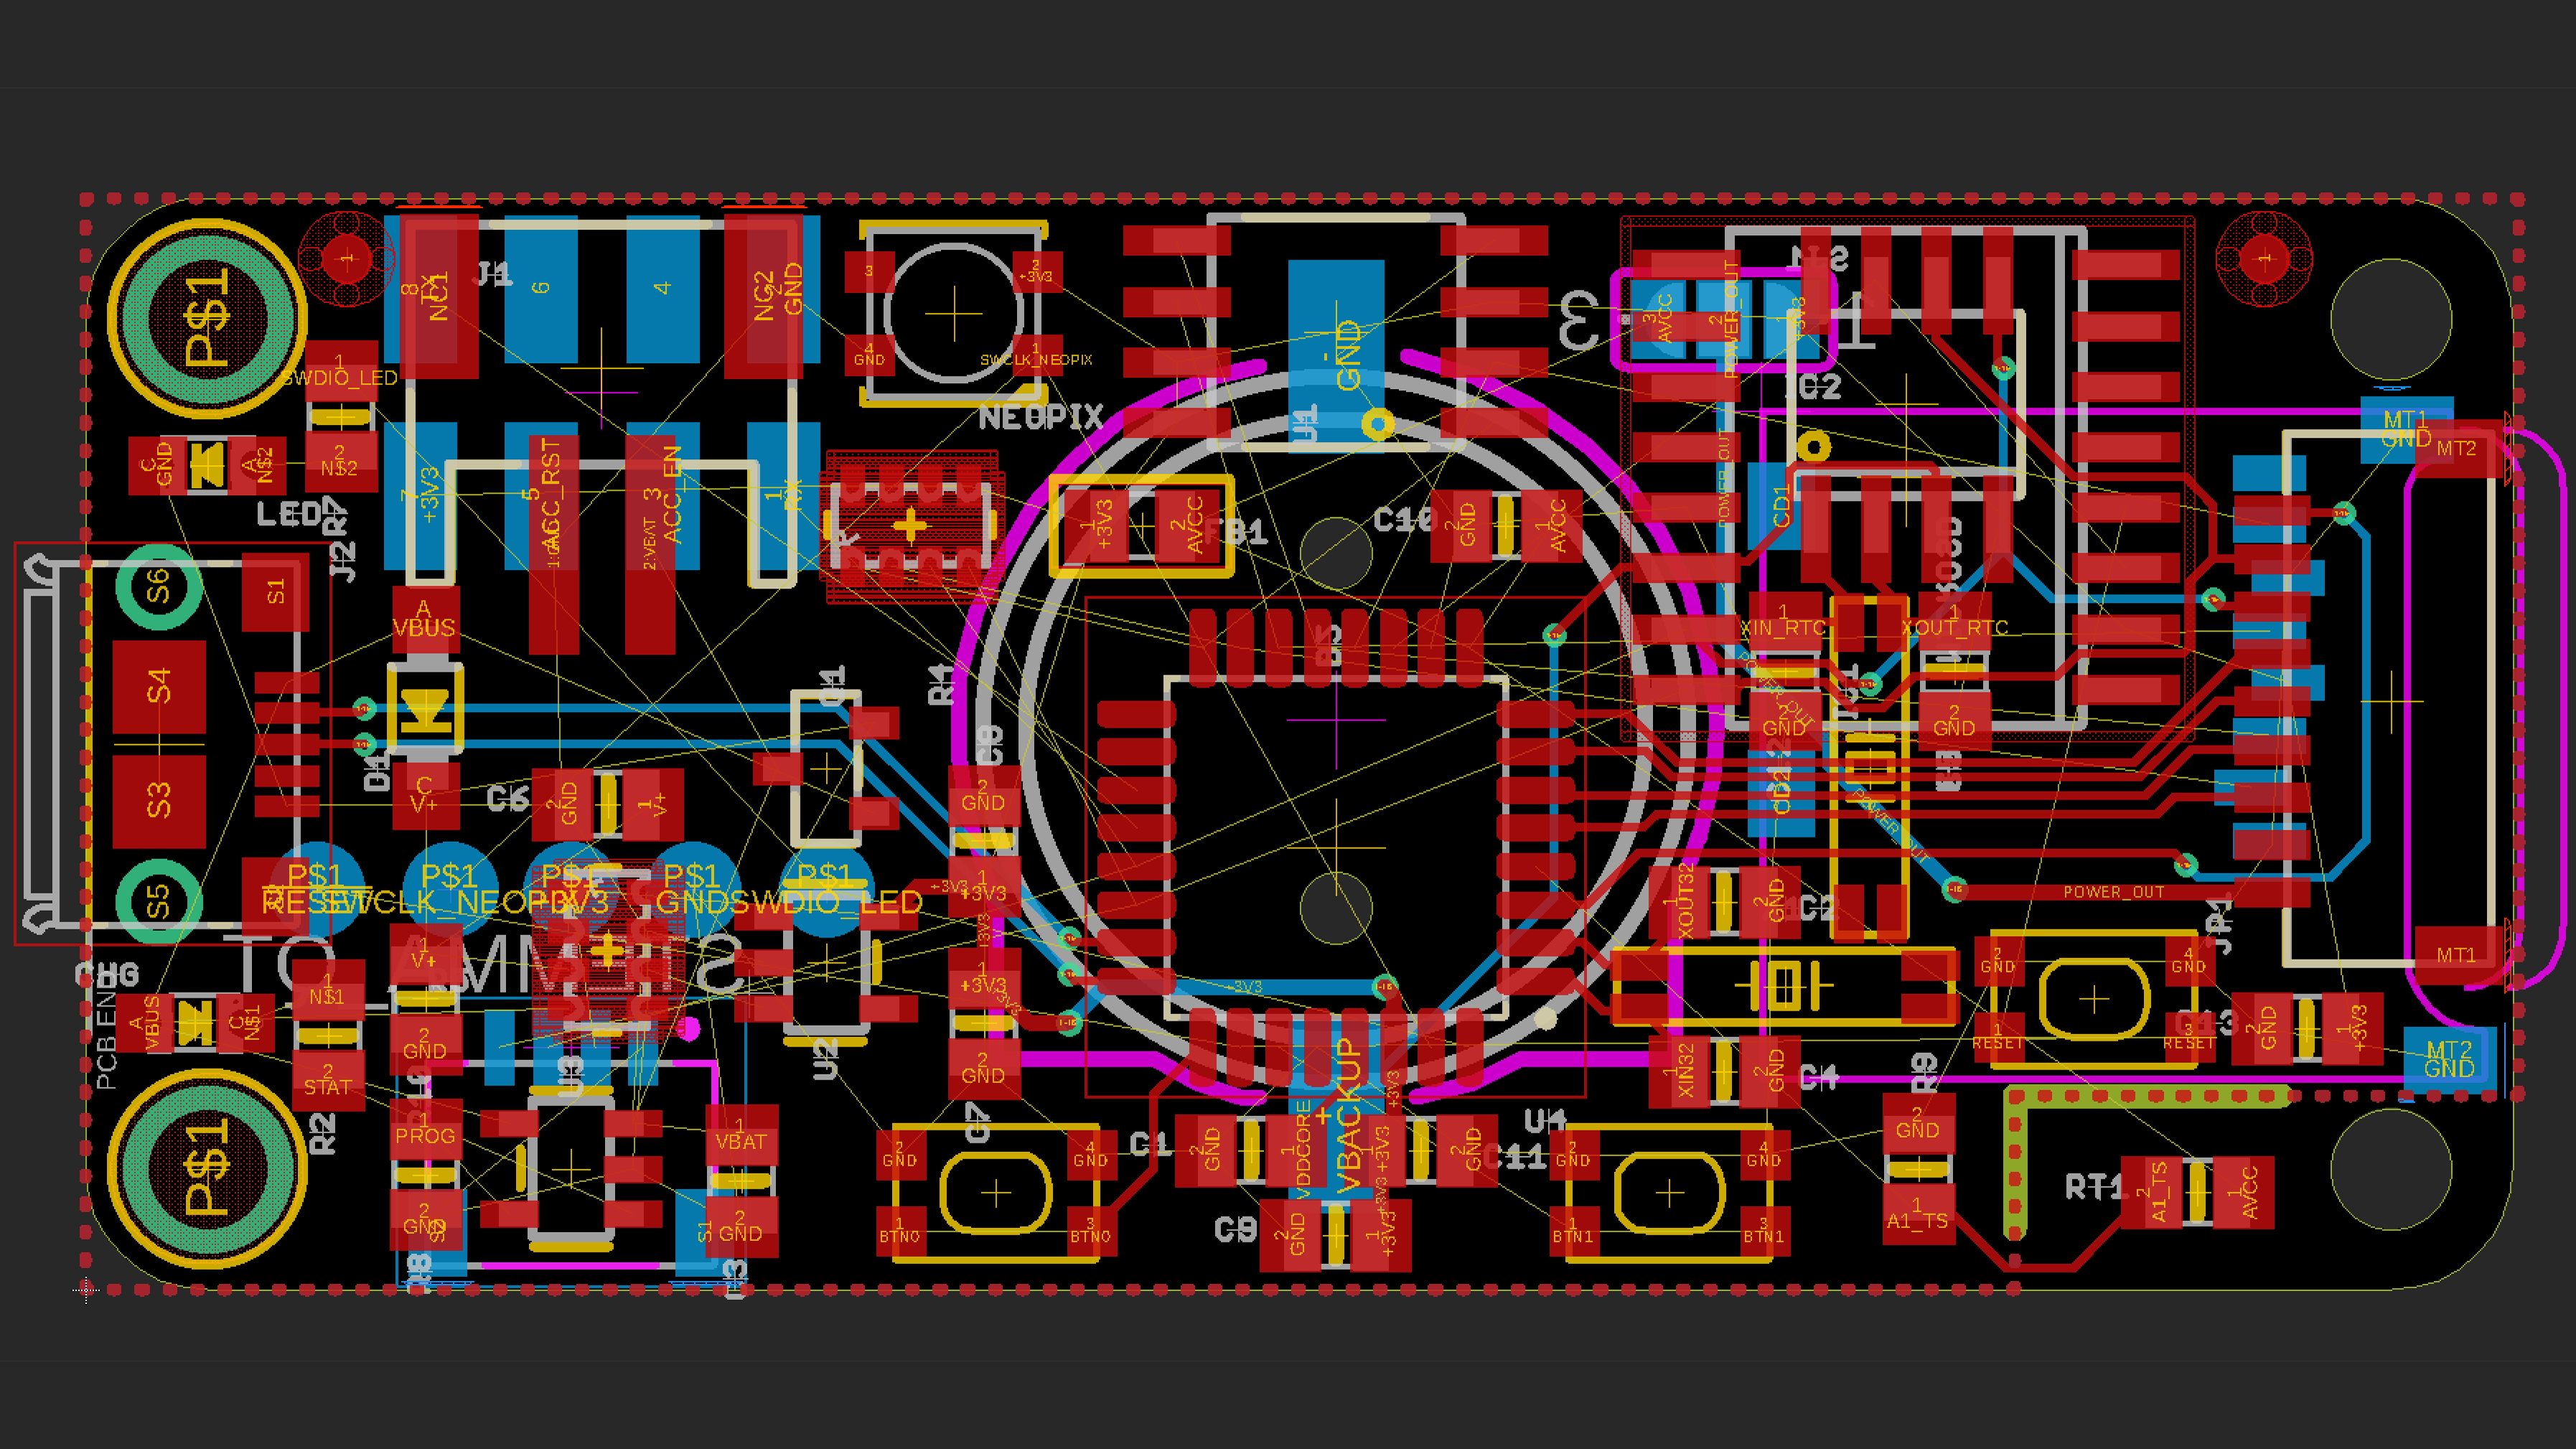
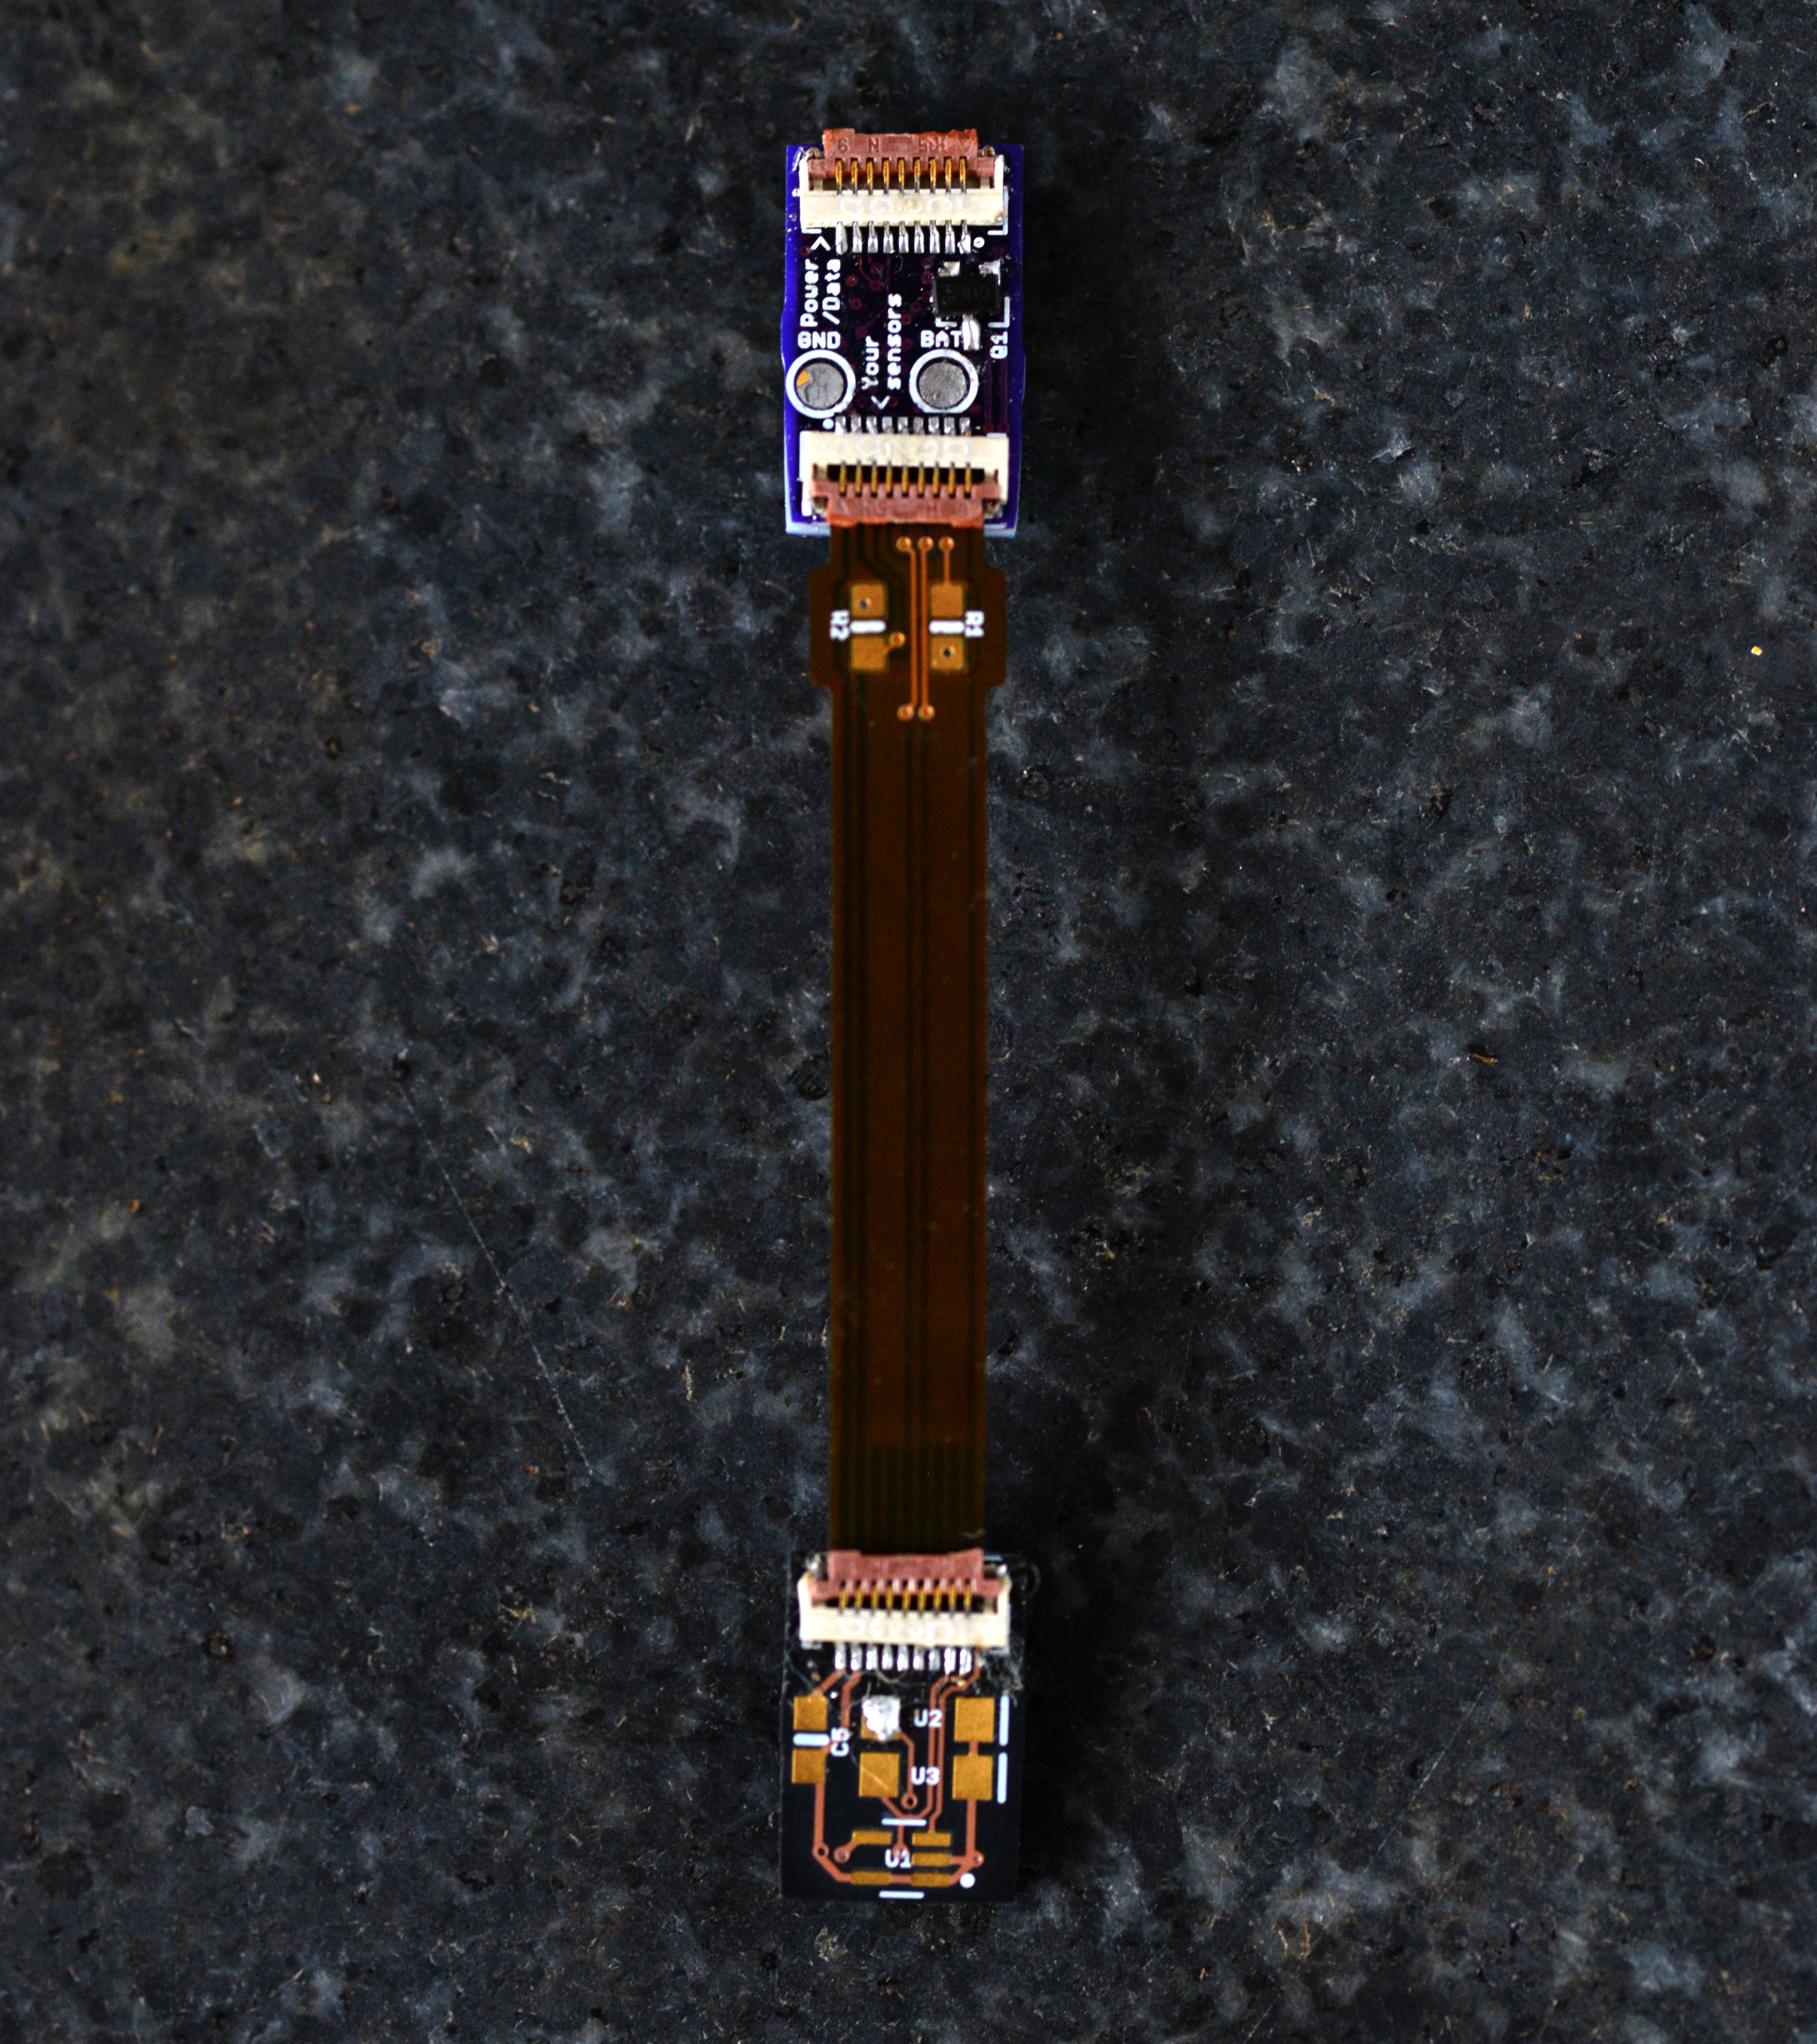
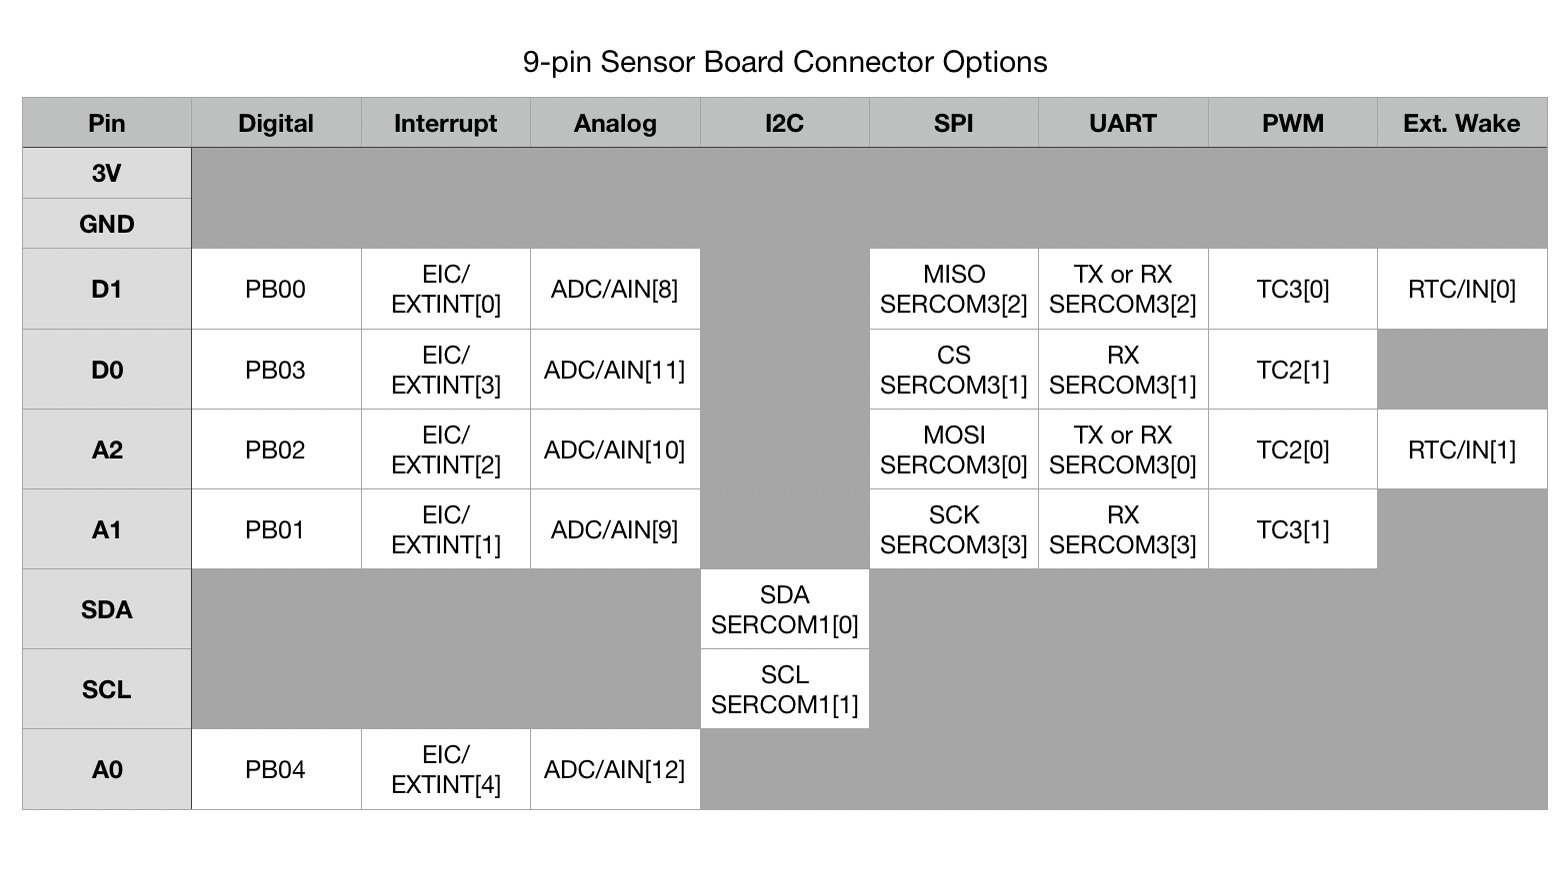
Pretty quickly I realized that while the Feather was a great small form factor, it still felt a bit bulky when attached to my forehead. So I started designing a board with the same shape, but with a nine pin JST-SH connector for interfacing with sensors.
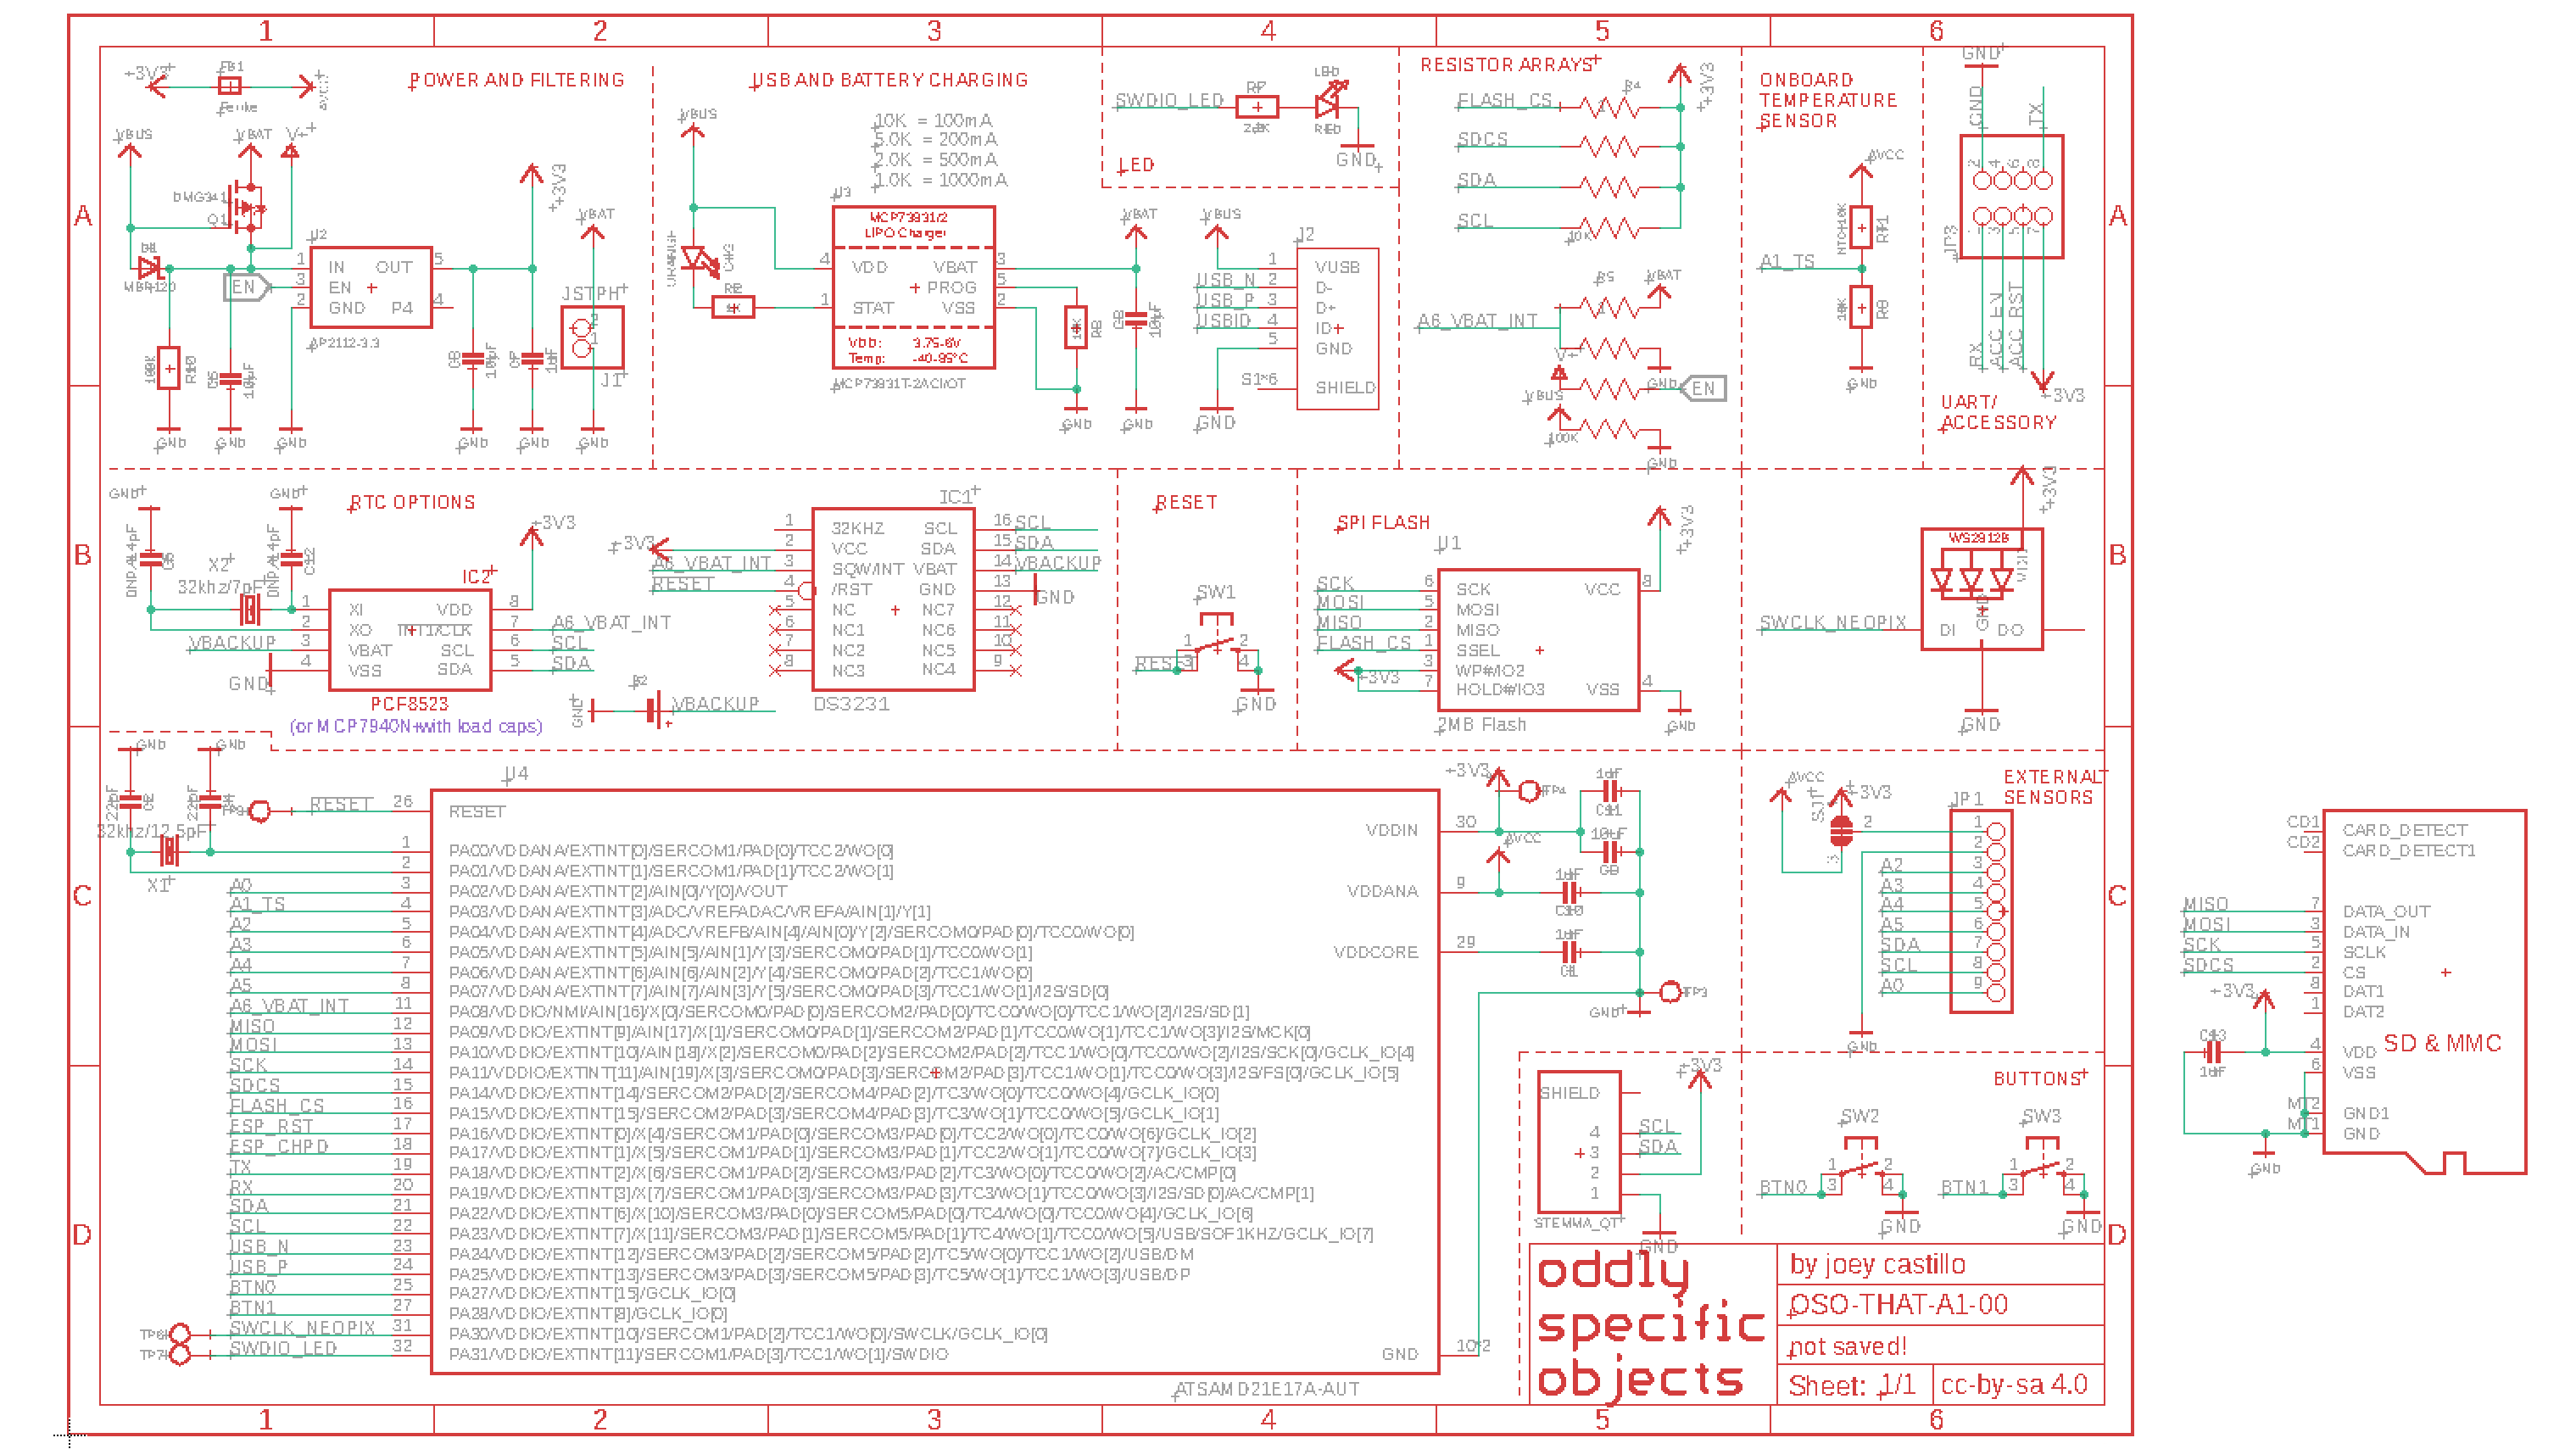
2020-03-27: OK! Thermometer Hat, take 2. Recap; the goal: monitor wearer’s temperature, alert them when it’s high, log timestamped data for later review. I kinda went back to the drawing board, simplifying and choosing hardware I can get to work easily with Arduino/CircuitPython. Thread; 1/?
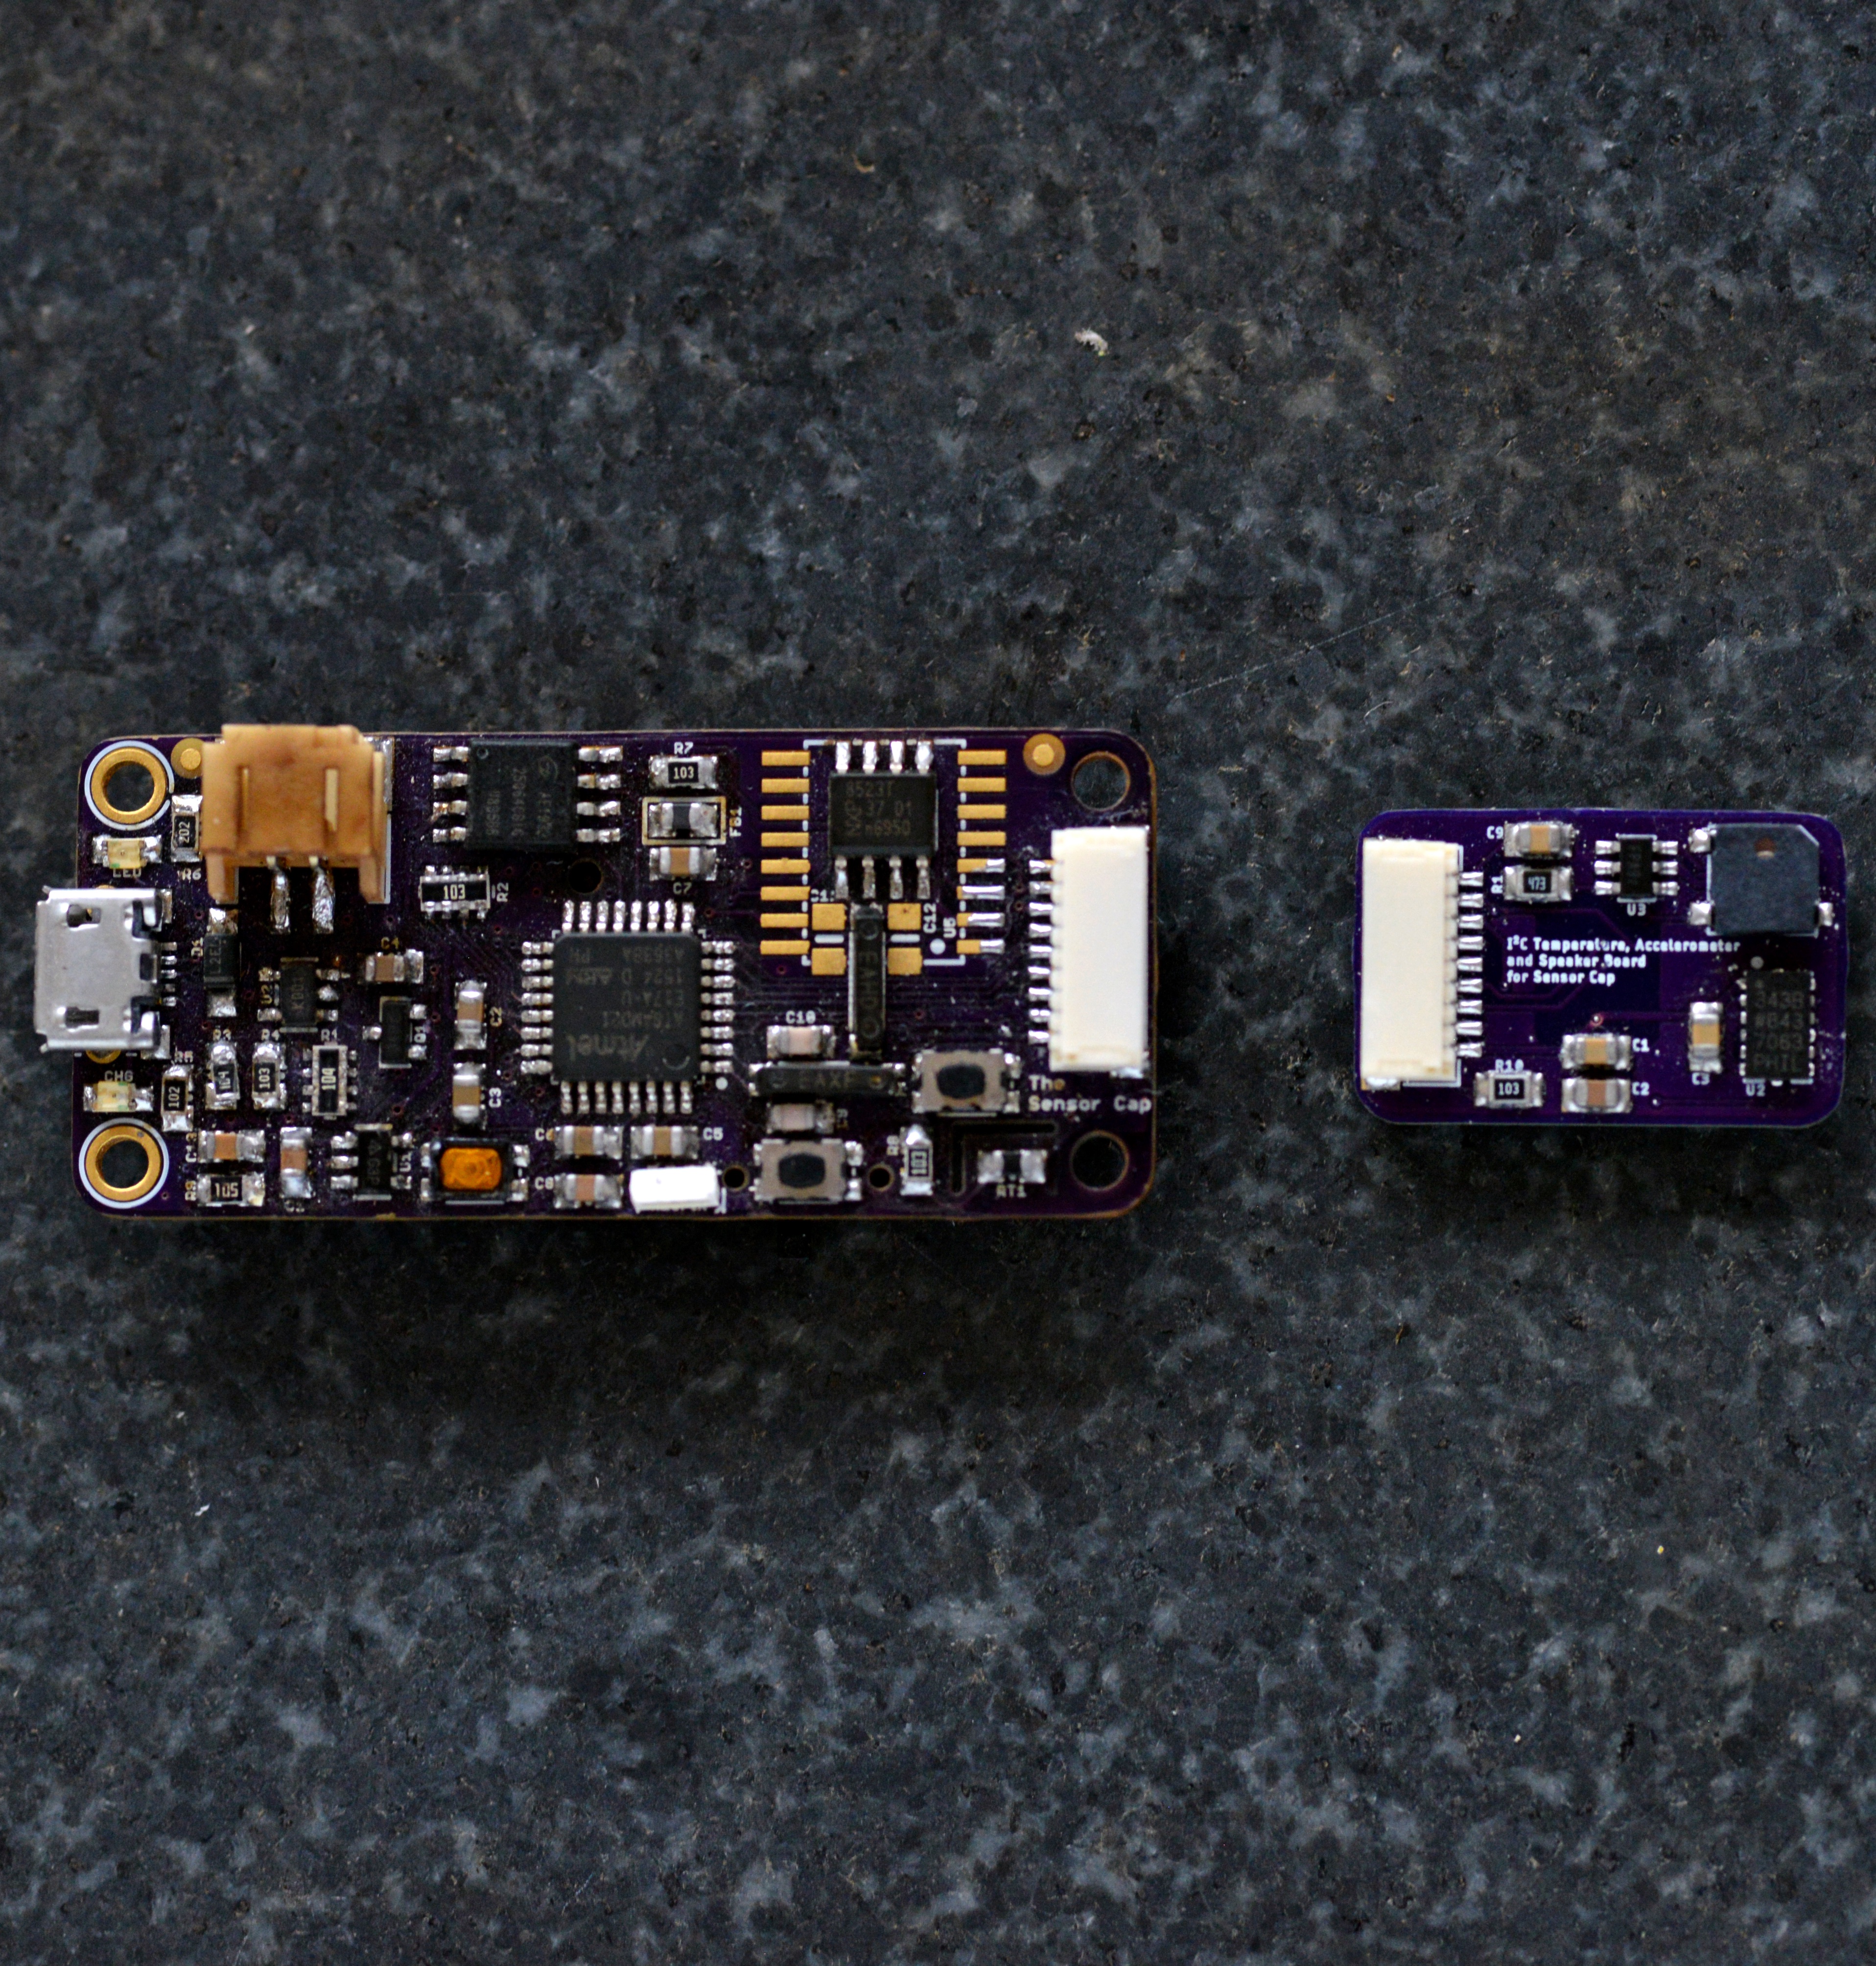
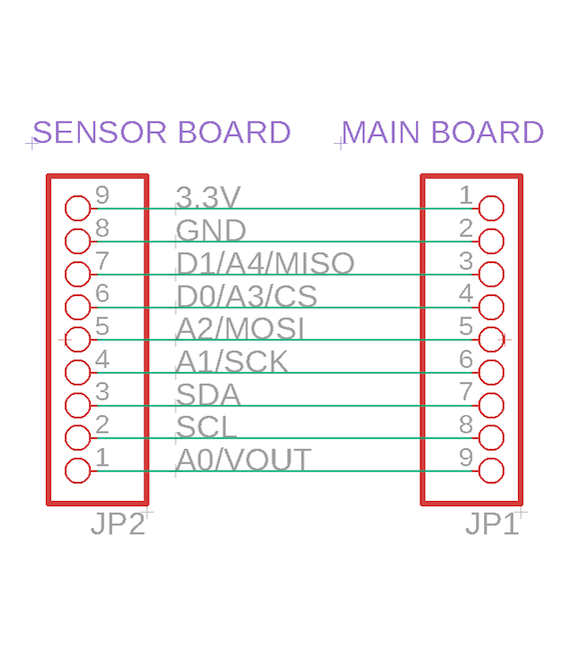
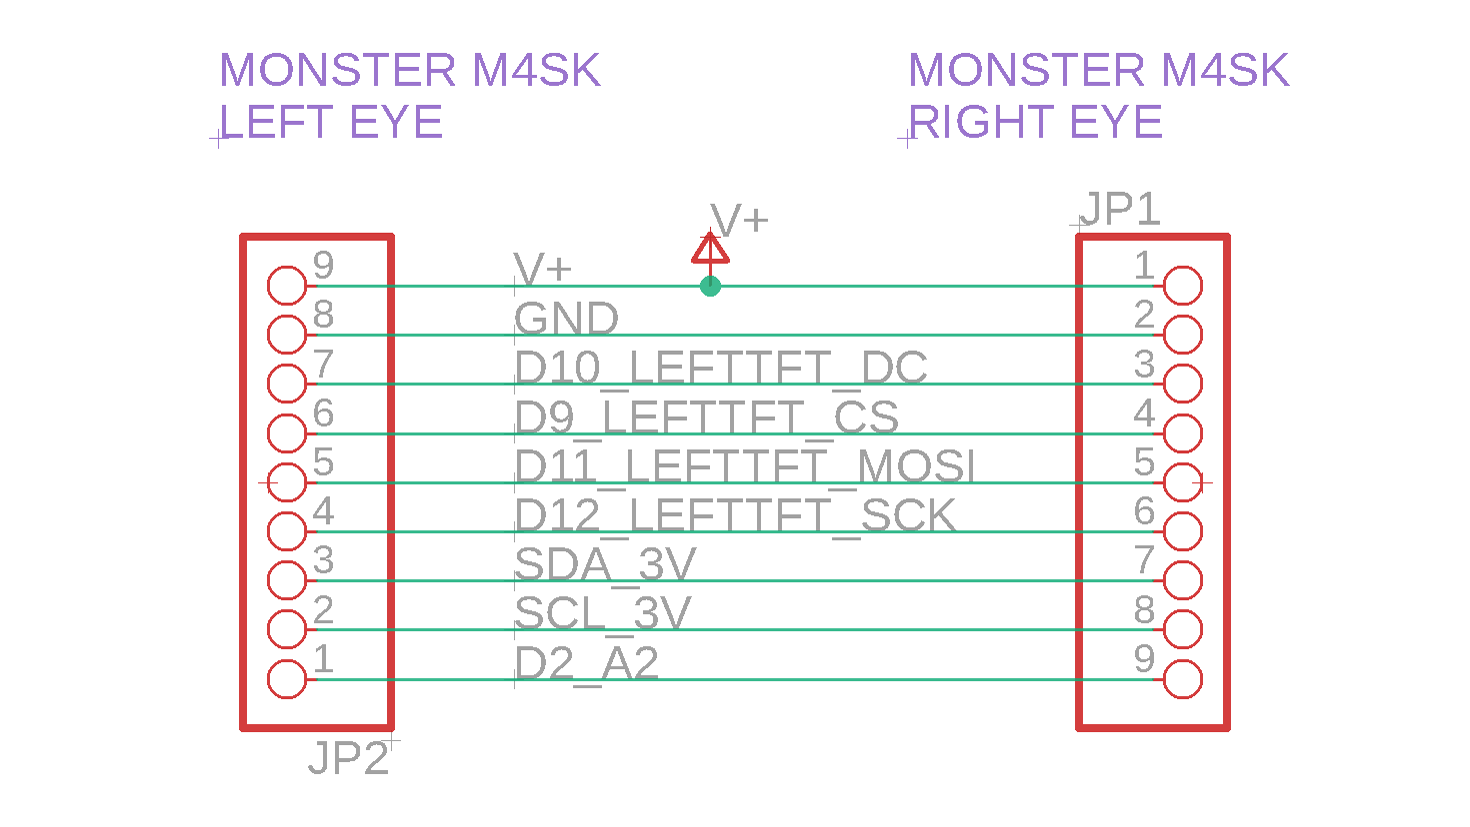
This was the first iteration of the Sensor Cap. I cribbed the 9-pin connector from @Adafruit’s MONSTER M4SK. They use it to connect a screen and an I2C interface from one eye to the other; I kept to a very similar pinout, and used it to hook up some sensors and a tiny speaker.
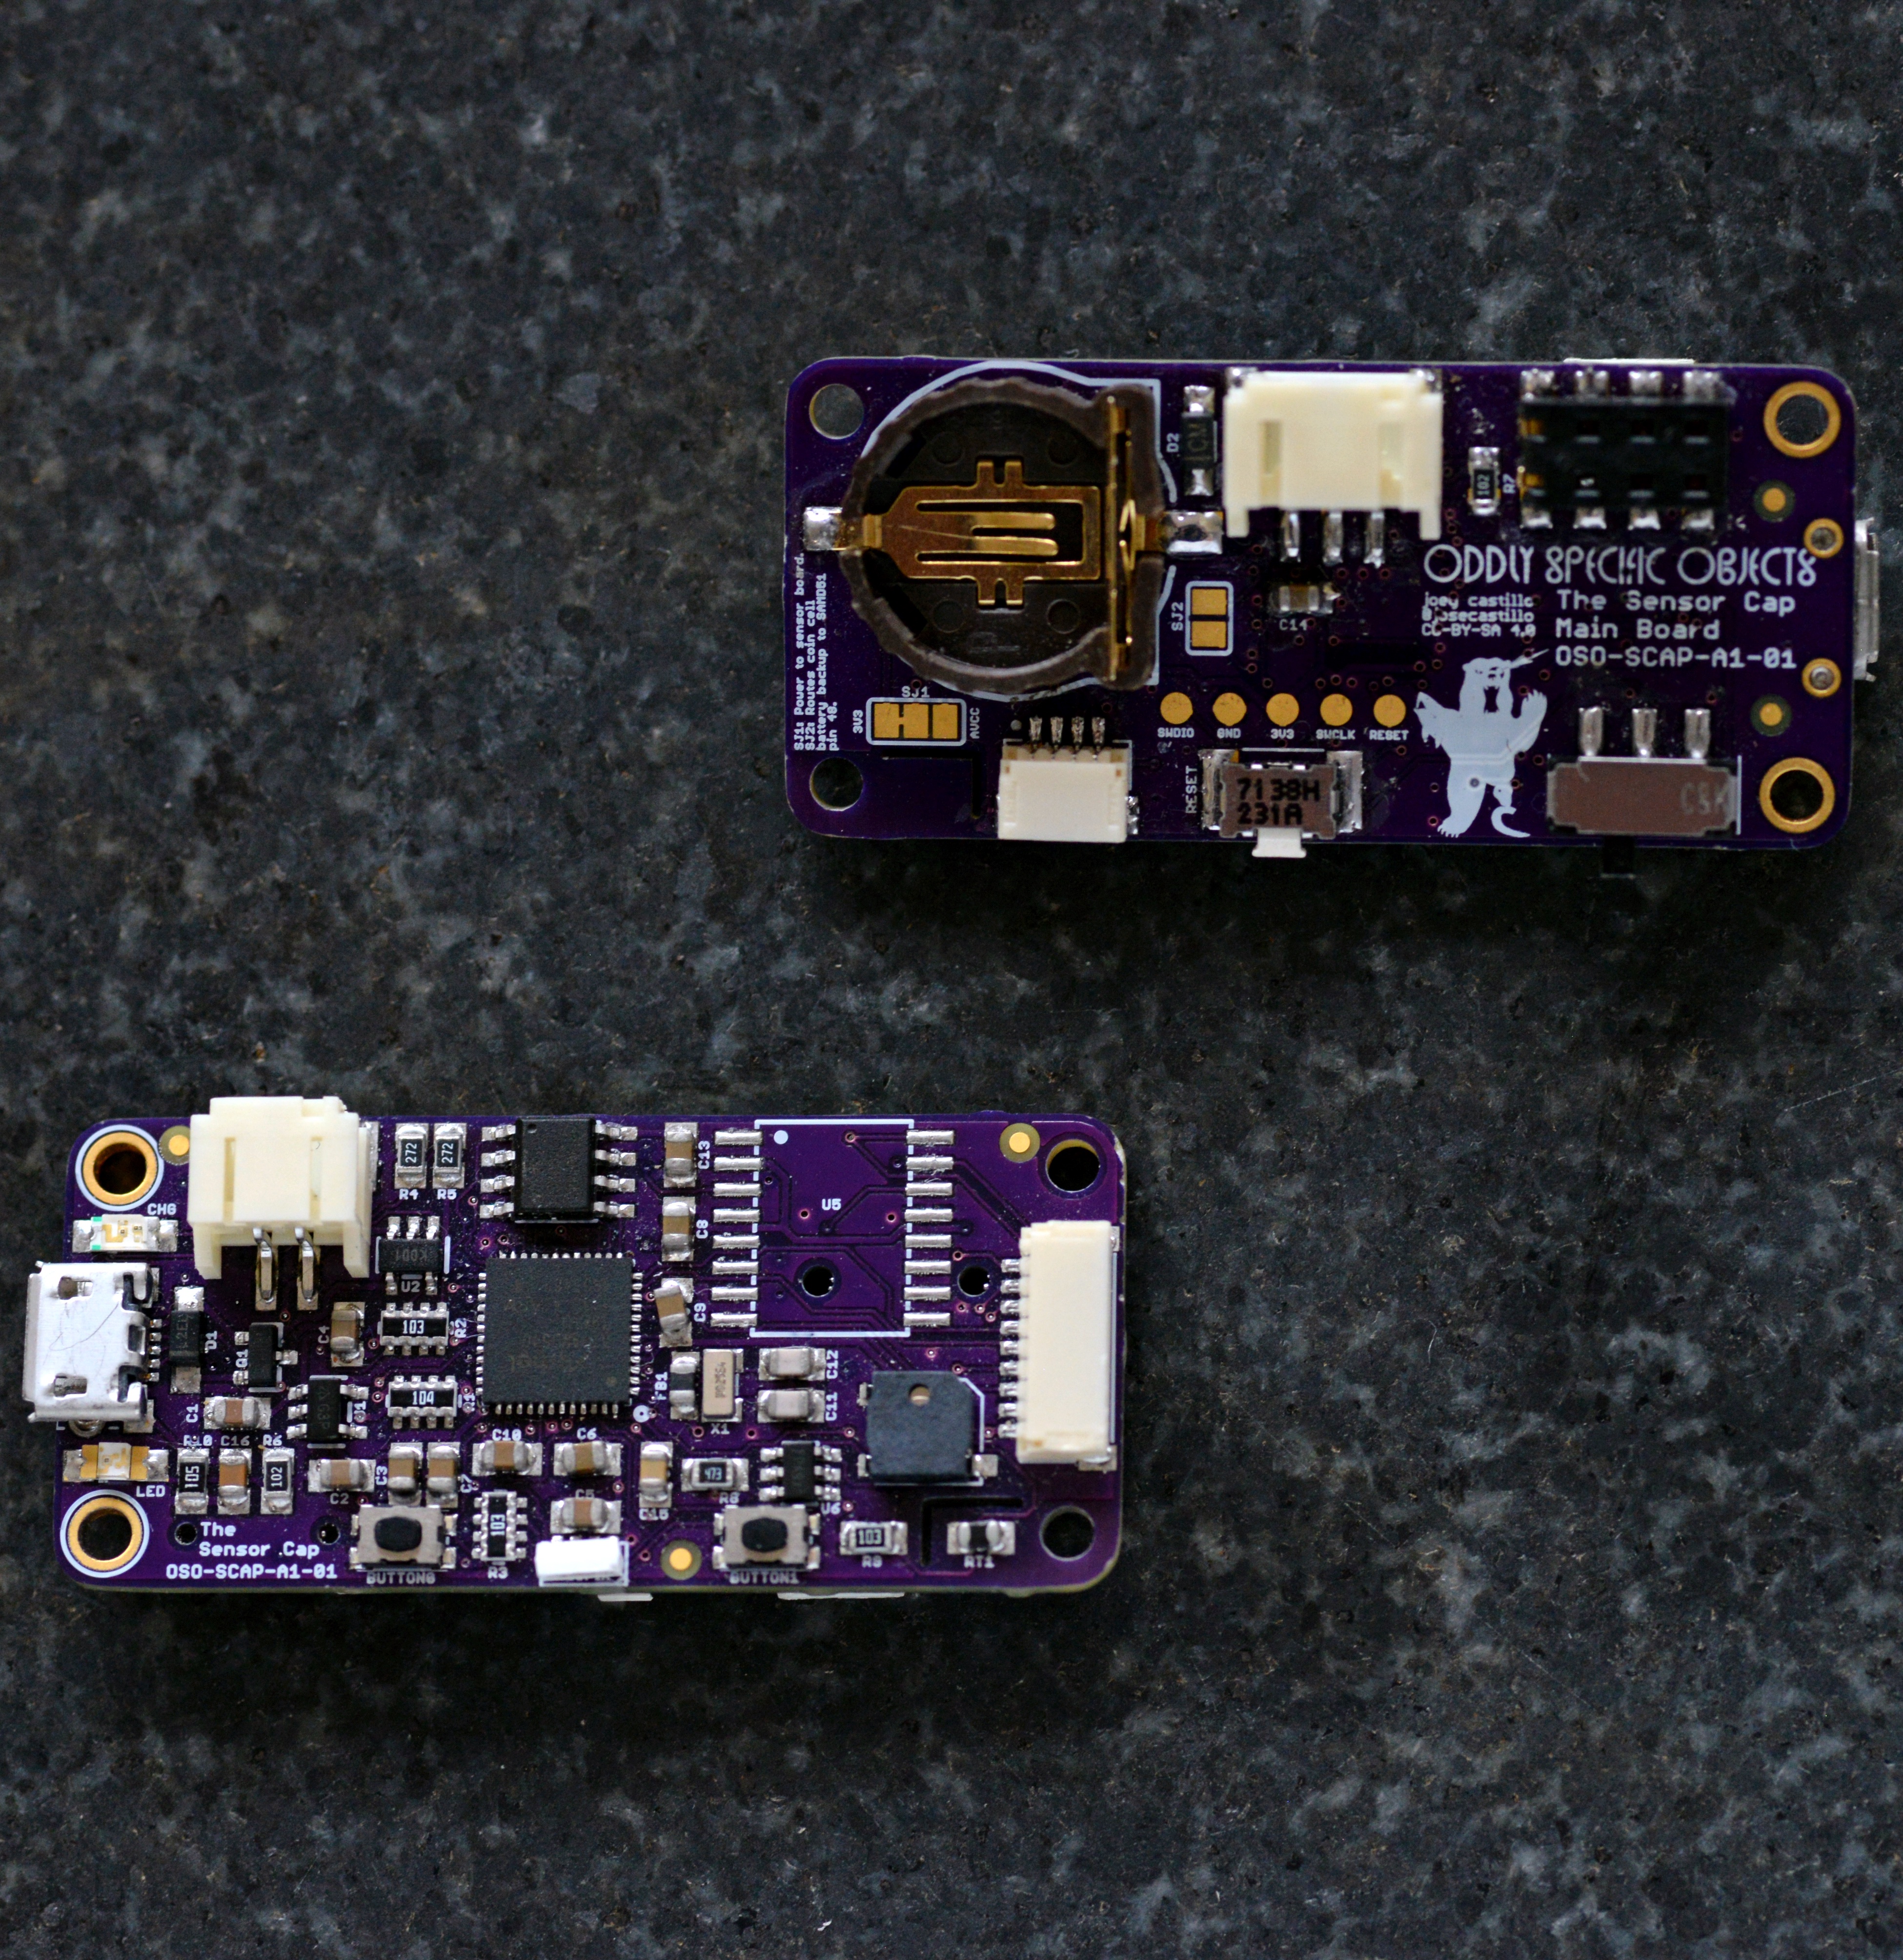
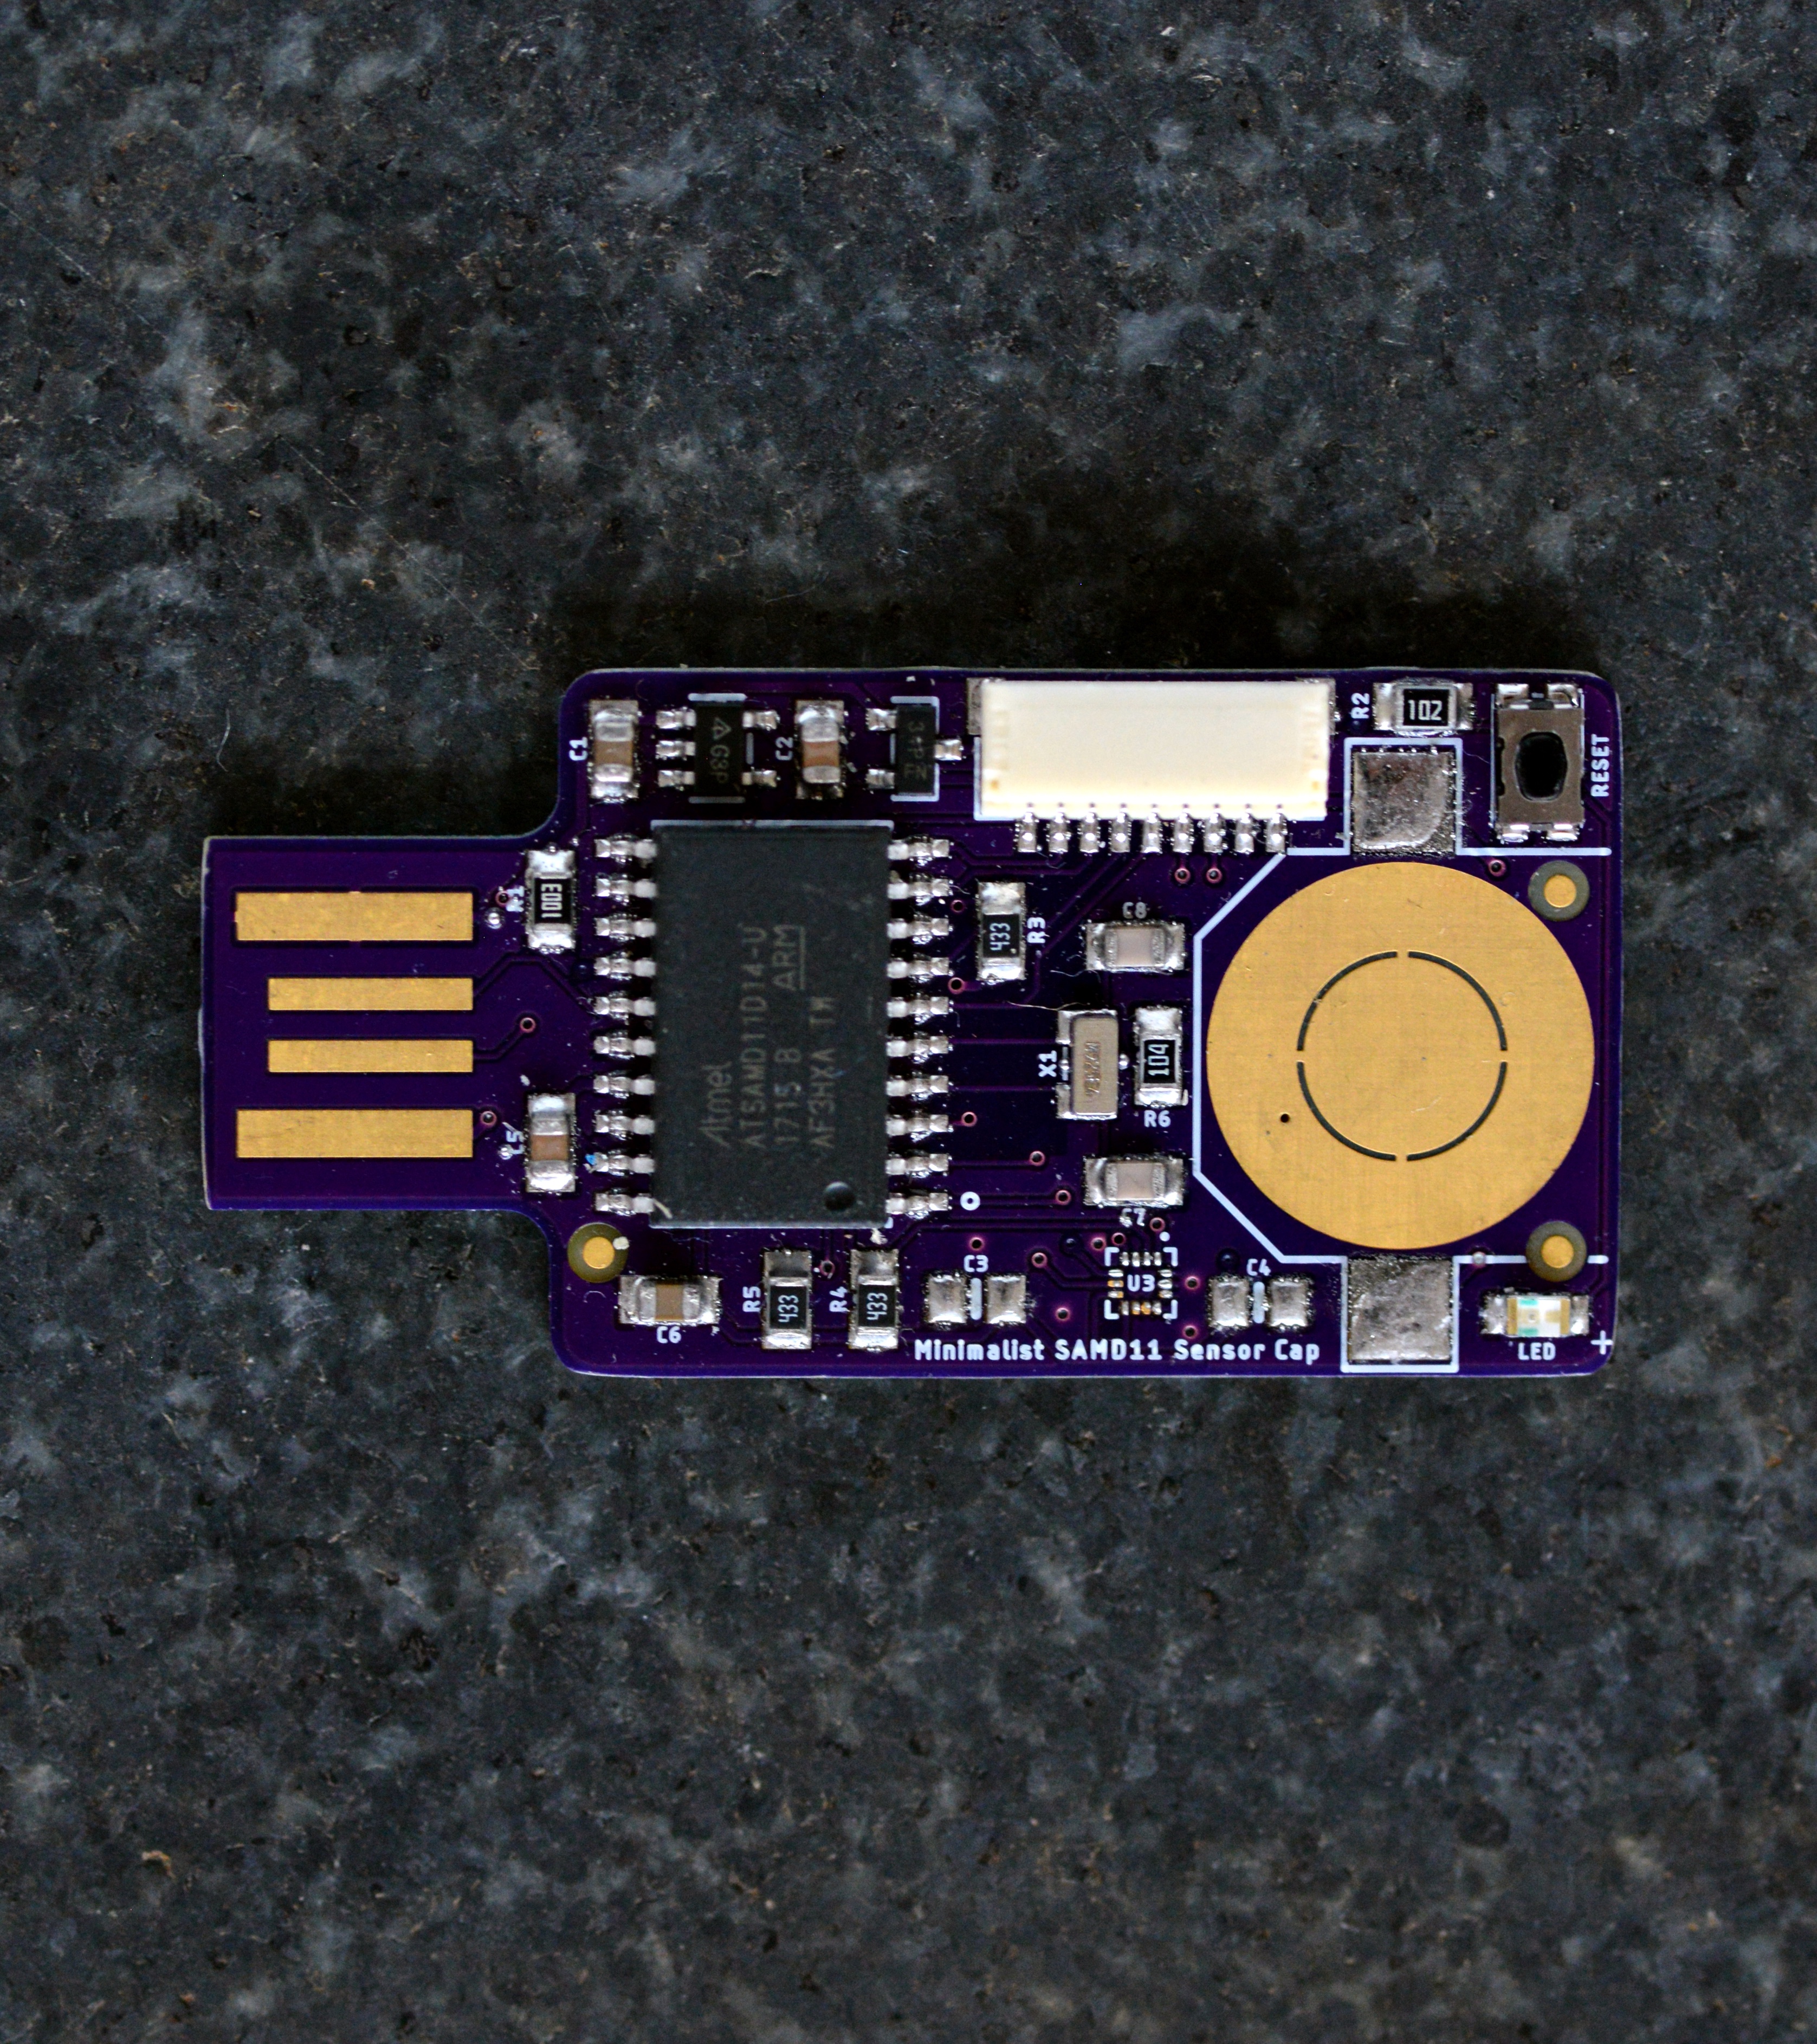
There were some issues with that first one, but the nine-pin concept seemed sound. So I made a second and a third one: a SAM D51 based version with a Cortex M4, and a simpler SAM D11 version powered by coin cell. That one logged small amounts of data to an EEPROM emulation area.
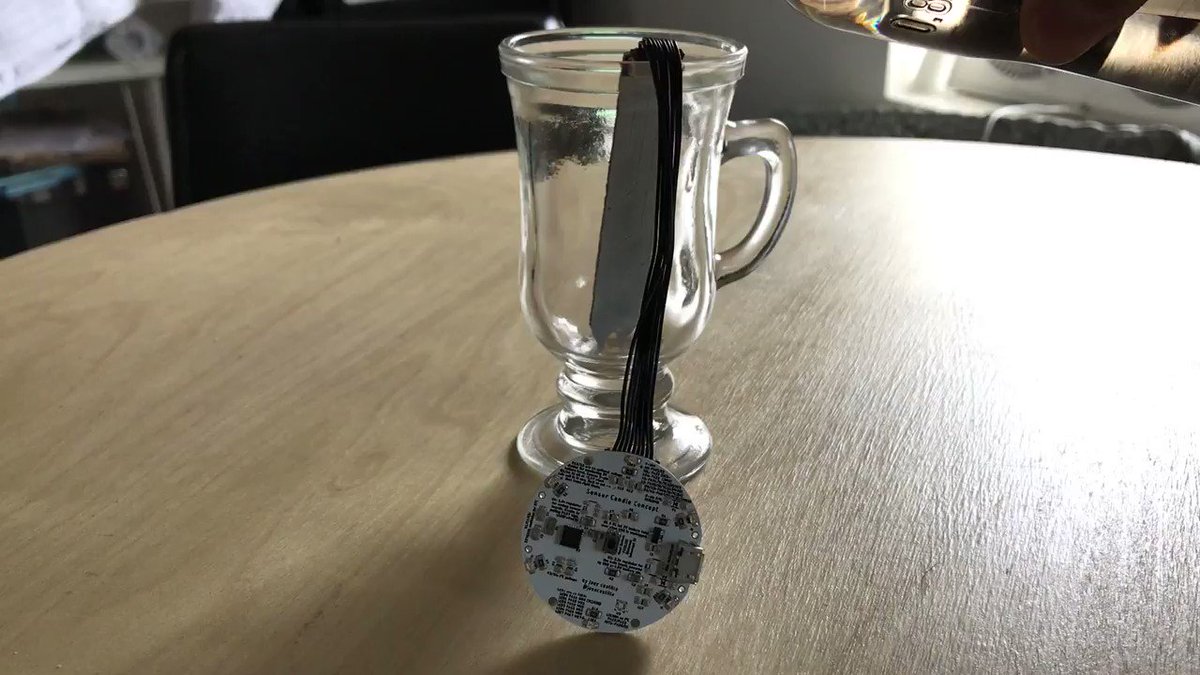
That takes us to May of last year. By this time I’d designed several “sensor boards” that used this nine-pin connector. So I kept designing gadgets to work with them. Here’s a thread with the “Sensor Candle”, a SAM D11 board powered by a CR2032 coin cell:
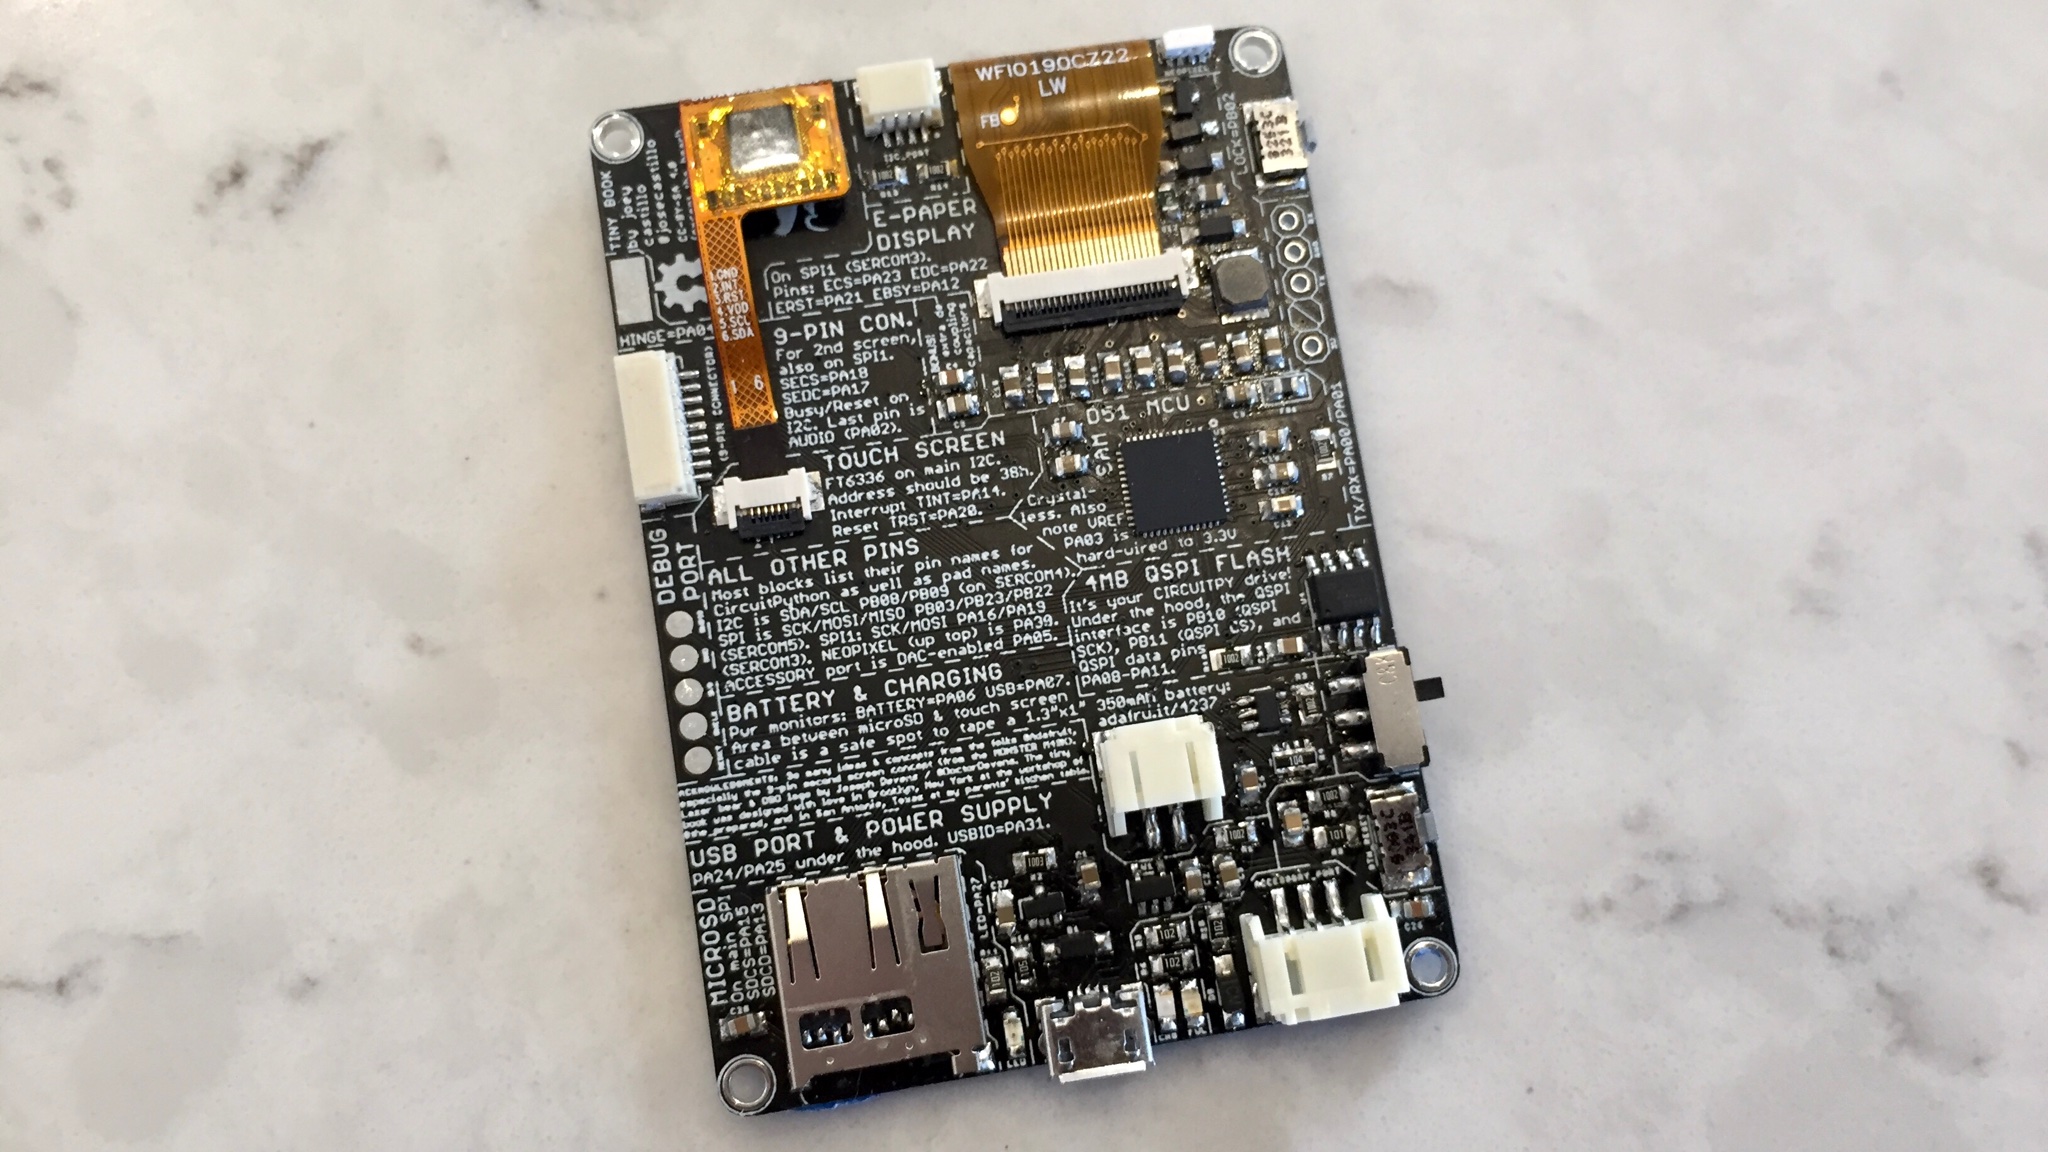
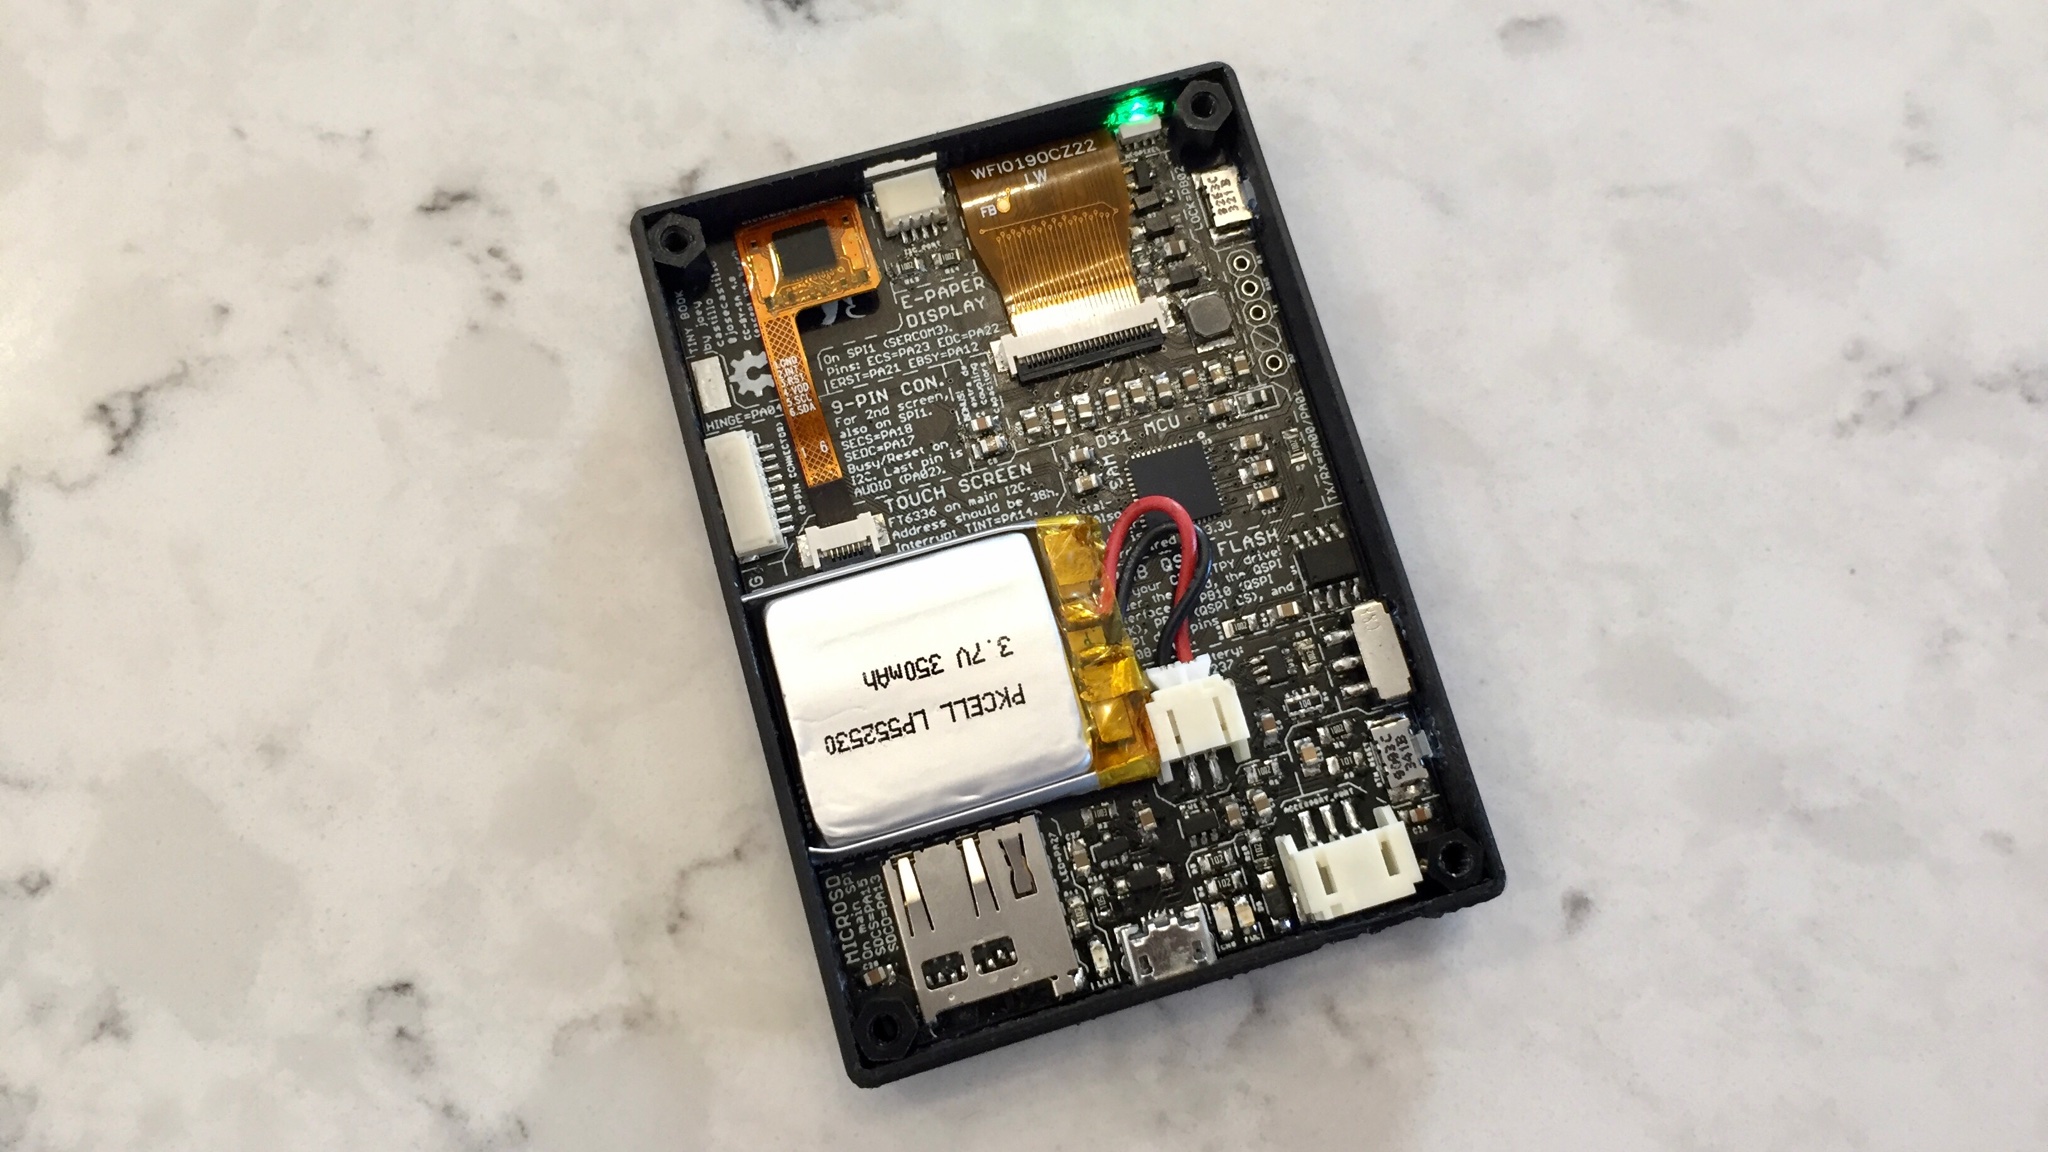
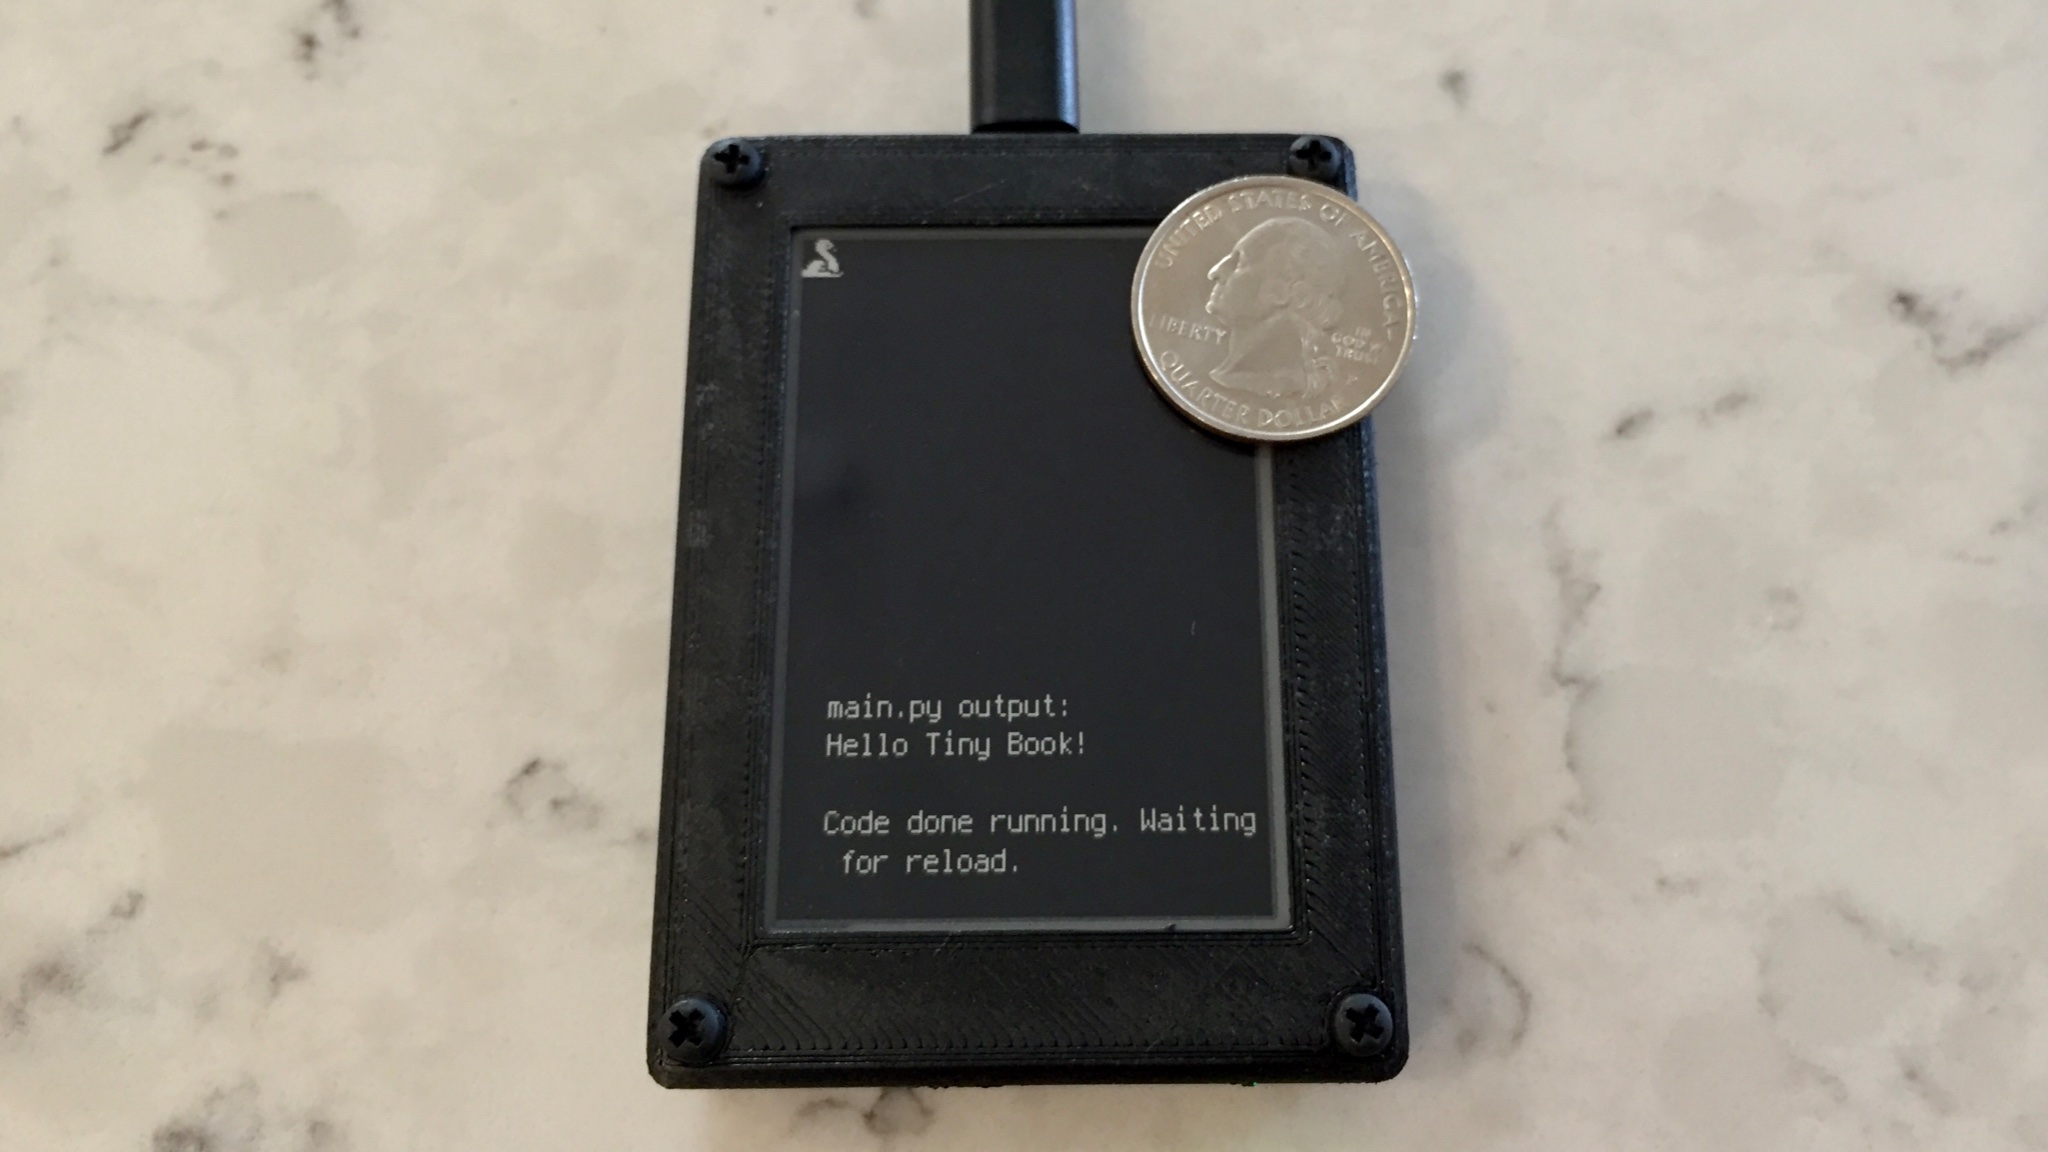
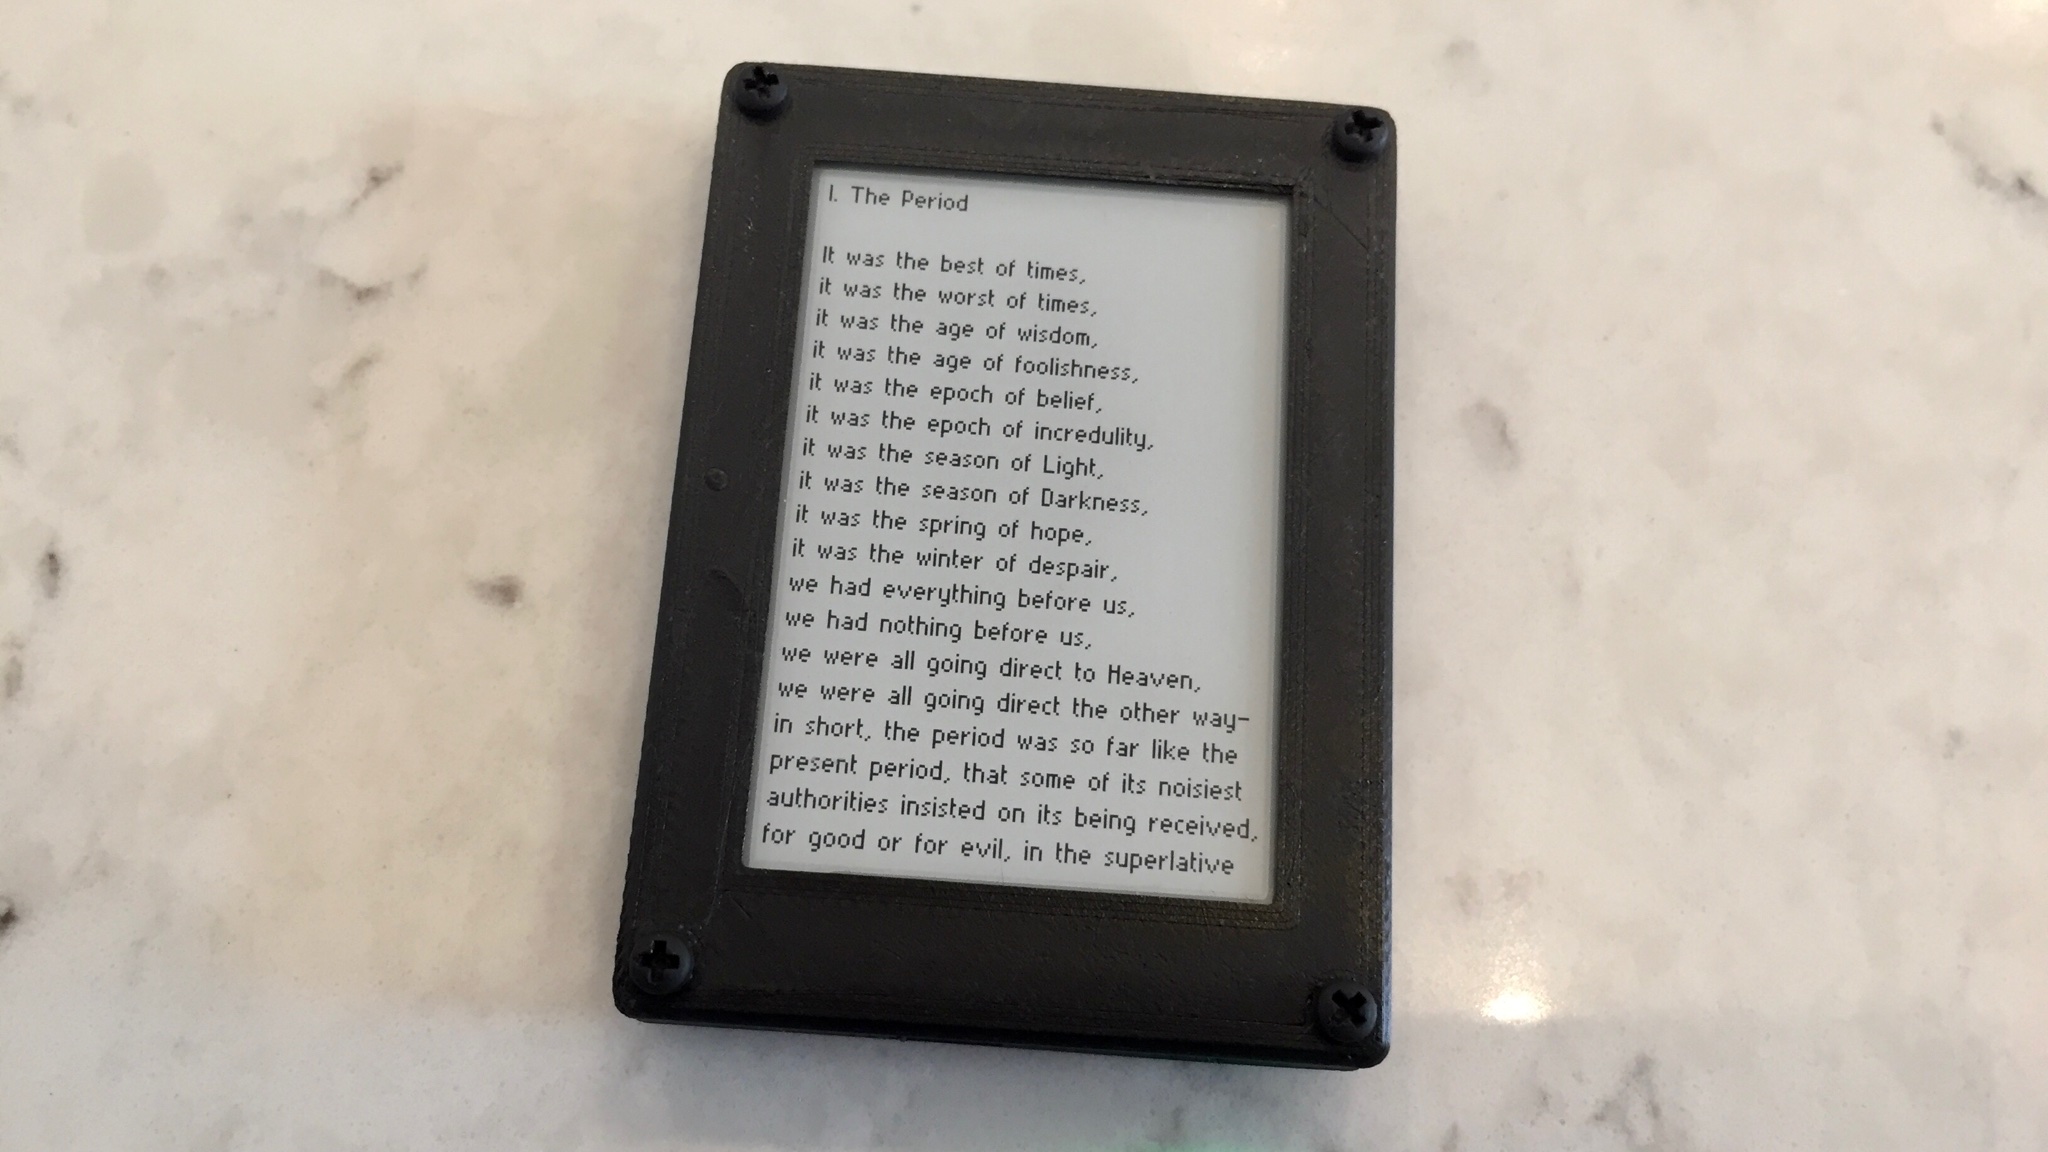
There was also a tiny version of the Open Book (the Tiny Book, of course) that included the nine-pin connector as an option for adding a second screen. Again, largely the same pinout, so that I could keep using it with those little sensor boards I’d made.
2020-08-28: so, tiny book. a thread. Yeah I couldn’t help myself. I made another one. It’s funny, I’m simultaneously stoked about this object, and a little embarrassed at how far I had to wander from the original prompt in order to find my way back to the right idea (which isn’t quite this).
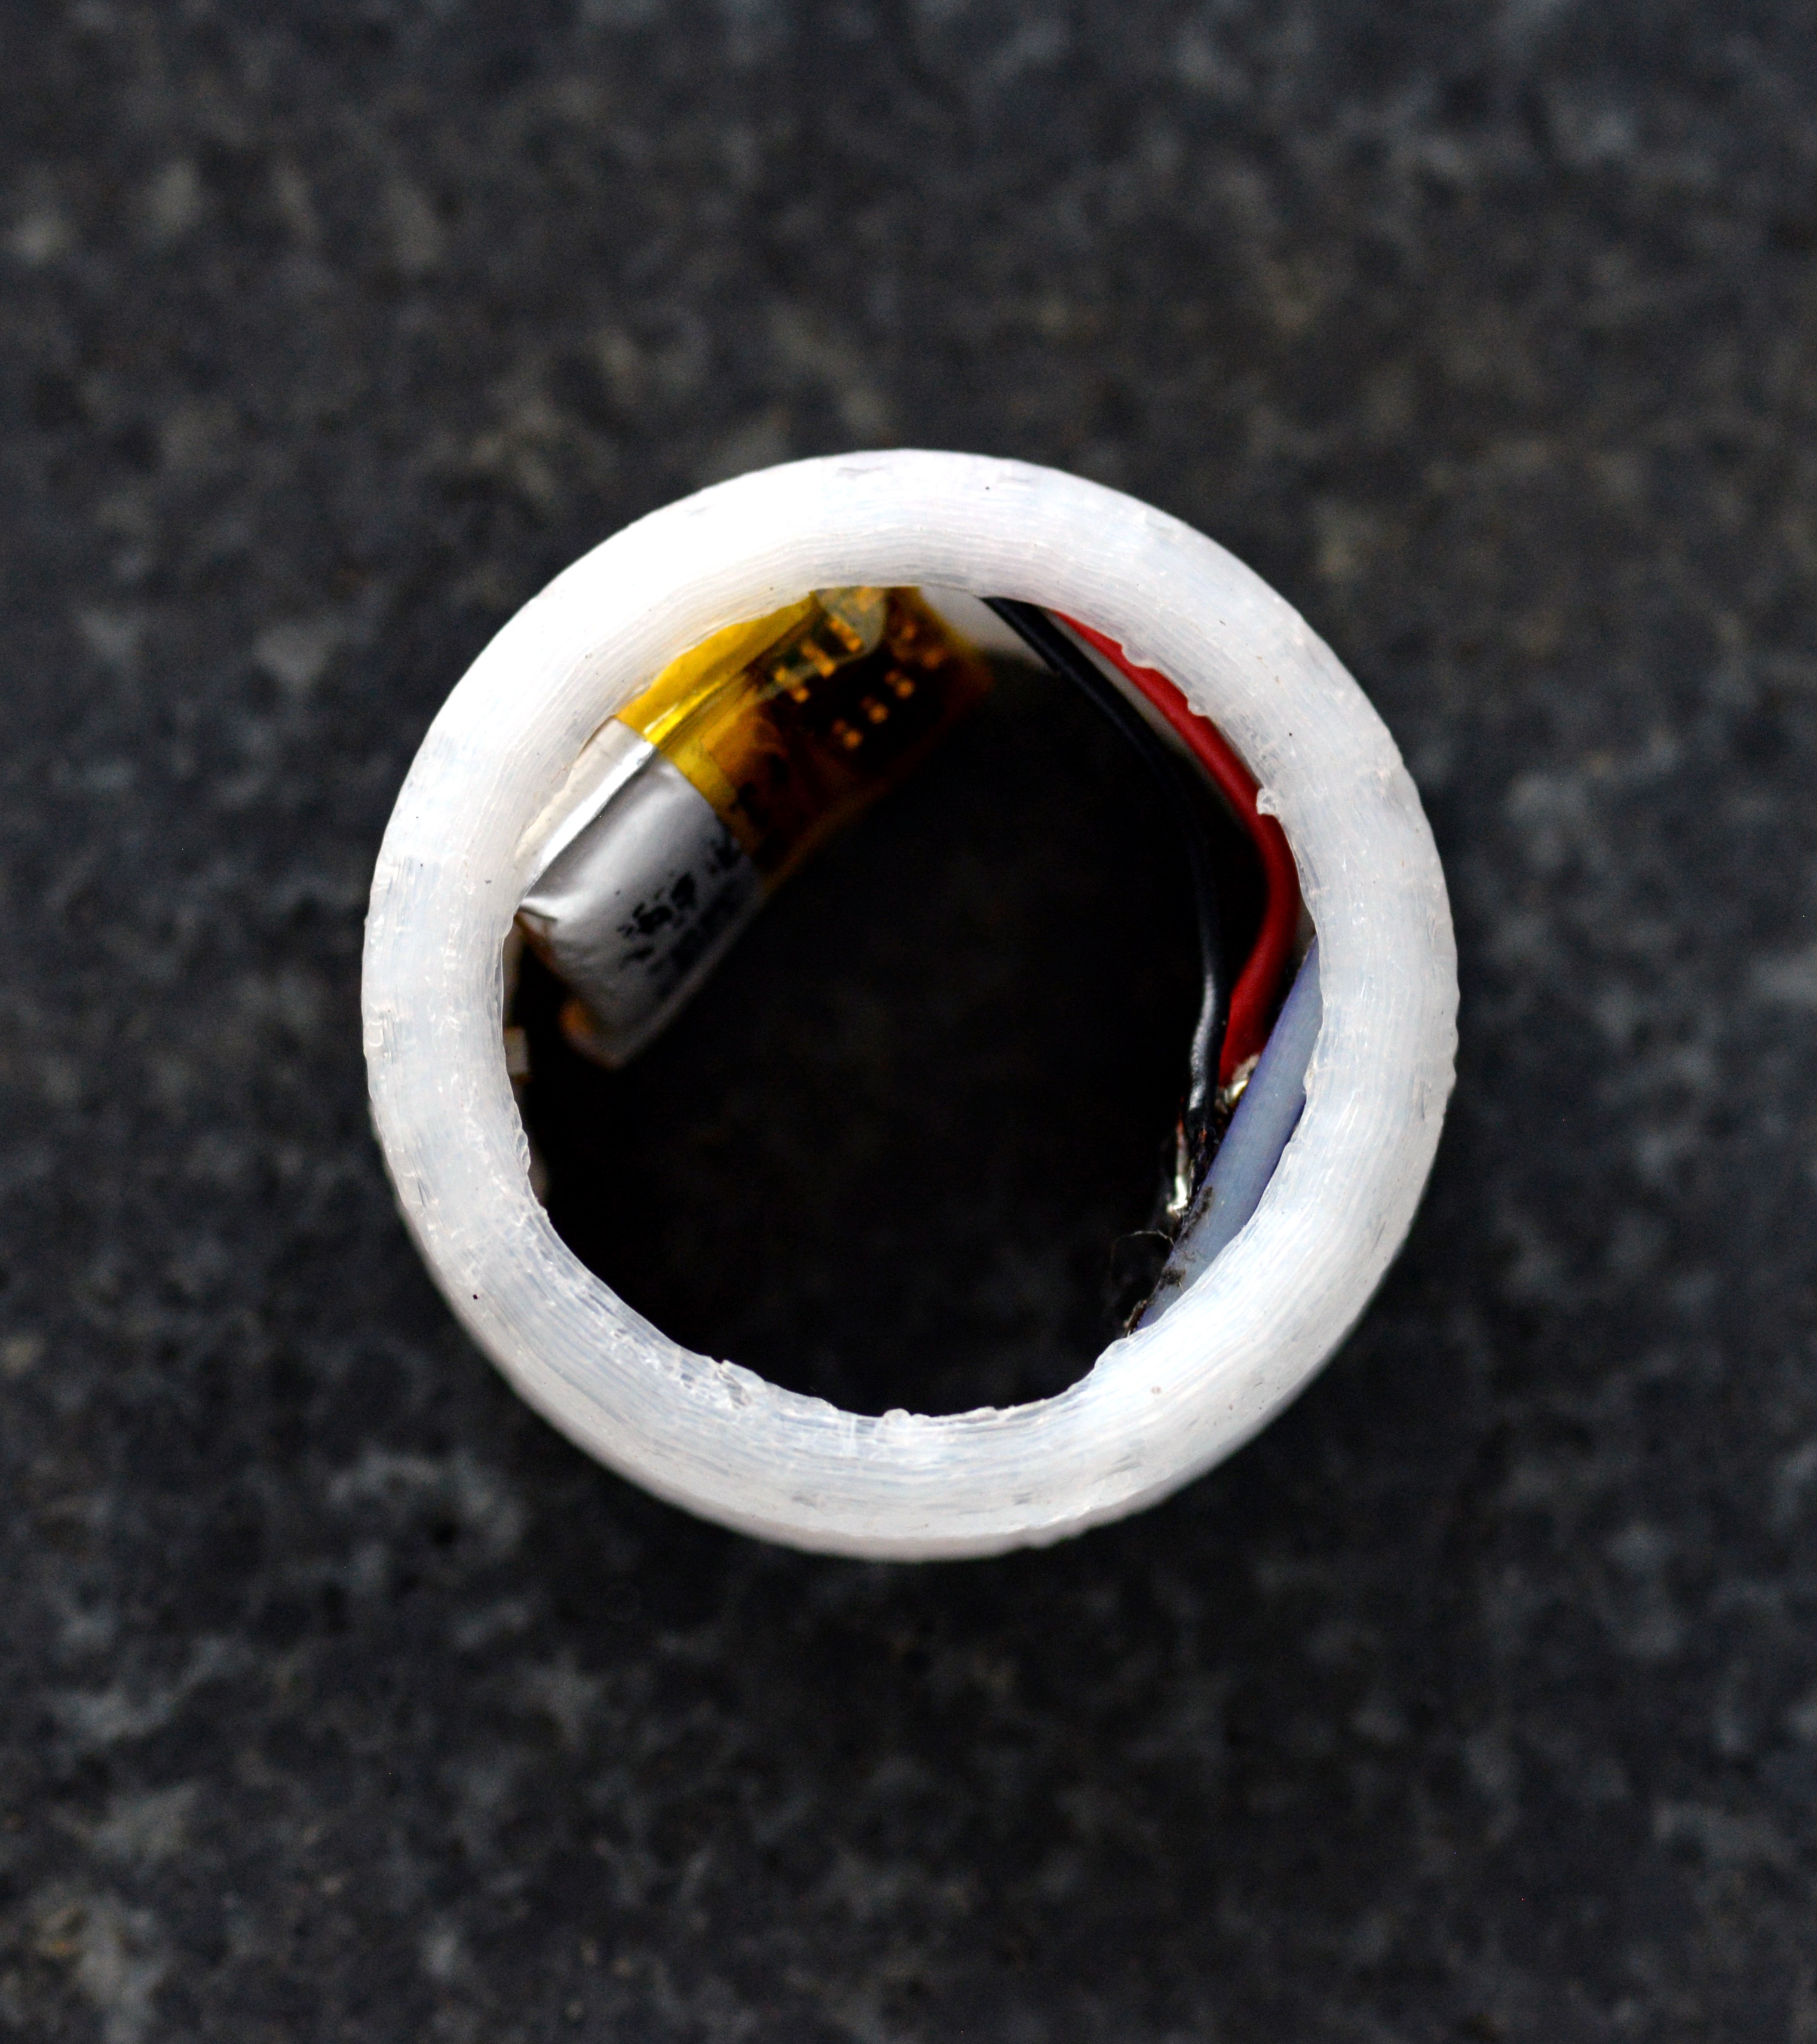
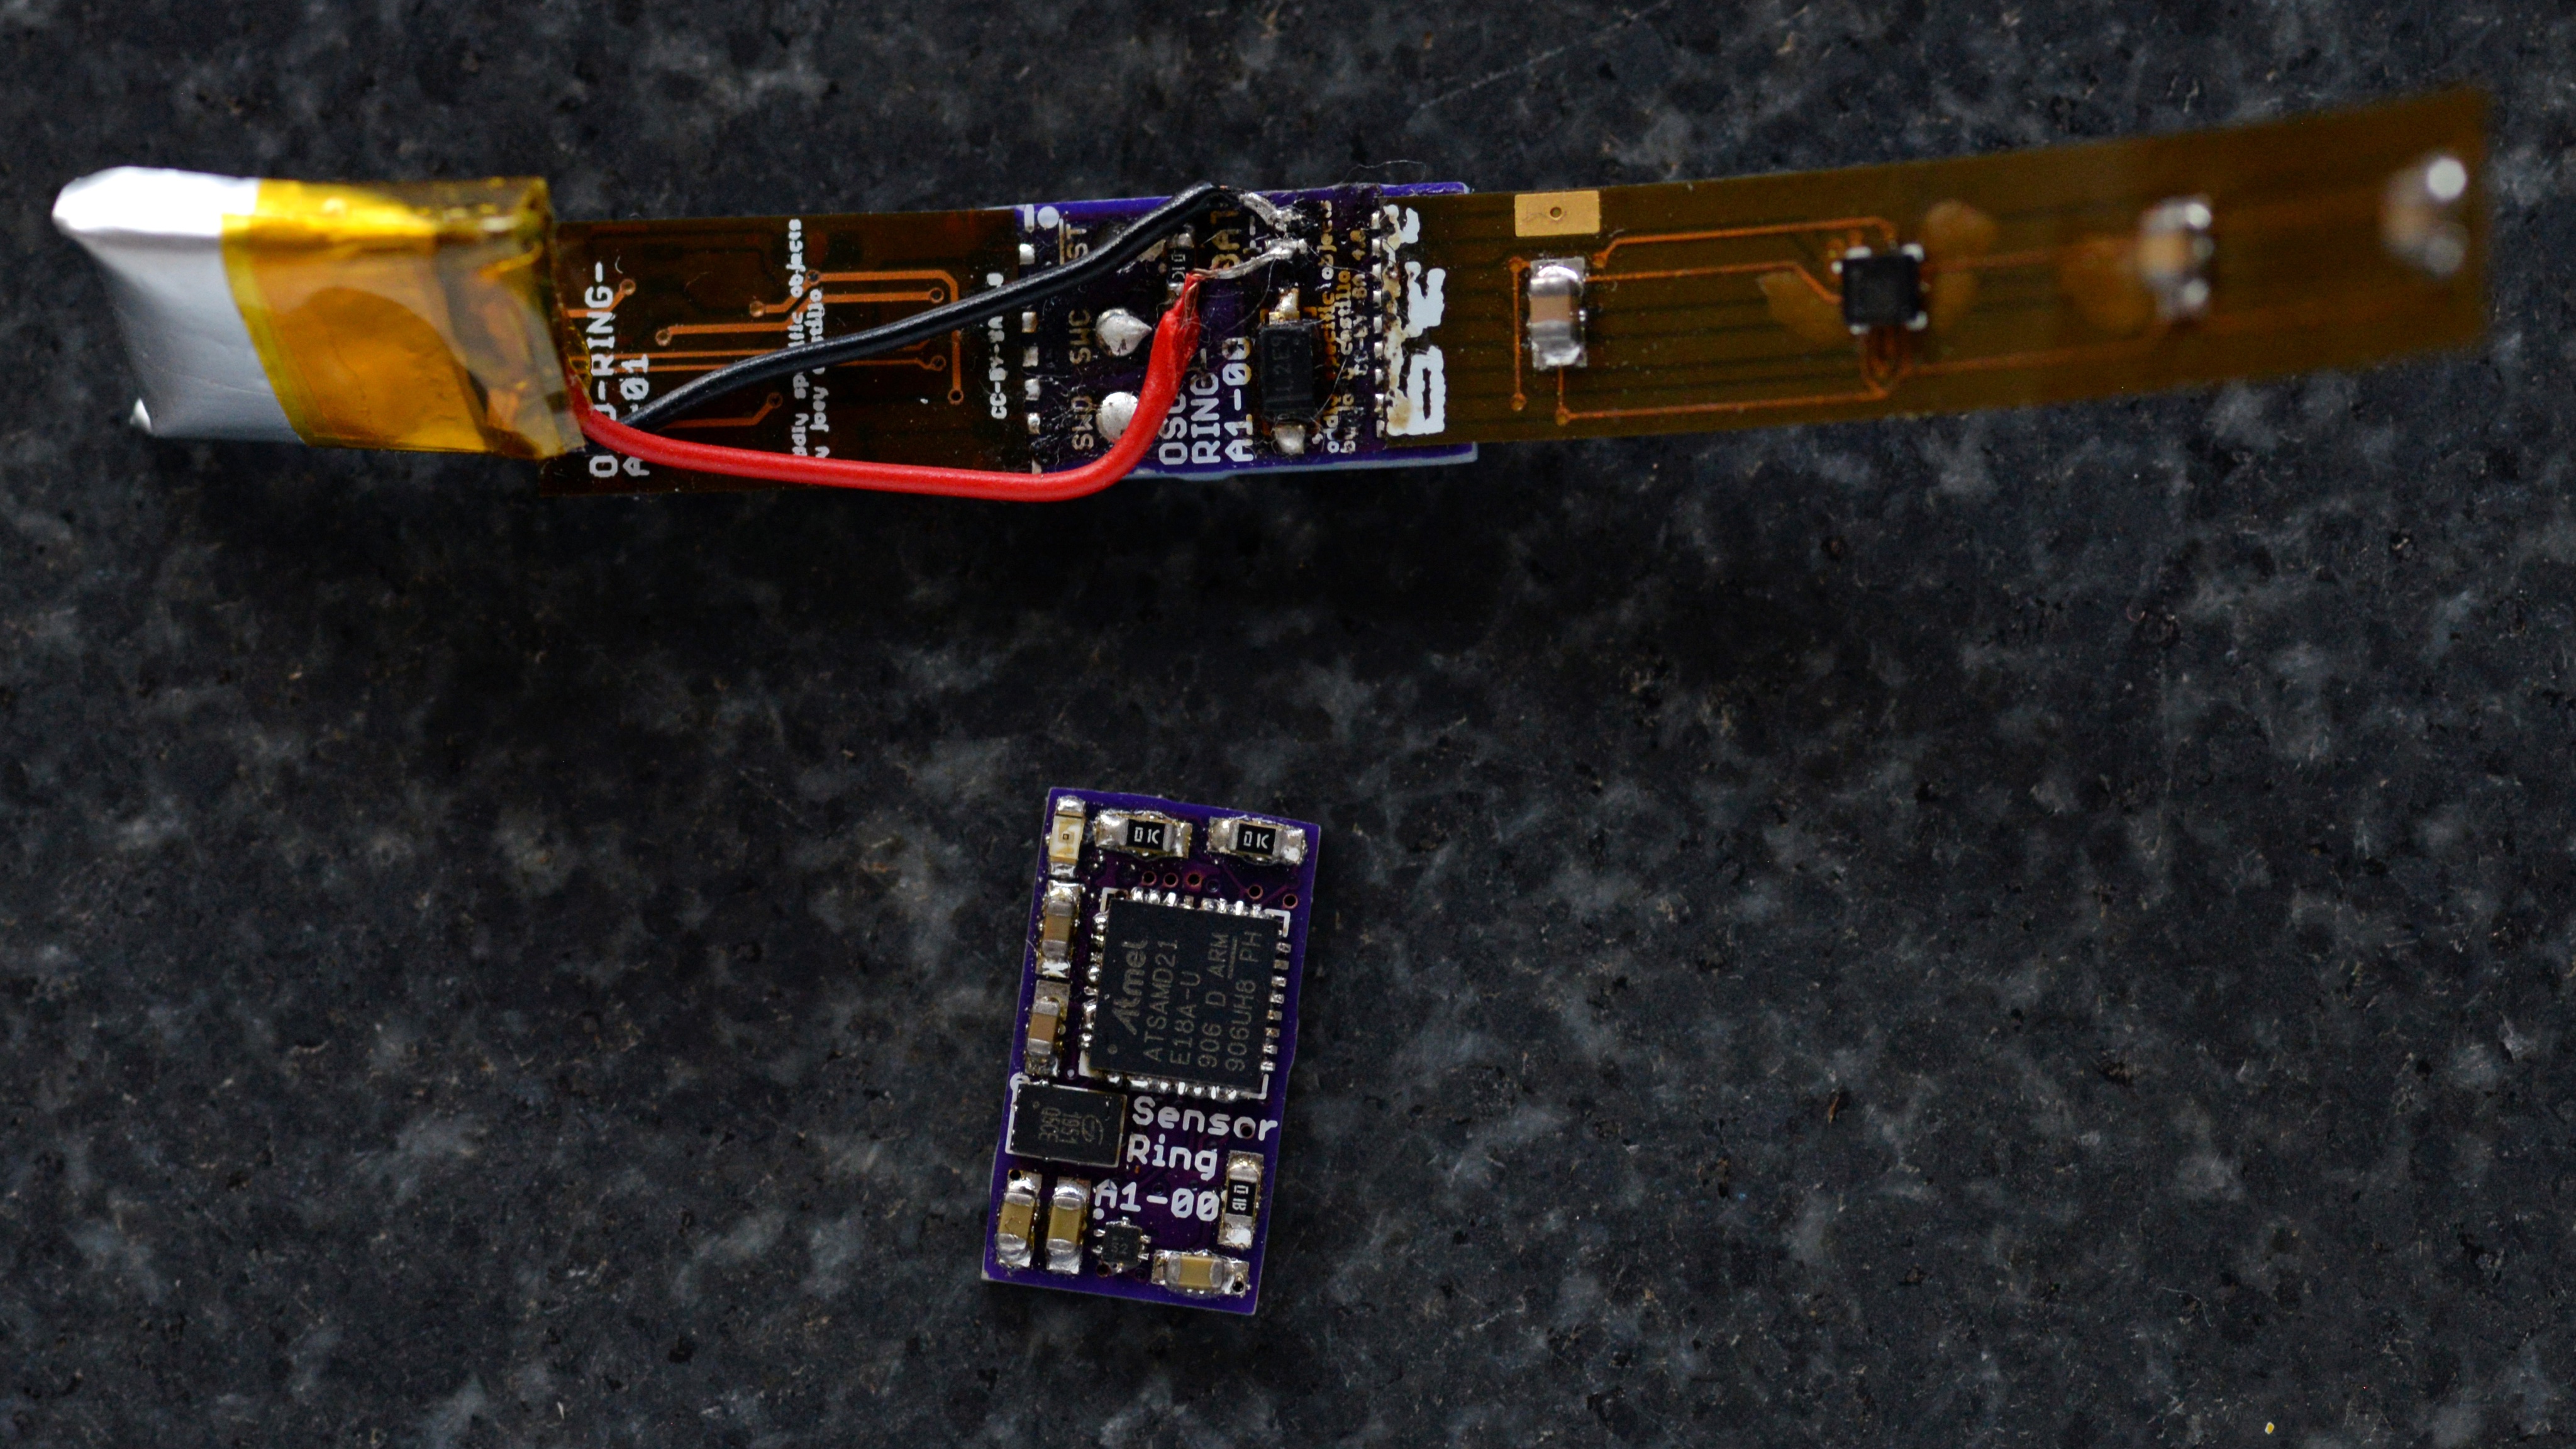
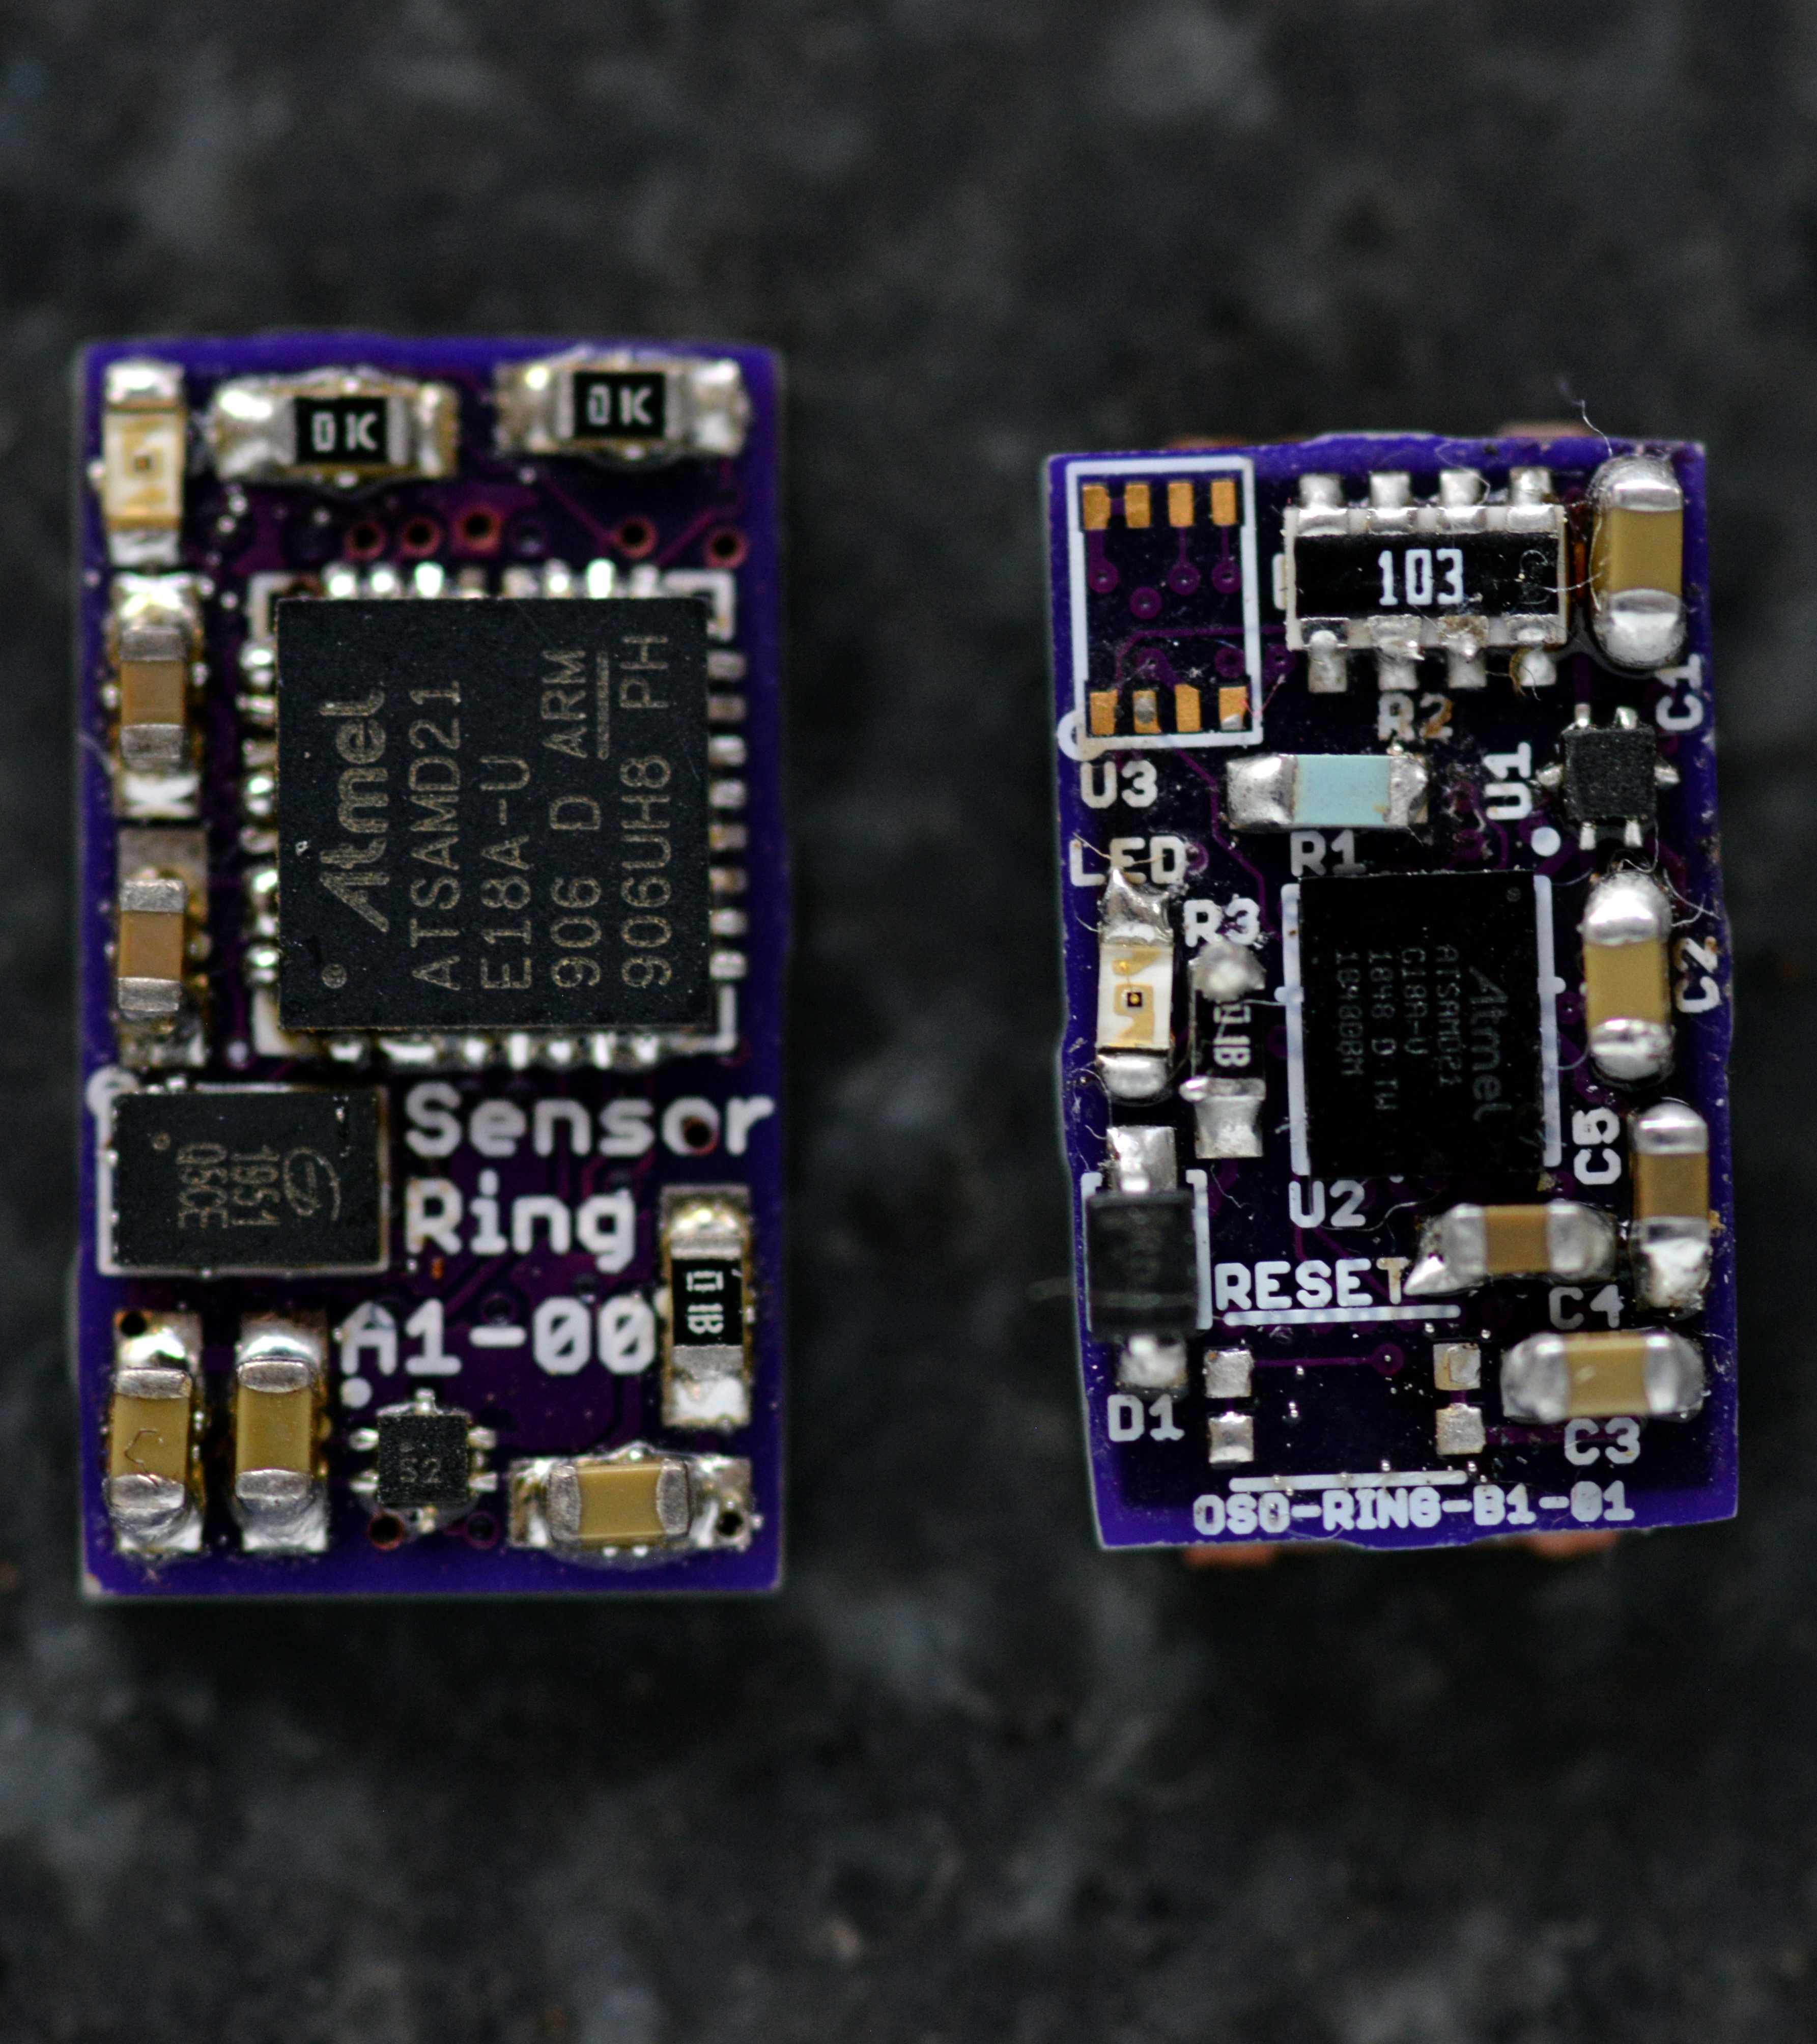
By October, I’d decided I wanted to go smaller. Enter the Sensor Ring. This probably takes the title for smallest @CircuitPython board on earth. And of course I used the same nine-pin pinout, except this time, you soldered a flex PCB directly to nine pads on the back. (fragile!)
There were of course other issues with this design, not least of which: it’s probably not wise to place a lithium polymer battery in a tight enclosure directly against your skin. Still, it gave good demo, and it did mostly work, at least for a while.
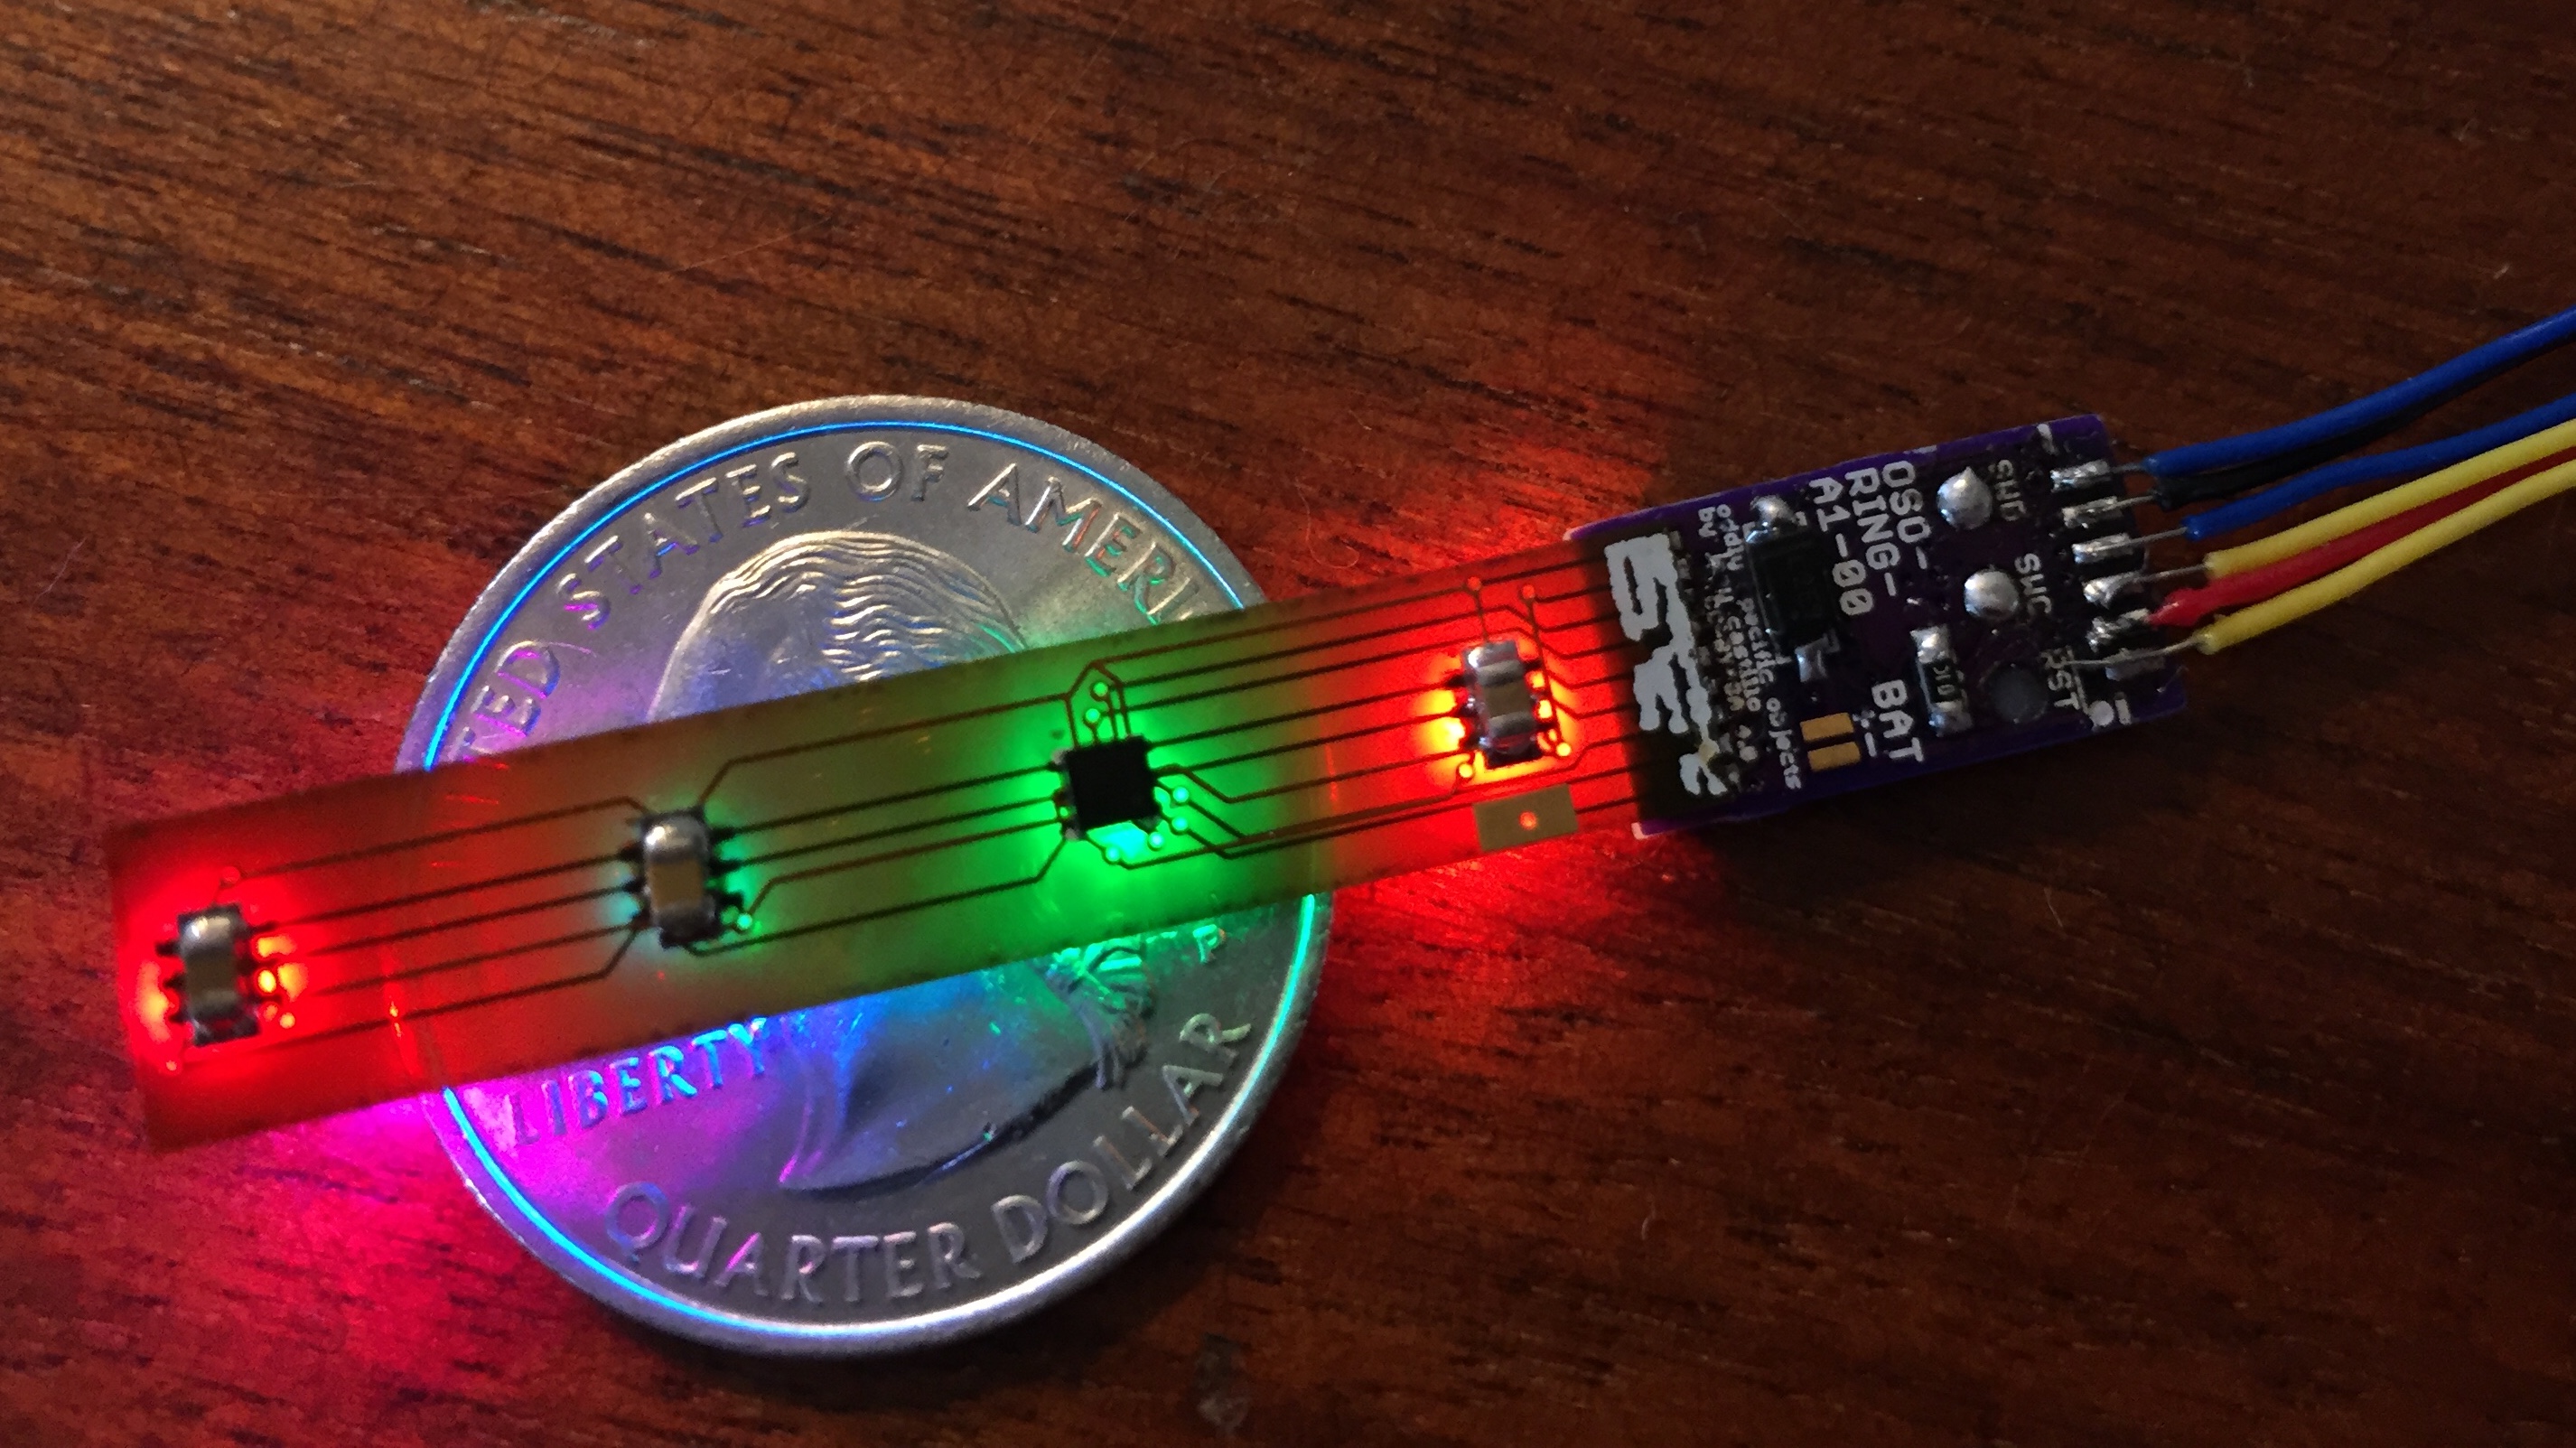
Now it’s December. Sensor Ring v2 aimed to go EVEN SMALLER, and fix the fragility issue by using a 9-pin flex PCB connector. This would have been a heart rate sensor, but for the fact that I made mistakes on both of these designs. Besides, by January I was working on a new thing.
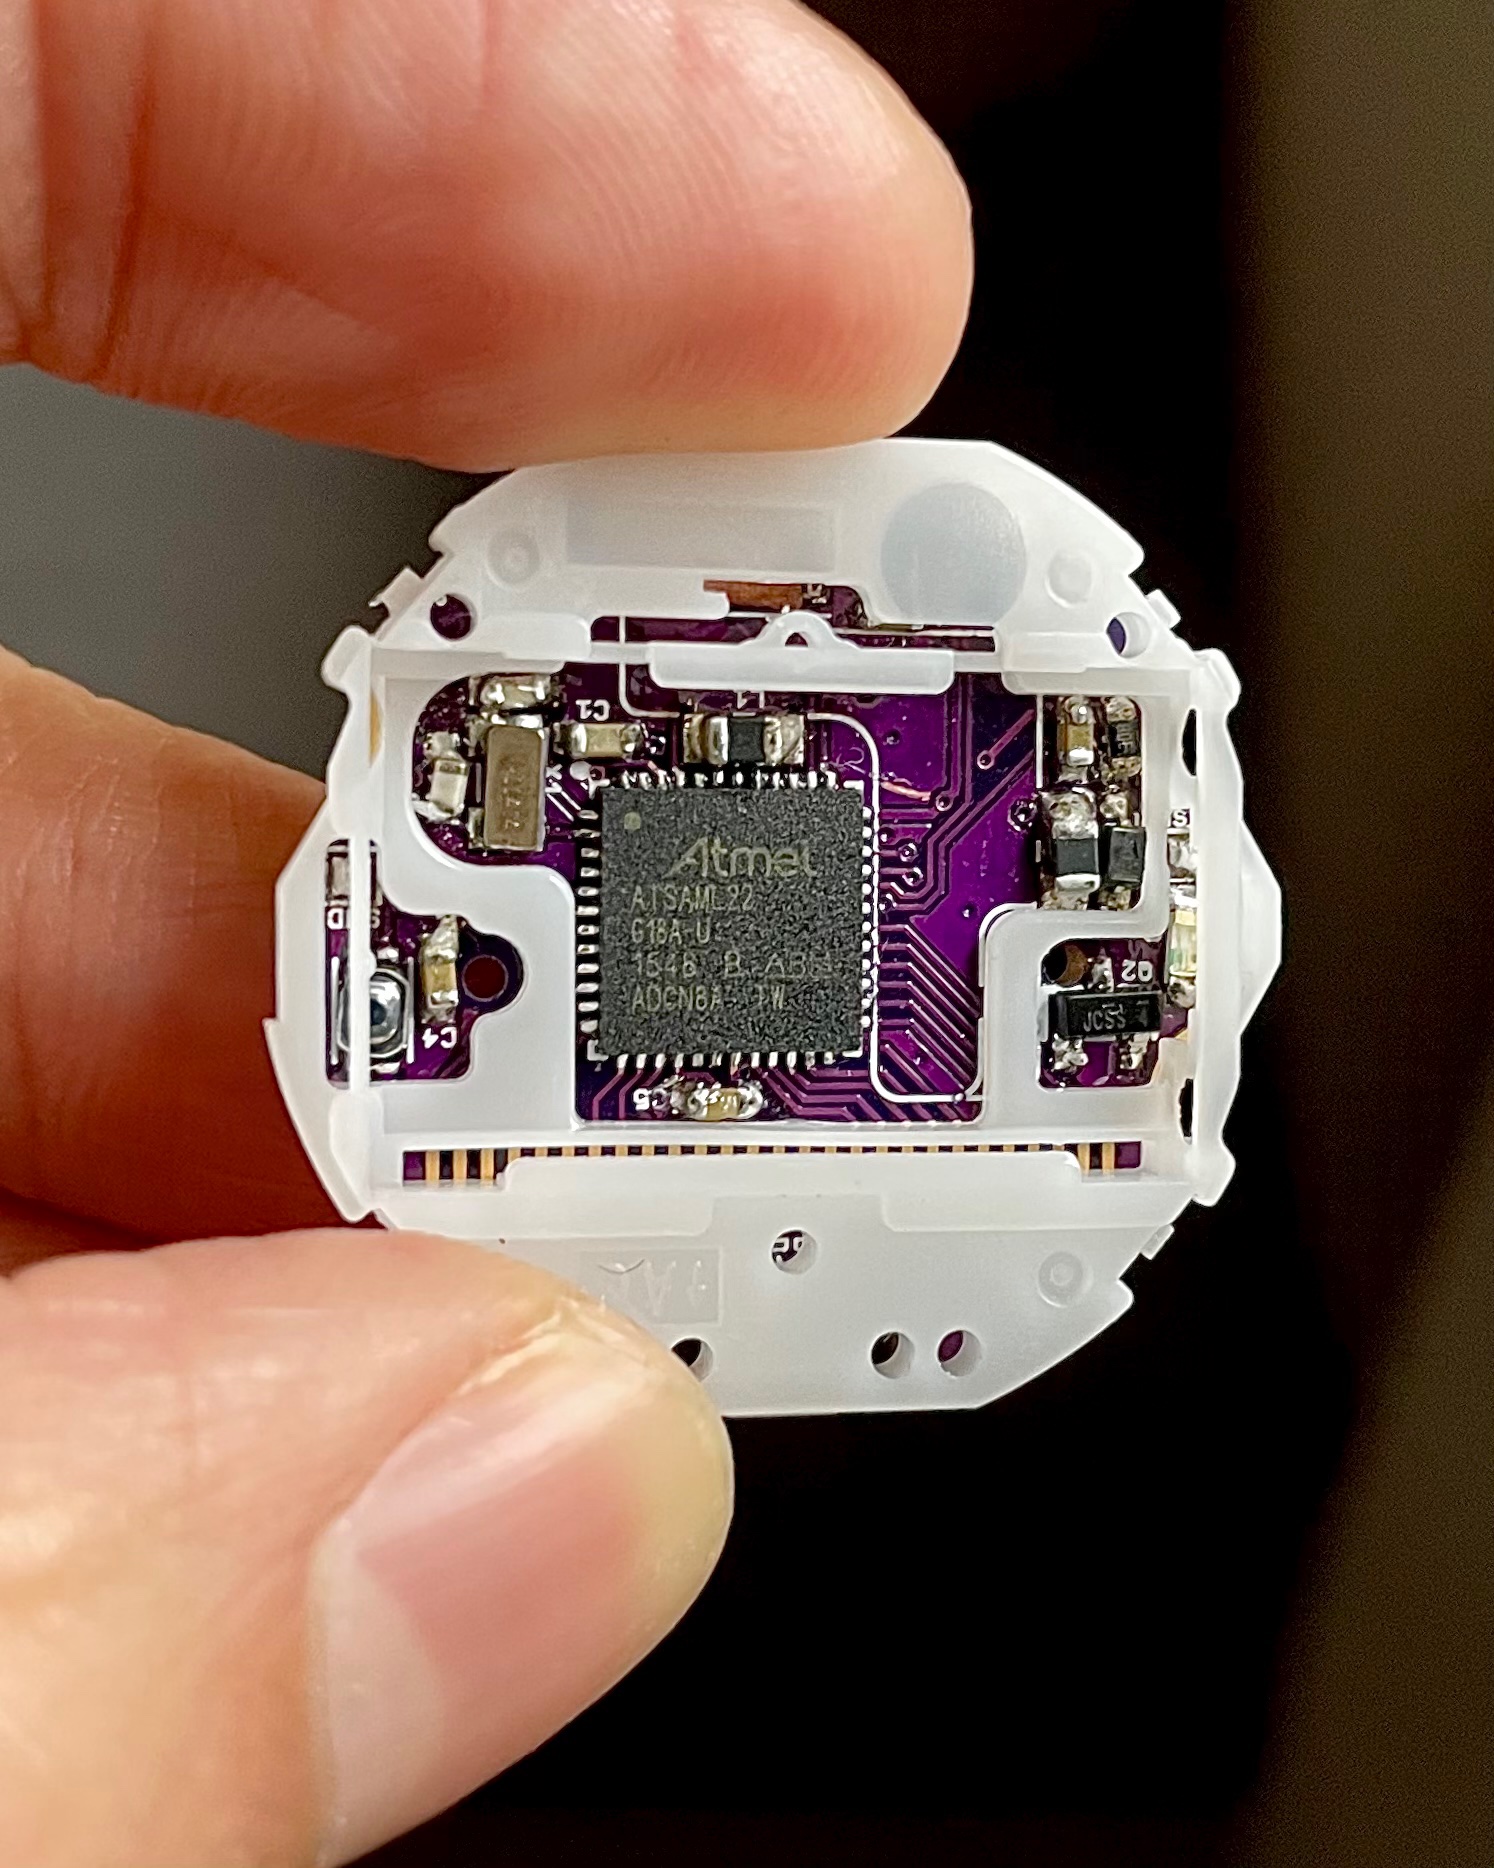
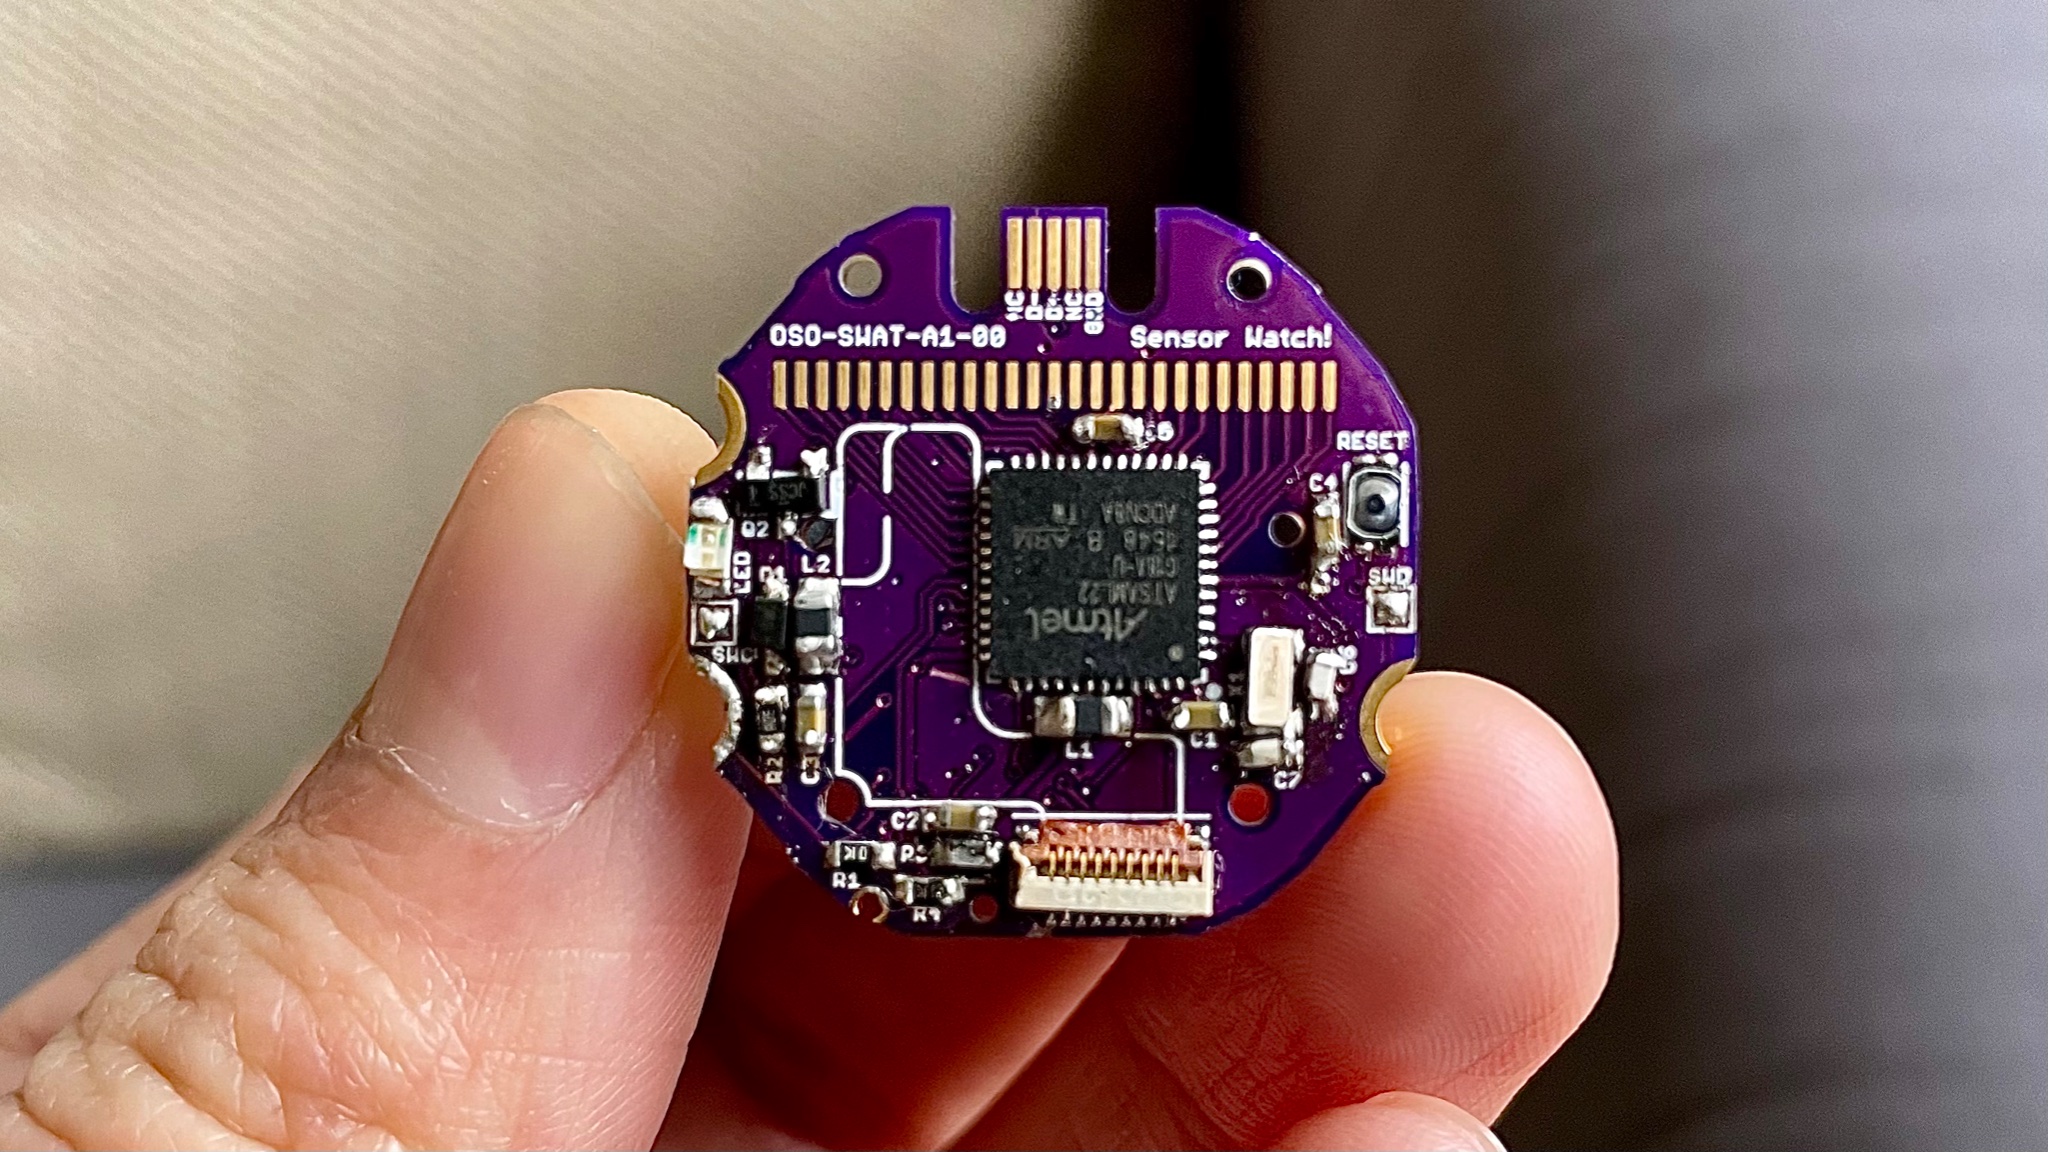
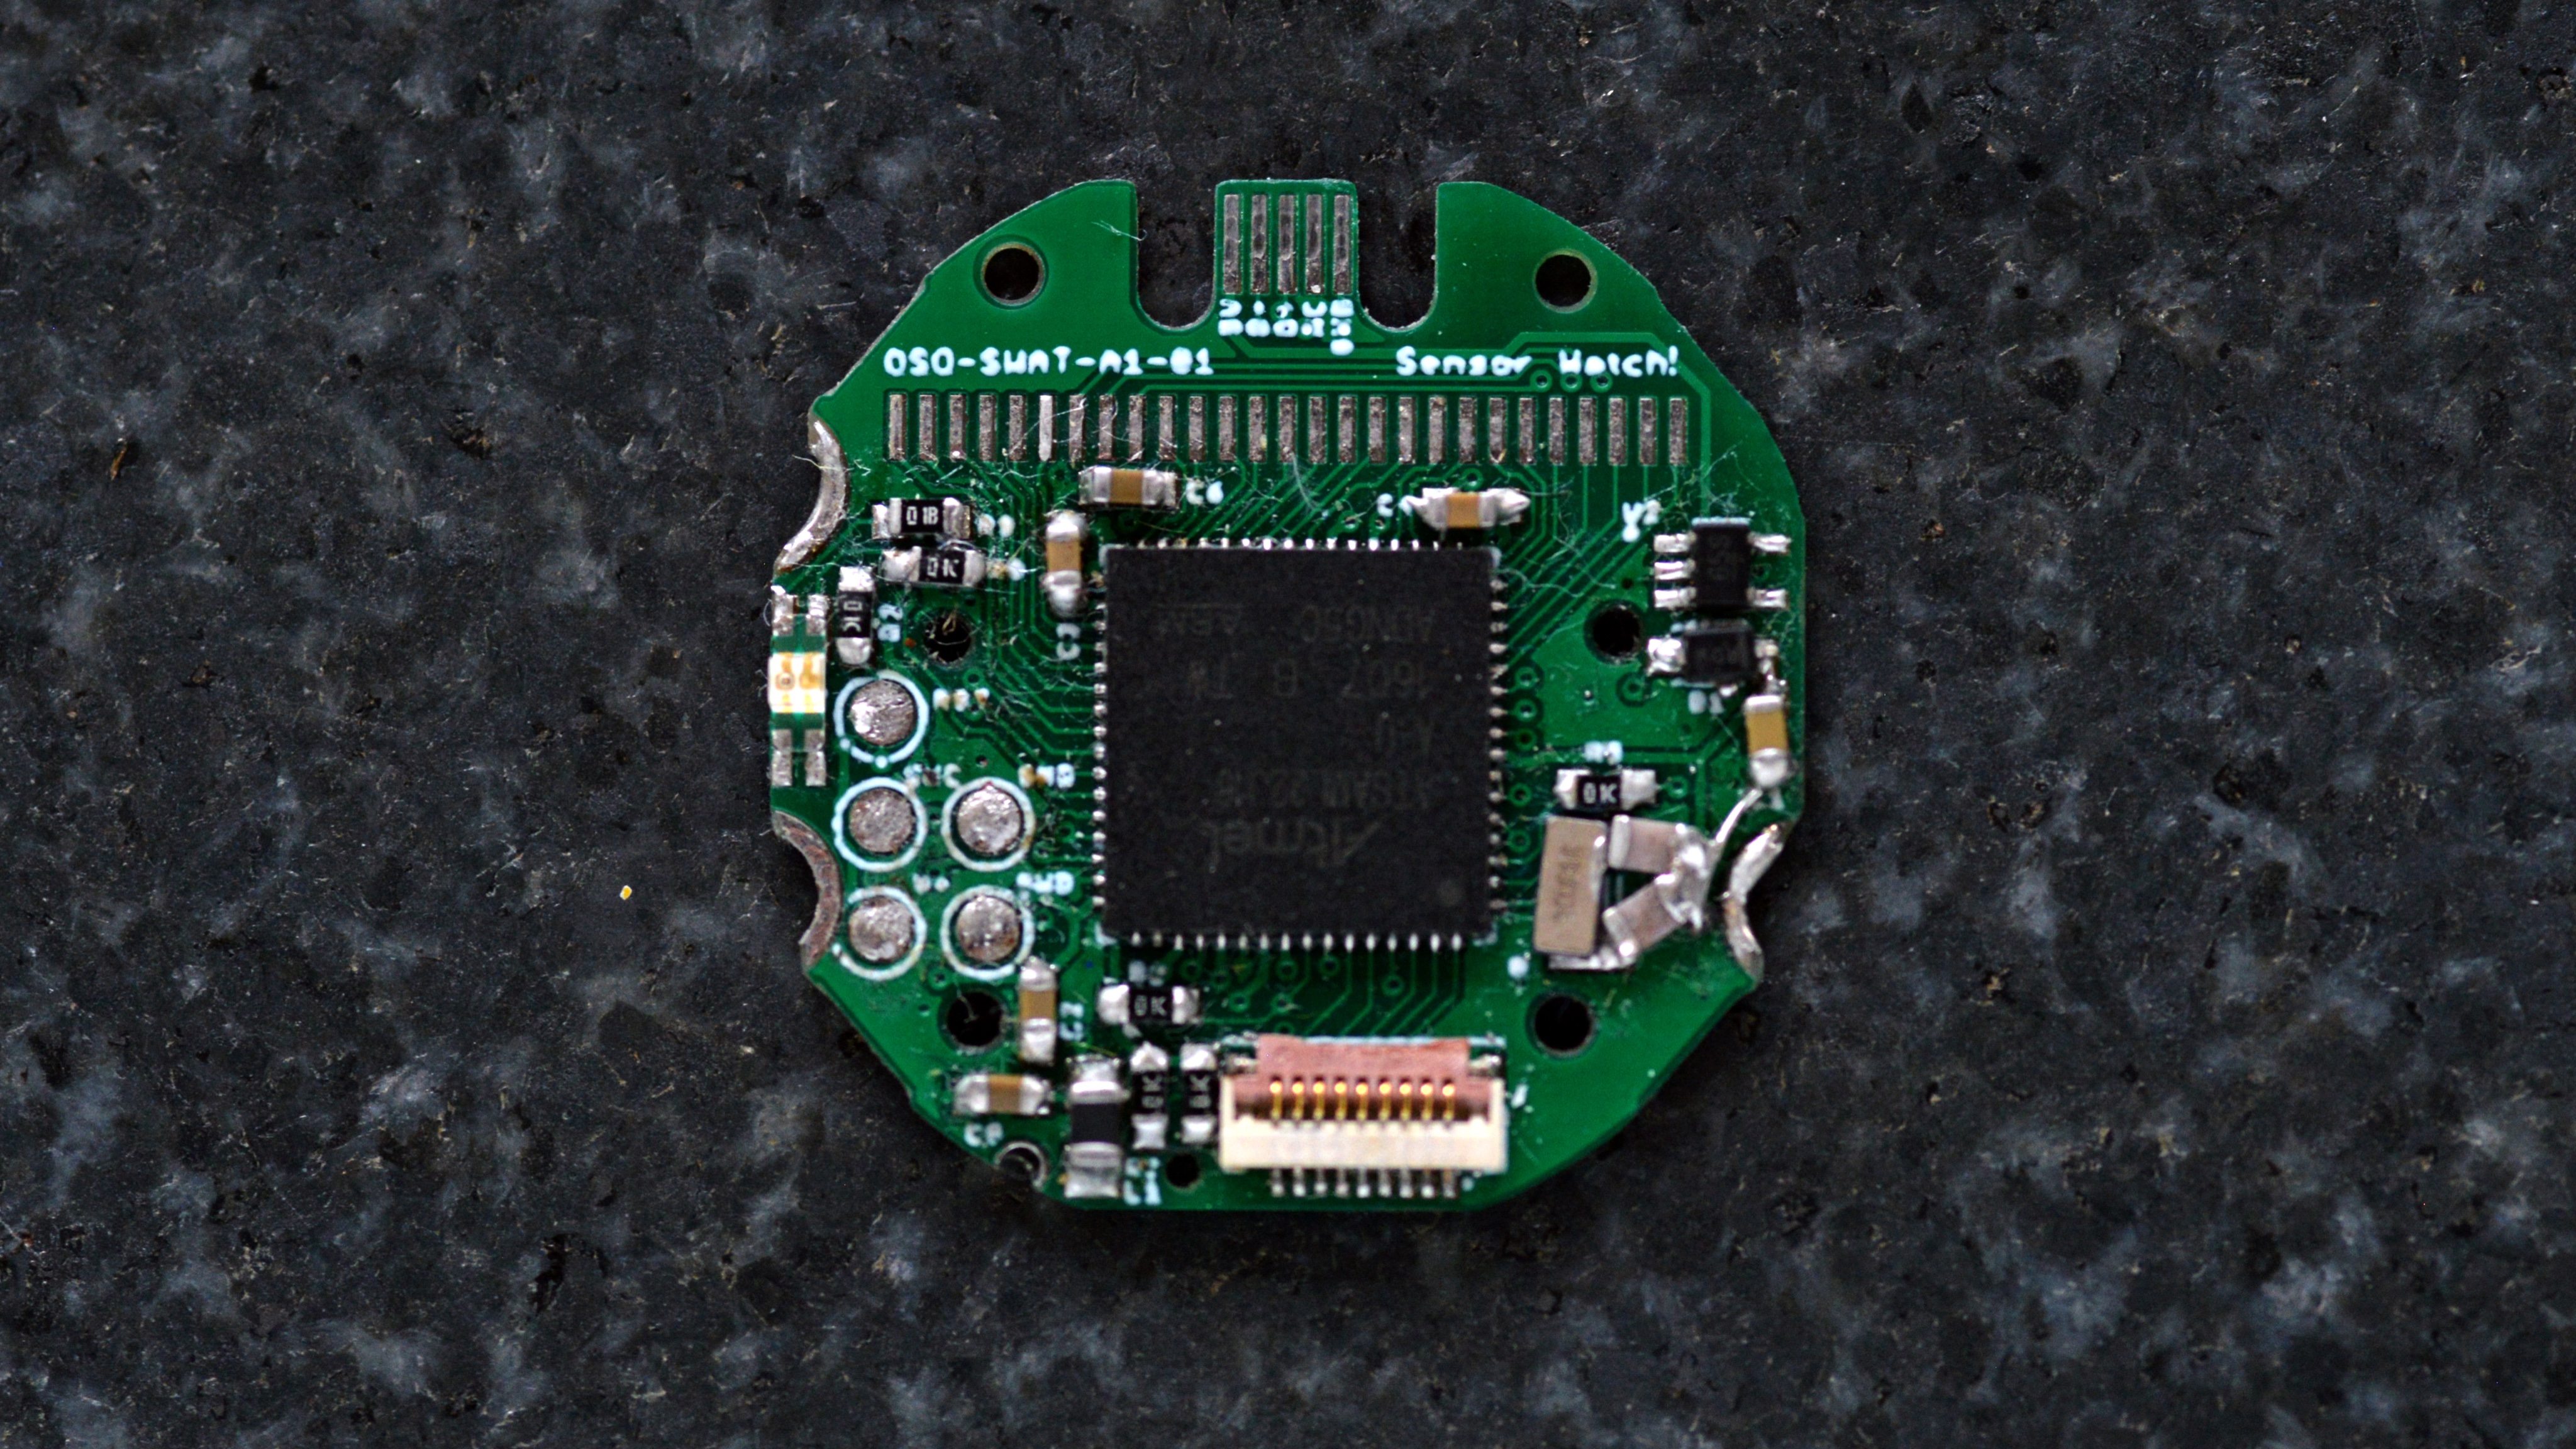
The Sensor Watch started on a lark. @GregDavill had designed a SAM L22 calculator watch the month before. I loved the idea. A watch is bigger than a ring, but it’s eminently wearable. I chose to target the iconic F-91W. Same nine-pin connector, of course.
2021-01-11: this could be very interesting. or a total calamity. in other words, the perfect project for the moment. do I dare just YOLO and get it made? super swift is $10, and it could be in my hands by this time next week.
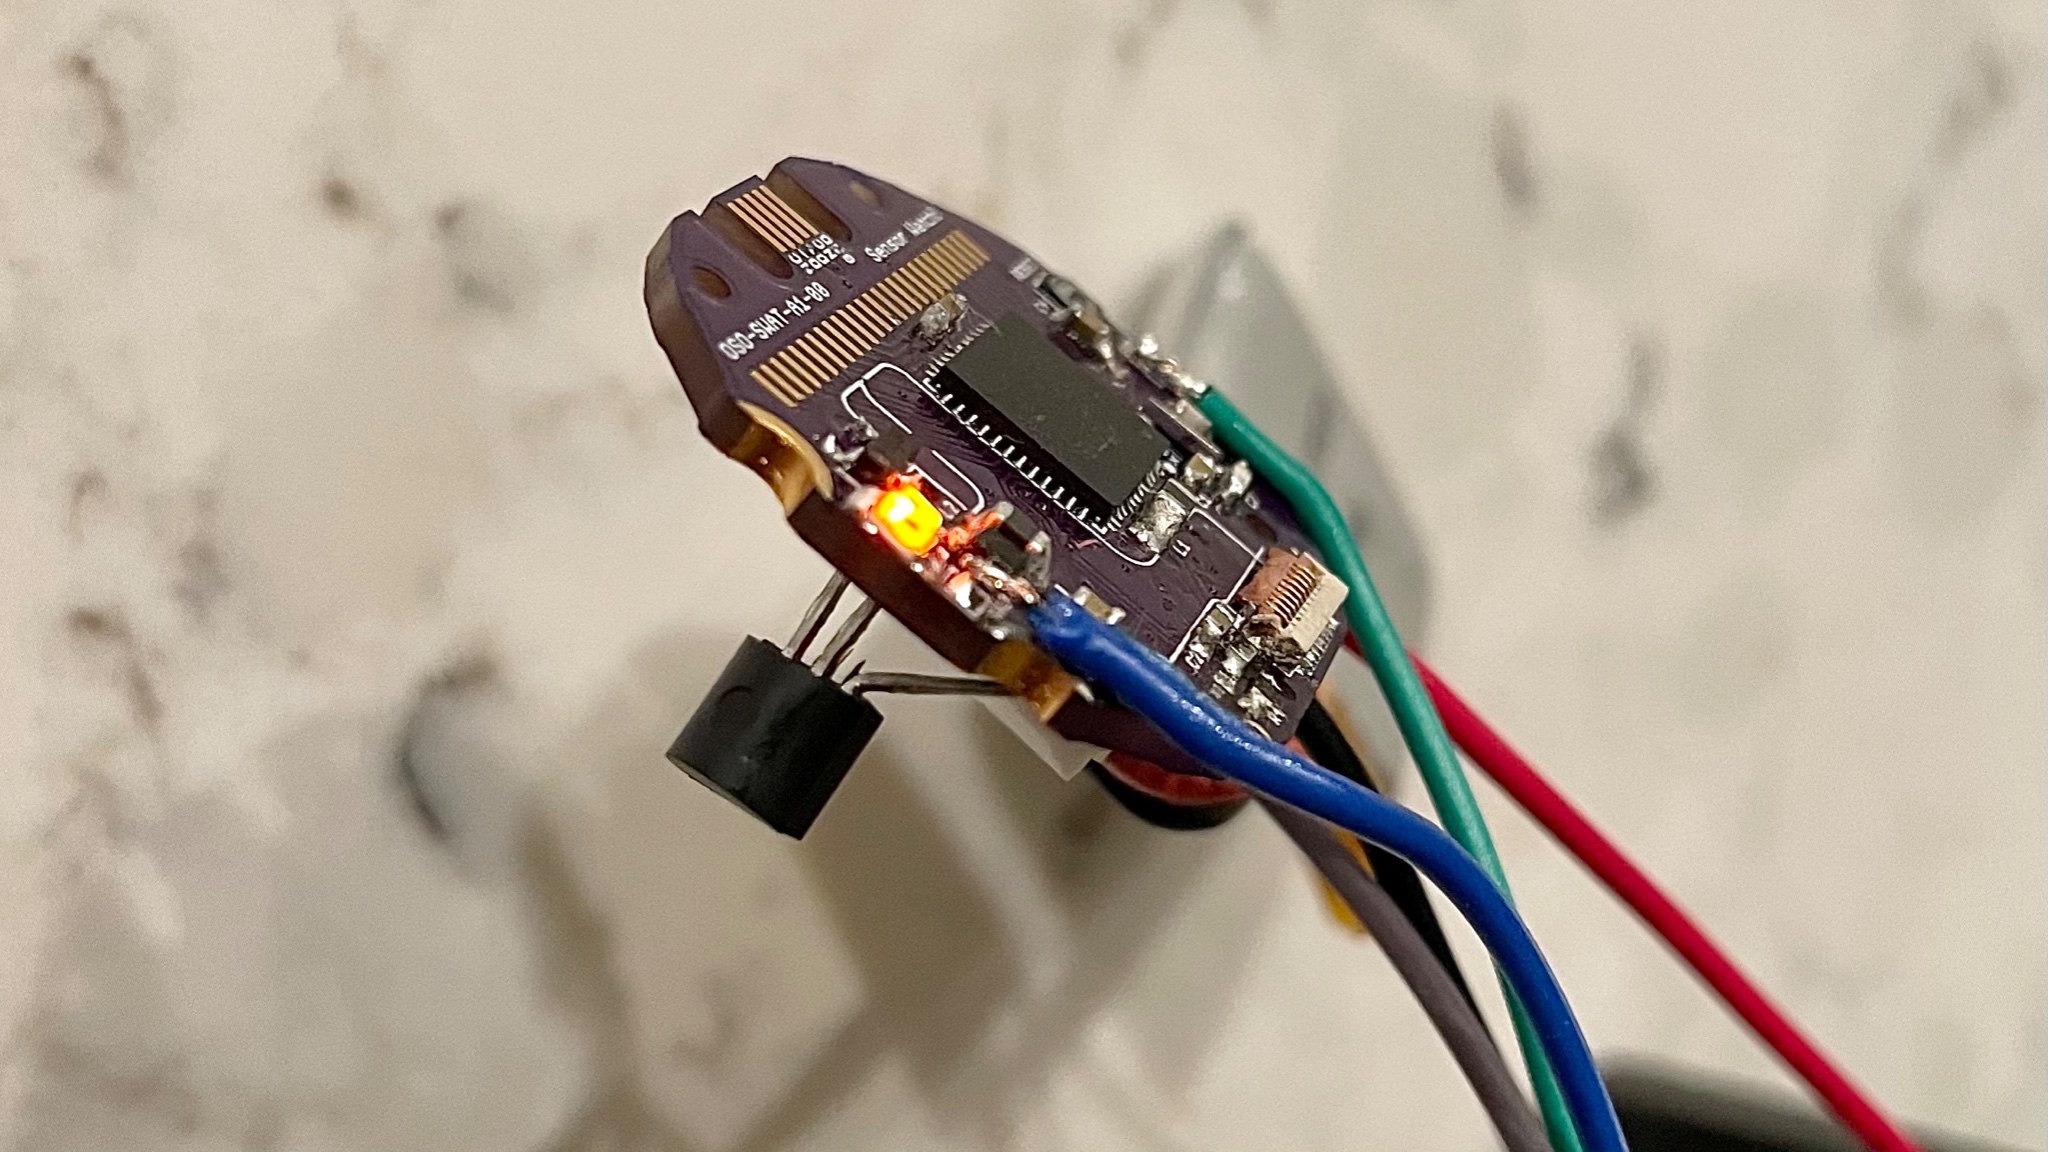
I ordered this first version from @oshpark on a quick turn, just to start hacking on firmware and get a sense for working with a new chip. This bit is incredible: for $10 I was able to go from idea to hardware to writing code in a week and a half. Amazing!
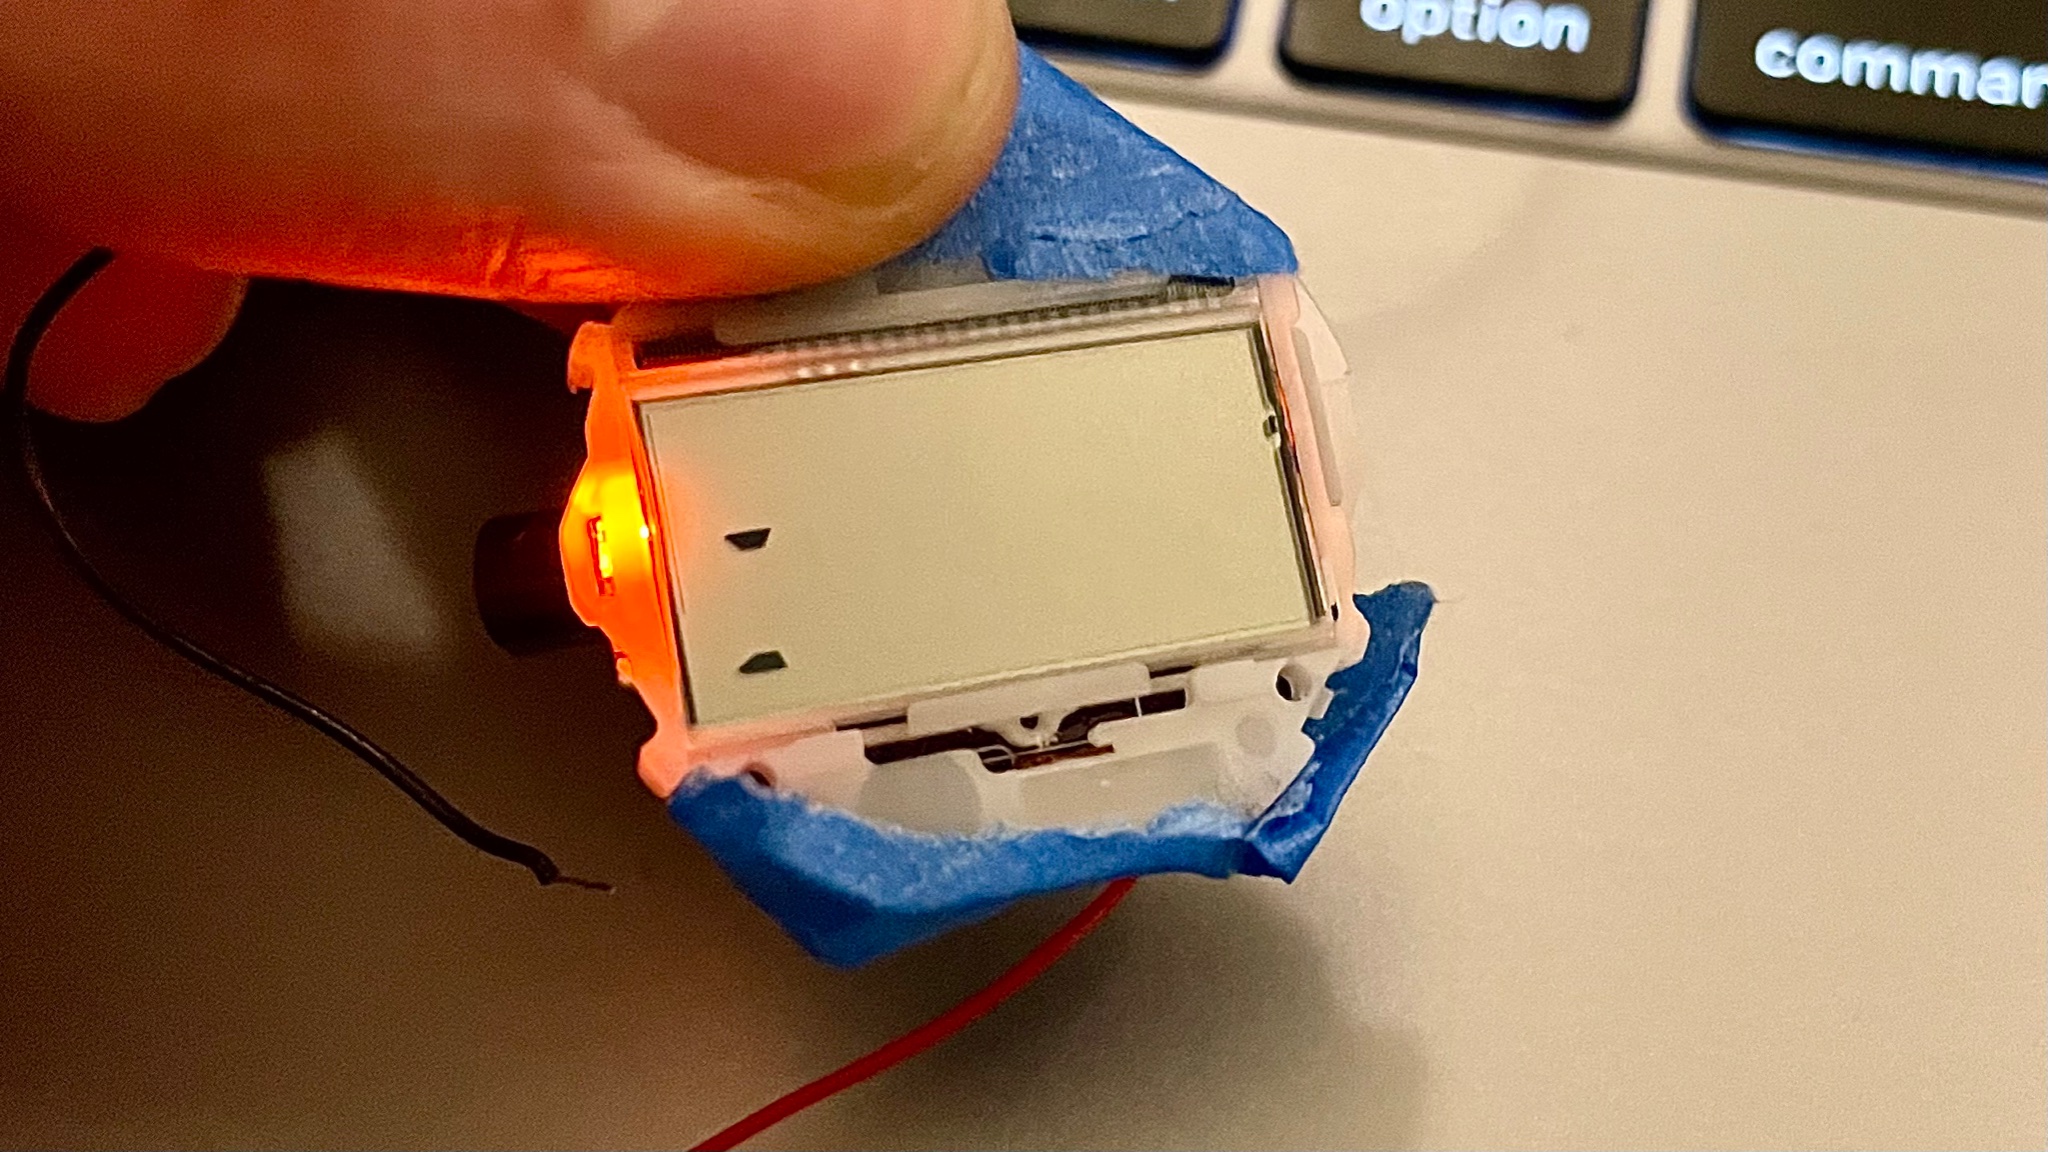
2021-01-22: I should probably get further along than a blinky LED before declaring “nailed it,” but man oh man getting all these parts soldered and finding that it fits feels pretty rad. Lots of work still to do on this one; I’m not quite to the beginning of this one just yet.
Actually working on the hardware let me learn lessons quickly. I screwed up some of the LCD pin muxing, for example. But even with those mistakes, I was able to learn things. Like some of the quirky things the F-91W does with its segment LCD layout:
2021-01-24: One fun detail is that for some numbers, one pin controls two segments. like, the top & bottom of the first digit are linked, so I can display a 2 or a C, but not an L or a P. Which will be limiting. Still, a tradeoff I’m willing to make to keep this project cheap and accessible.
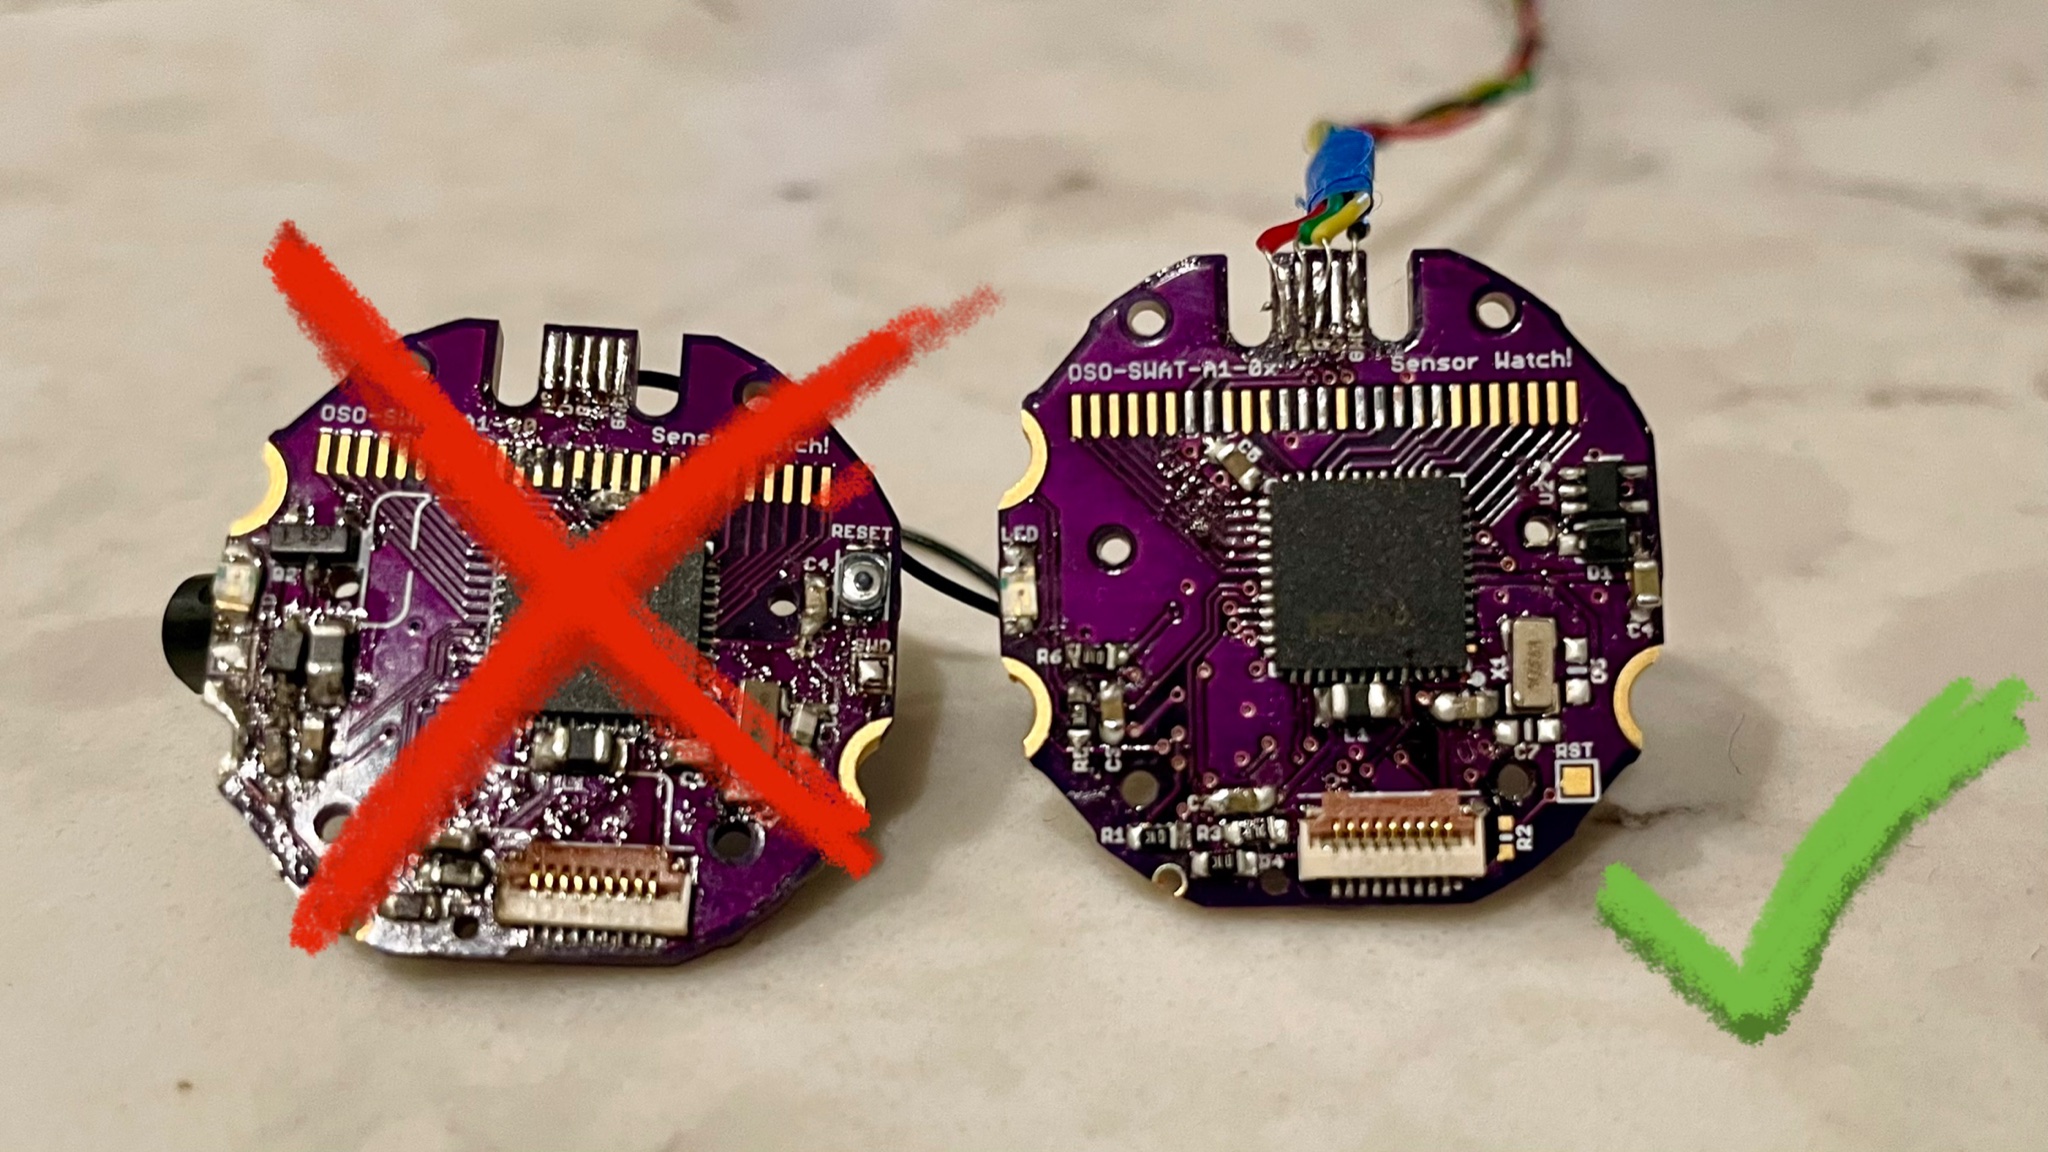
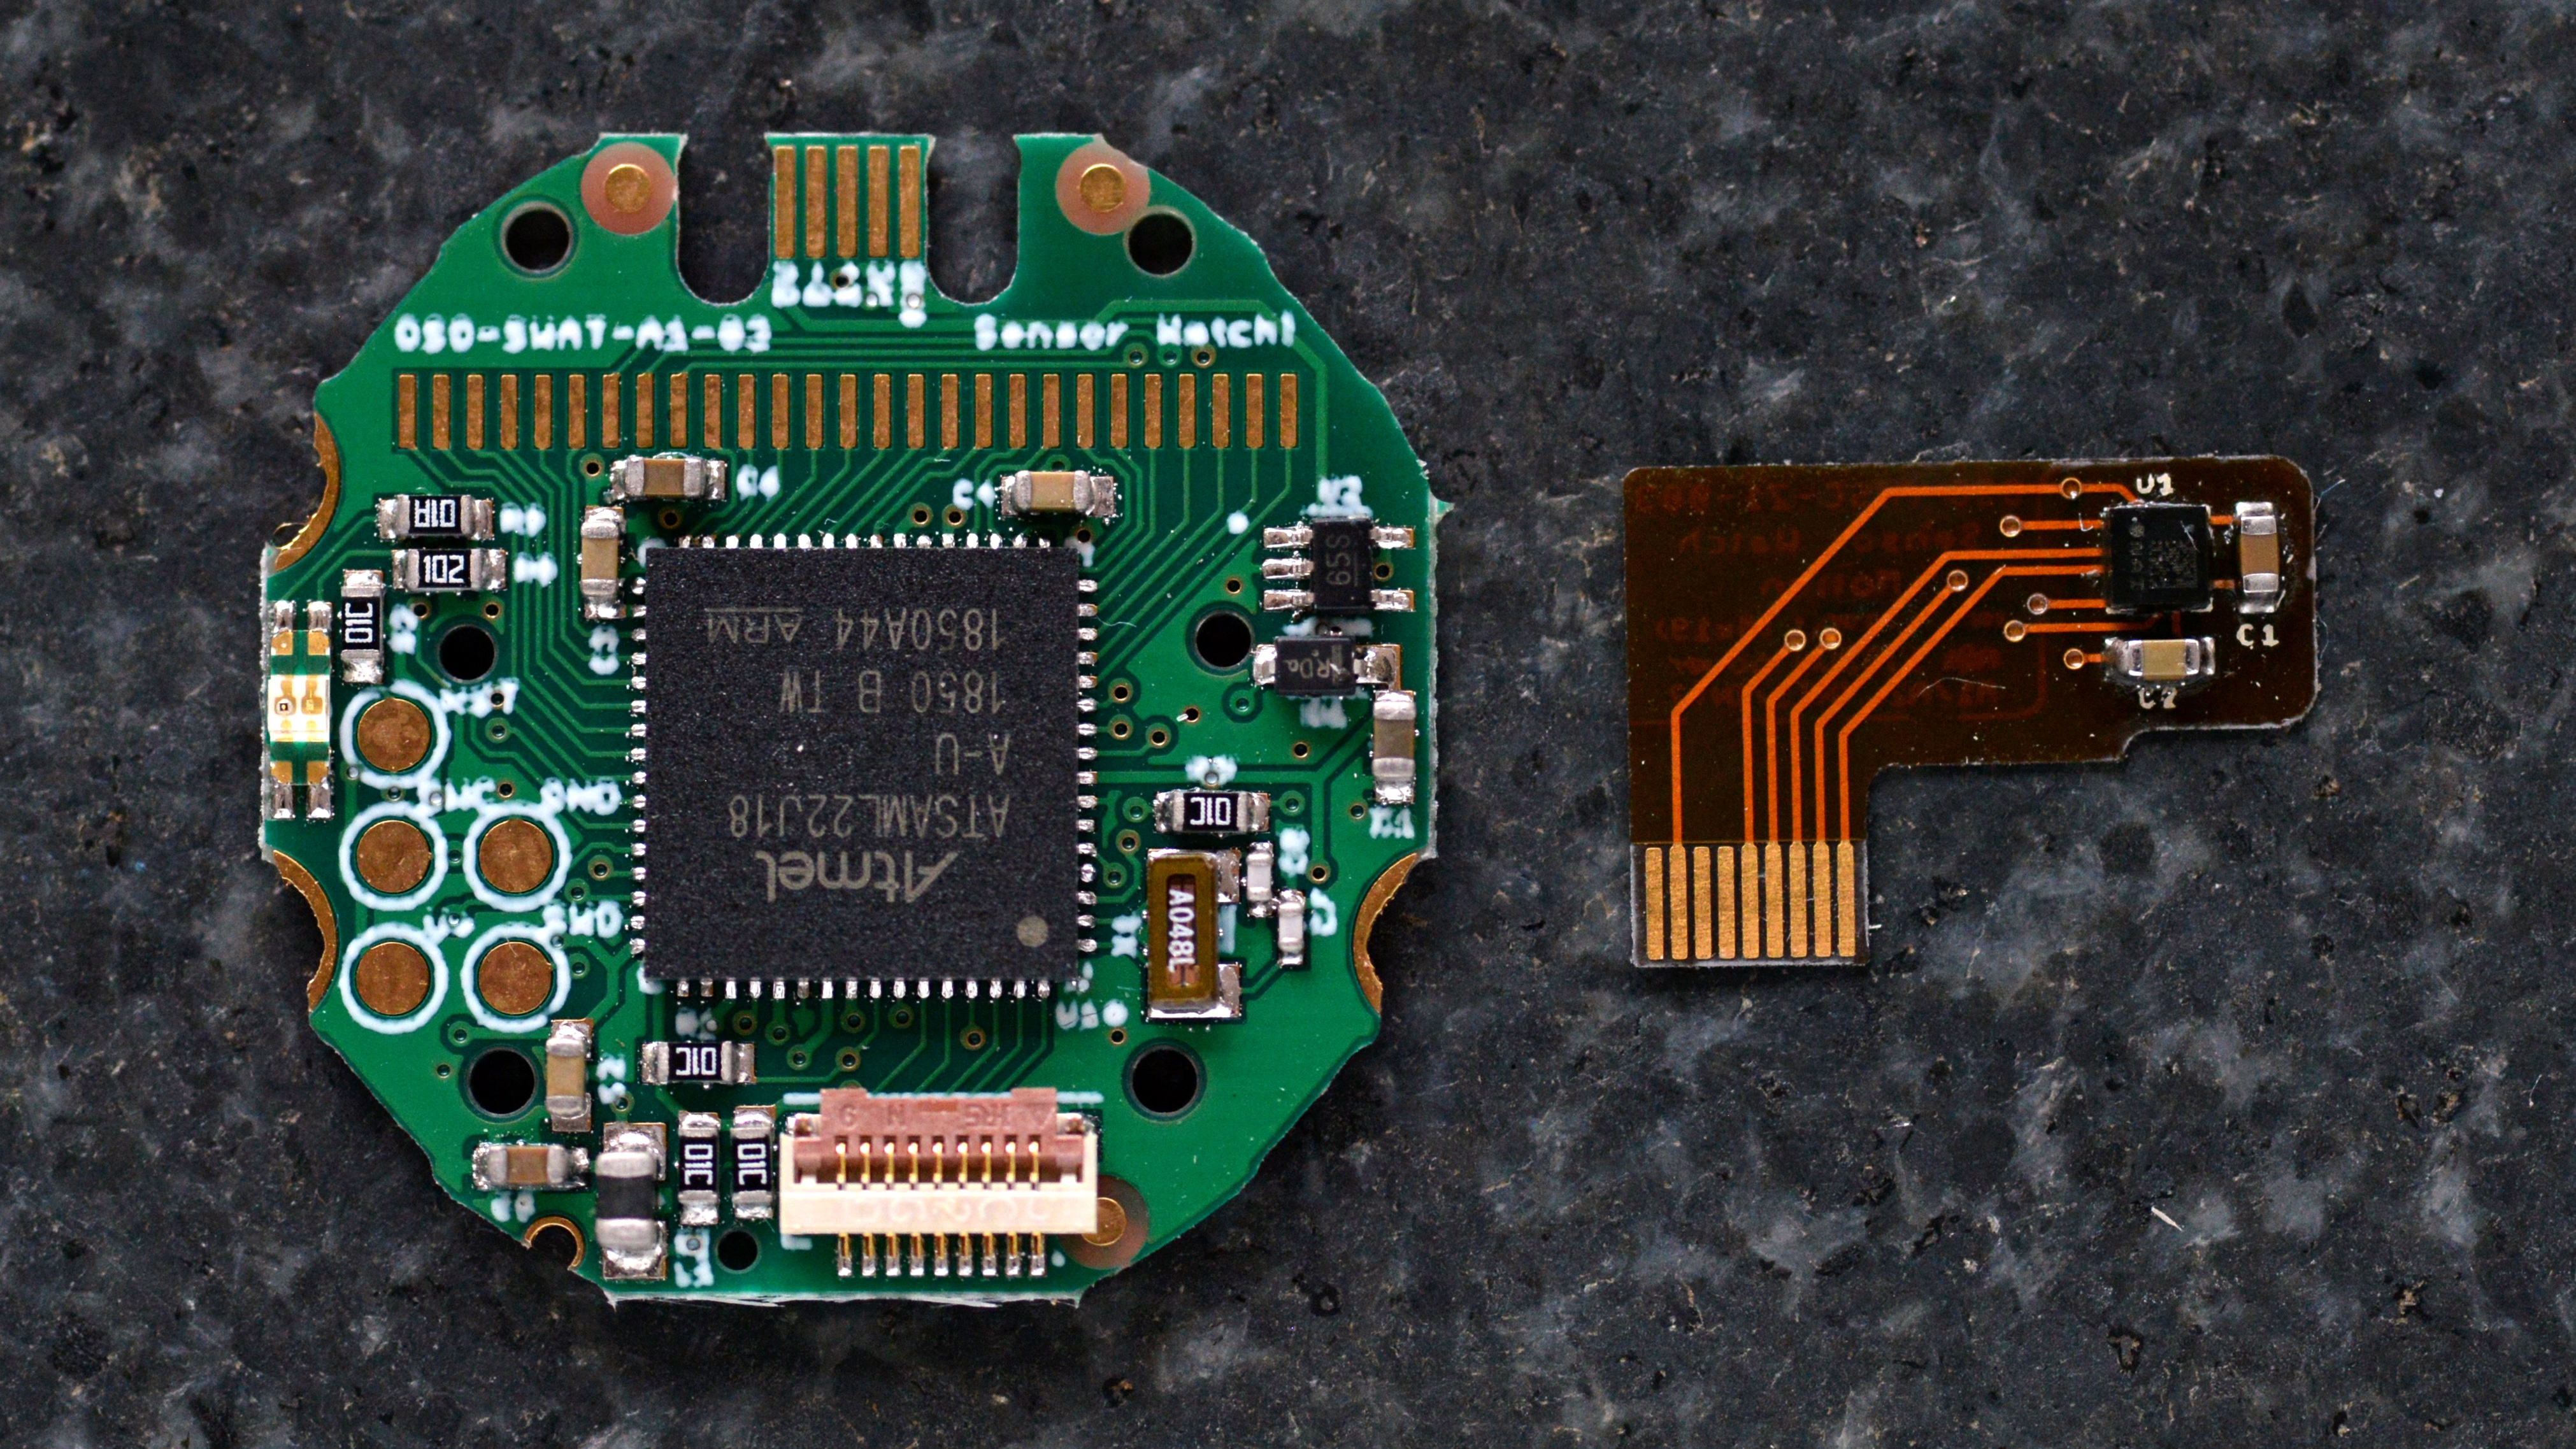
I addressed the issues. Fixed my LCD pin muxing. Added a 3.3V regulator (for use when plugged in to USB). Fourteen days later I had another prototype in hand. And even at that point, a third prototype was getting made at a factory in Shenzhen…
2021-02-05: friendship ended with first prototype. now second prototype is my best friend.
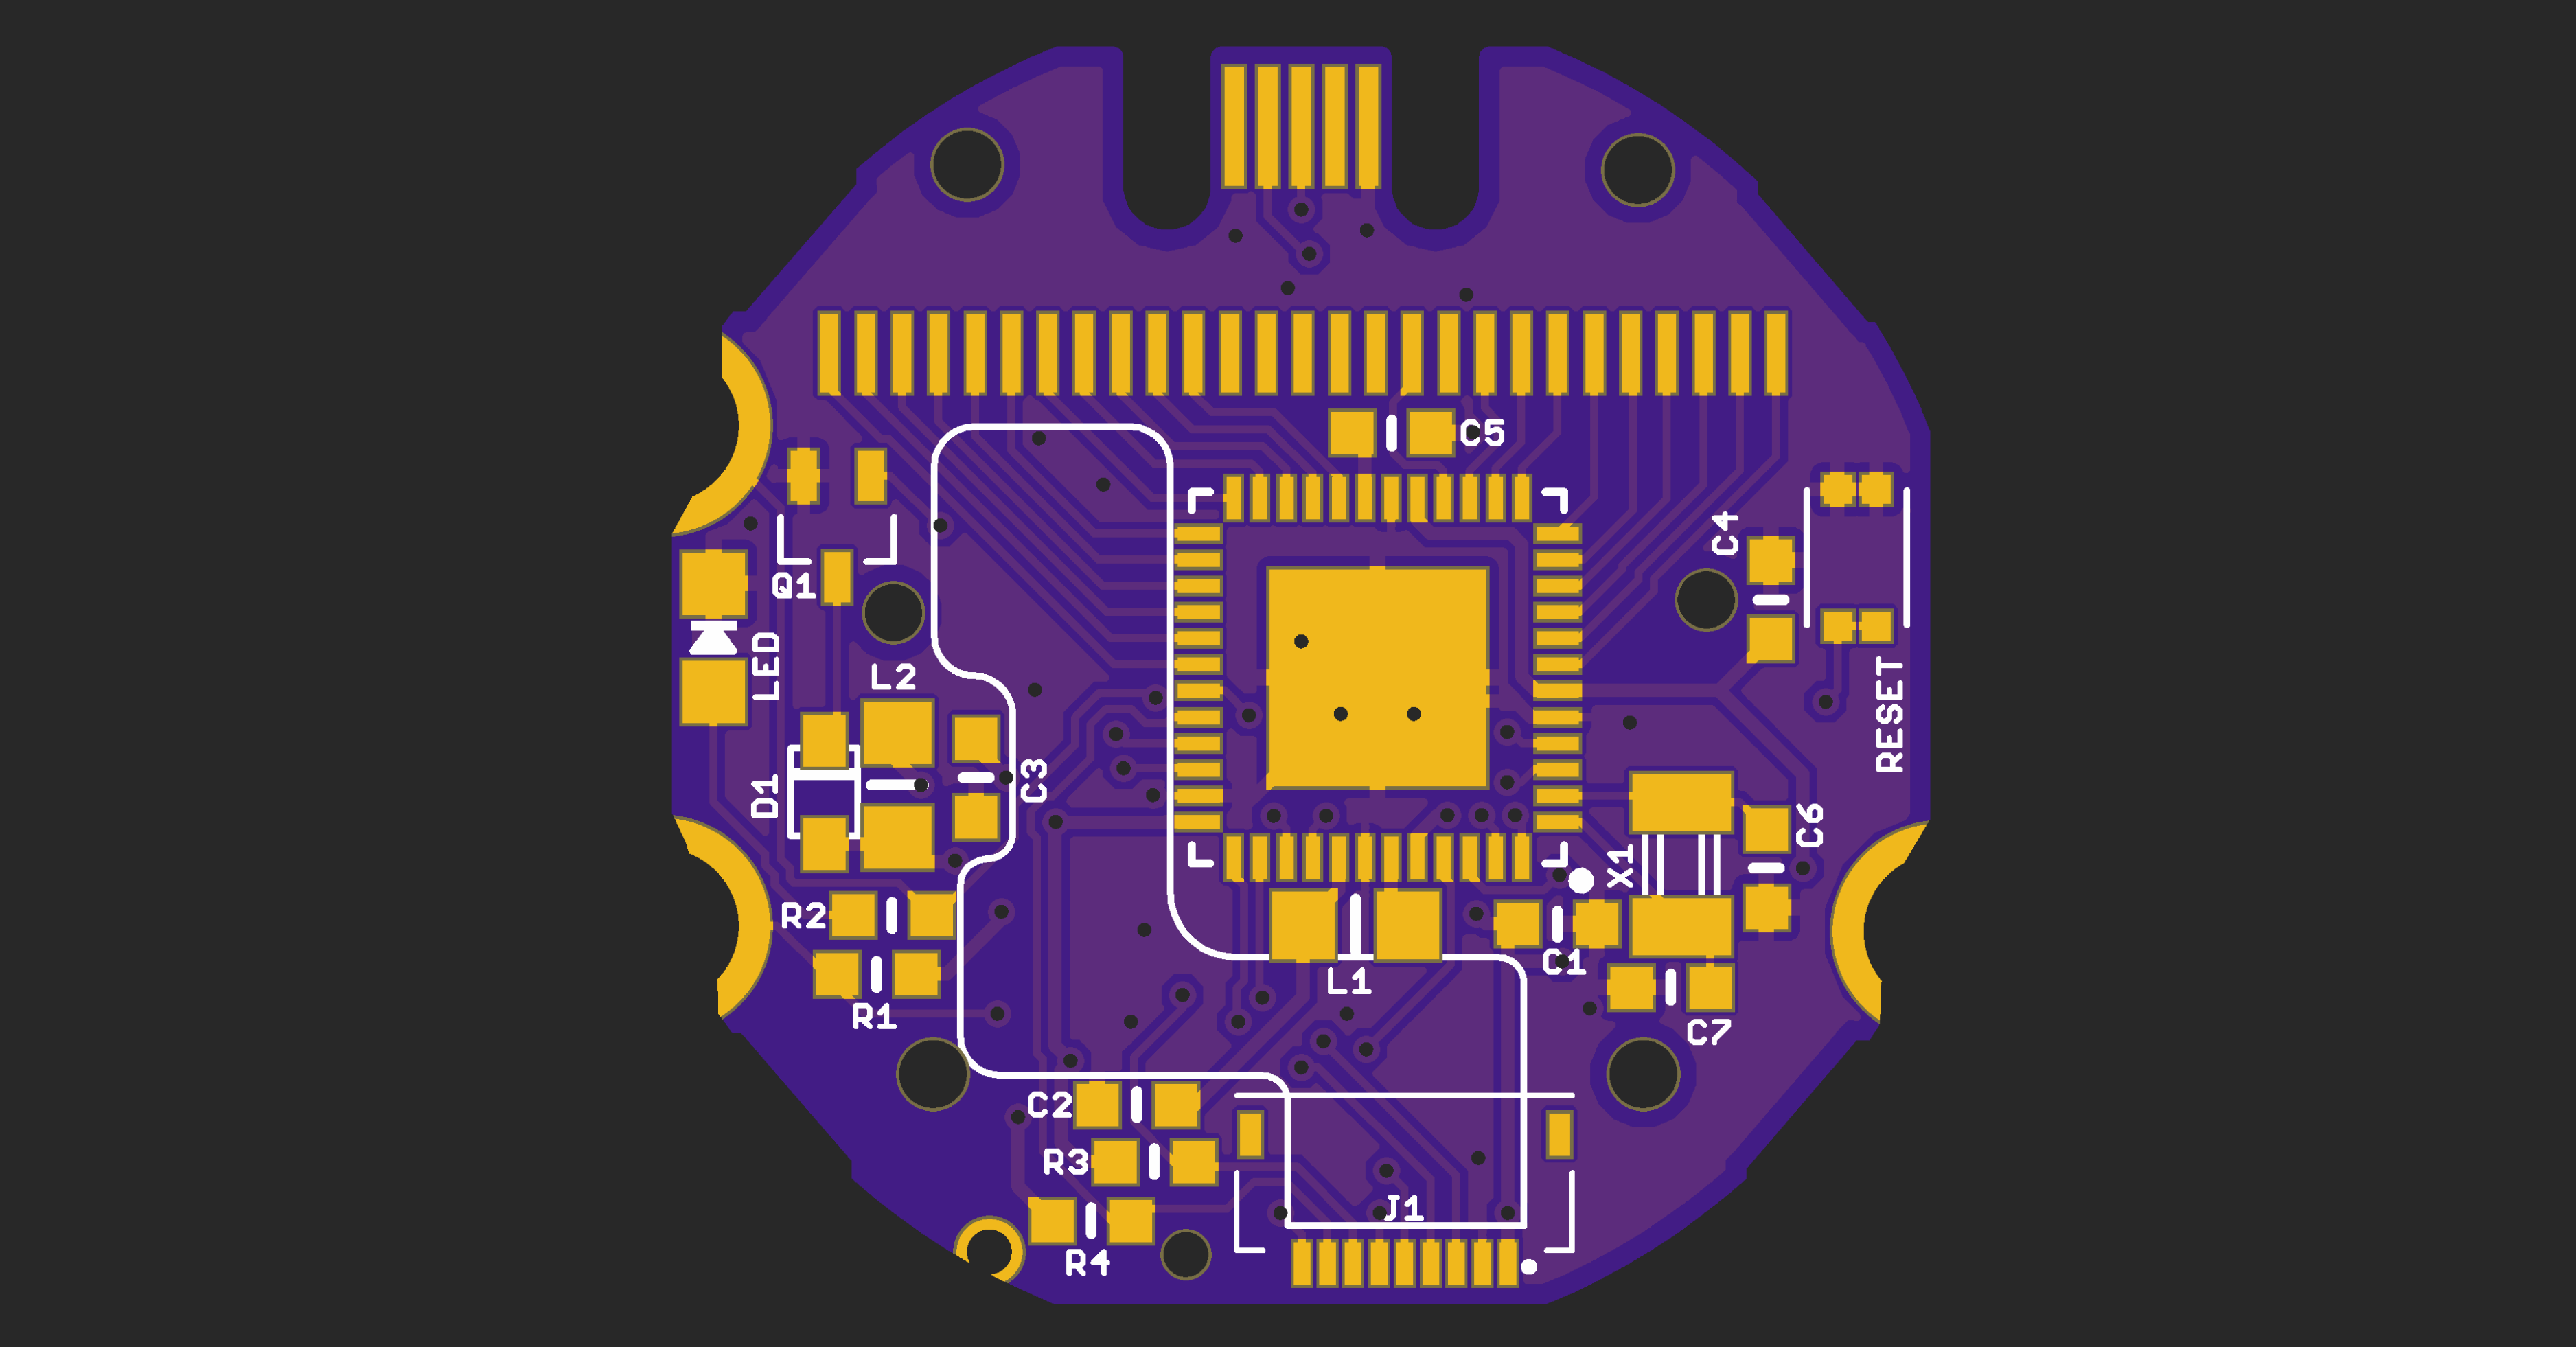
This was the third prototype. Had to order from overseas to get it in 0.6mm thickness which was required for the USB connector (and to fit in the watch case). Aside from the obvious bodge of missing load capacitors, the placement here is basically what it is in the current watch.
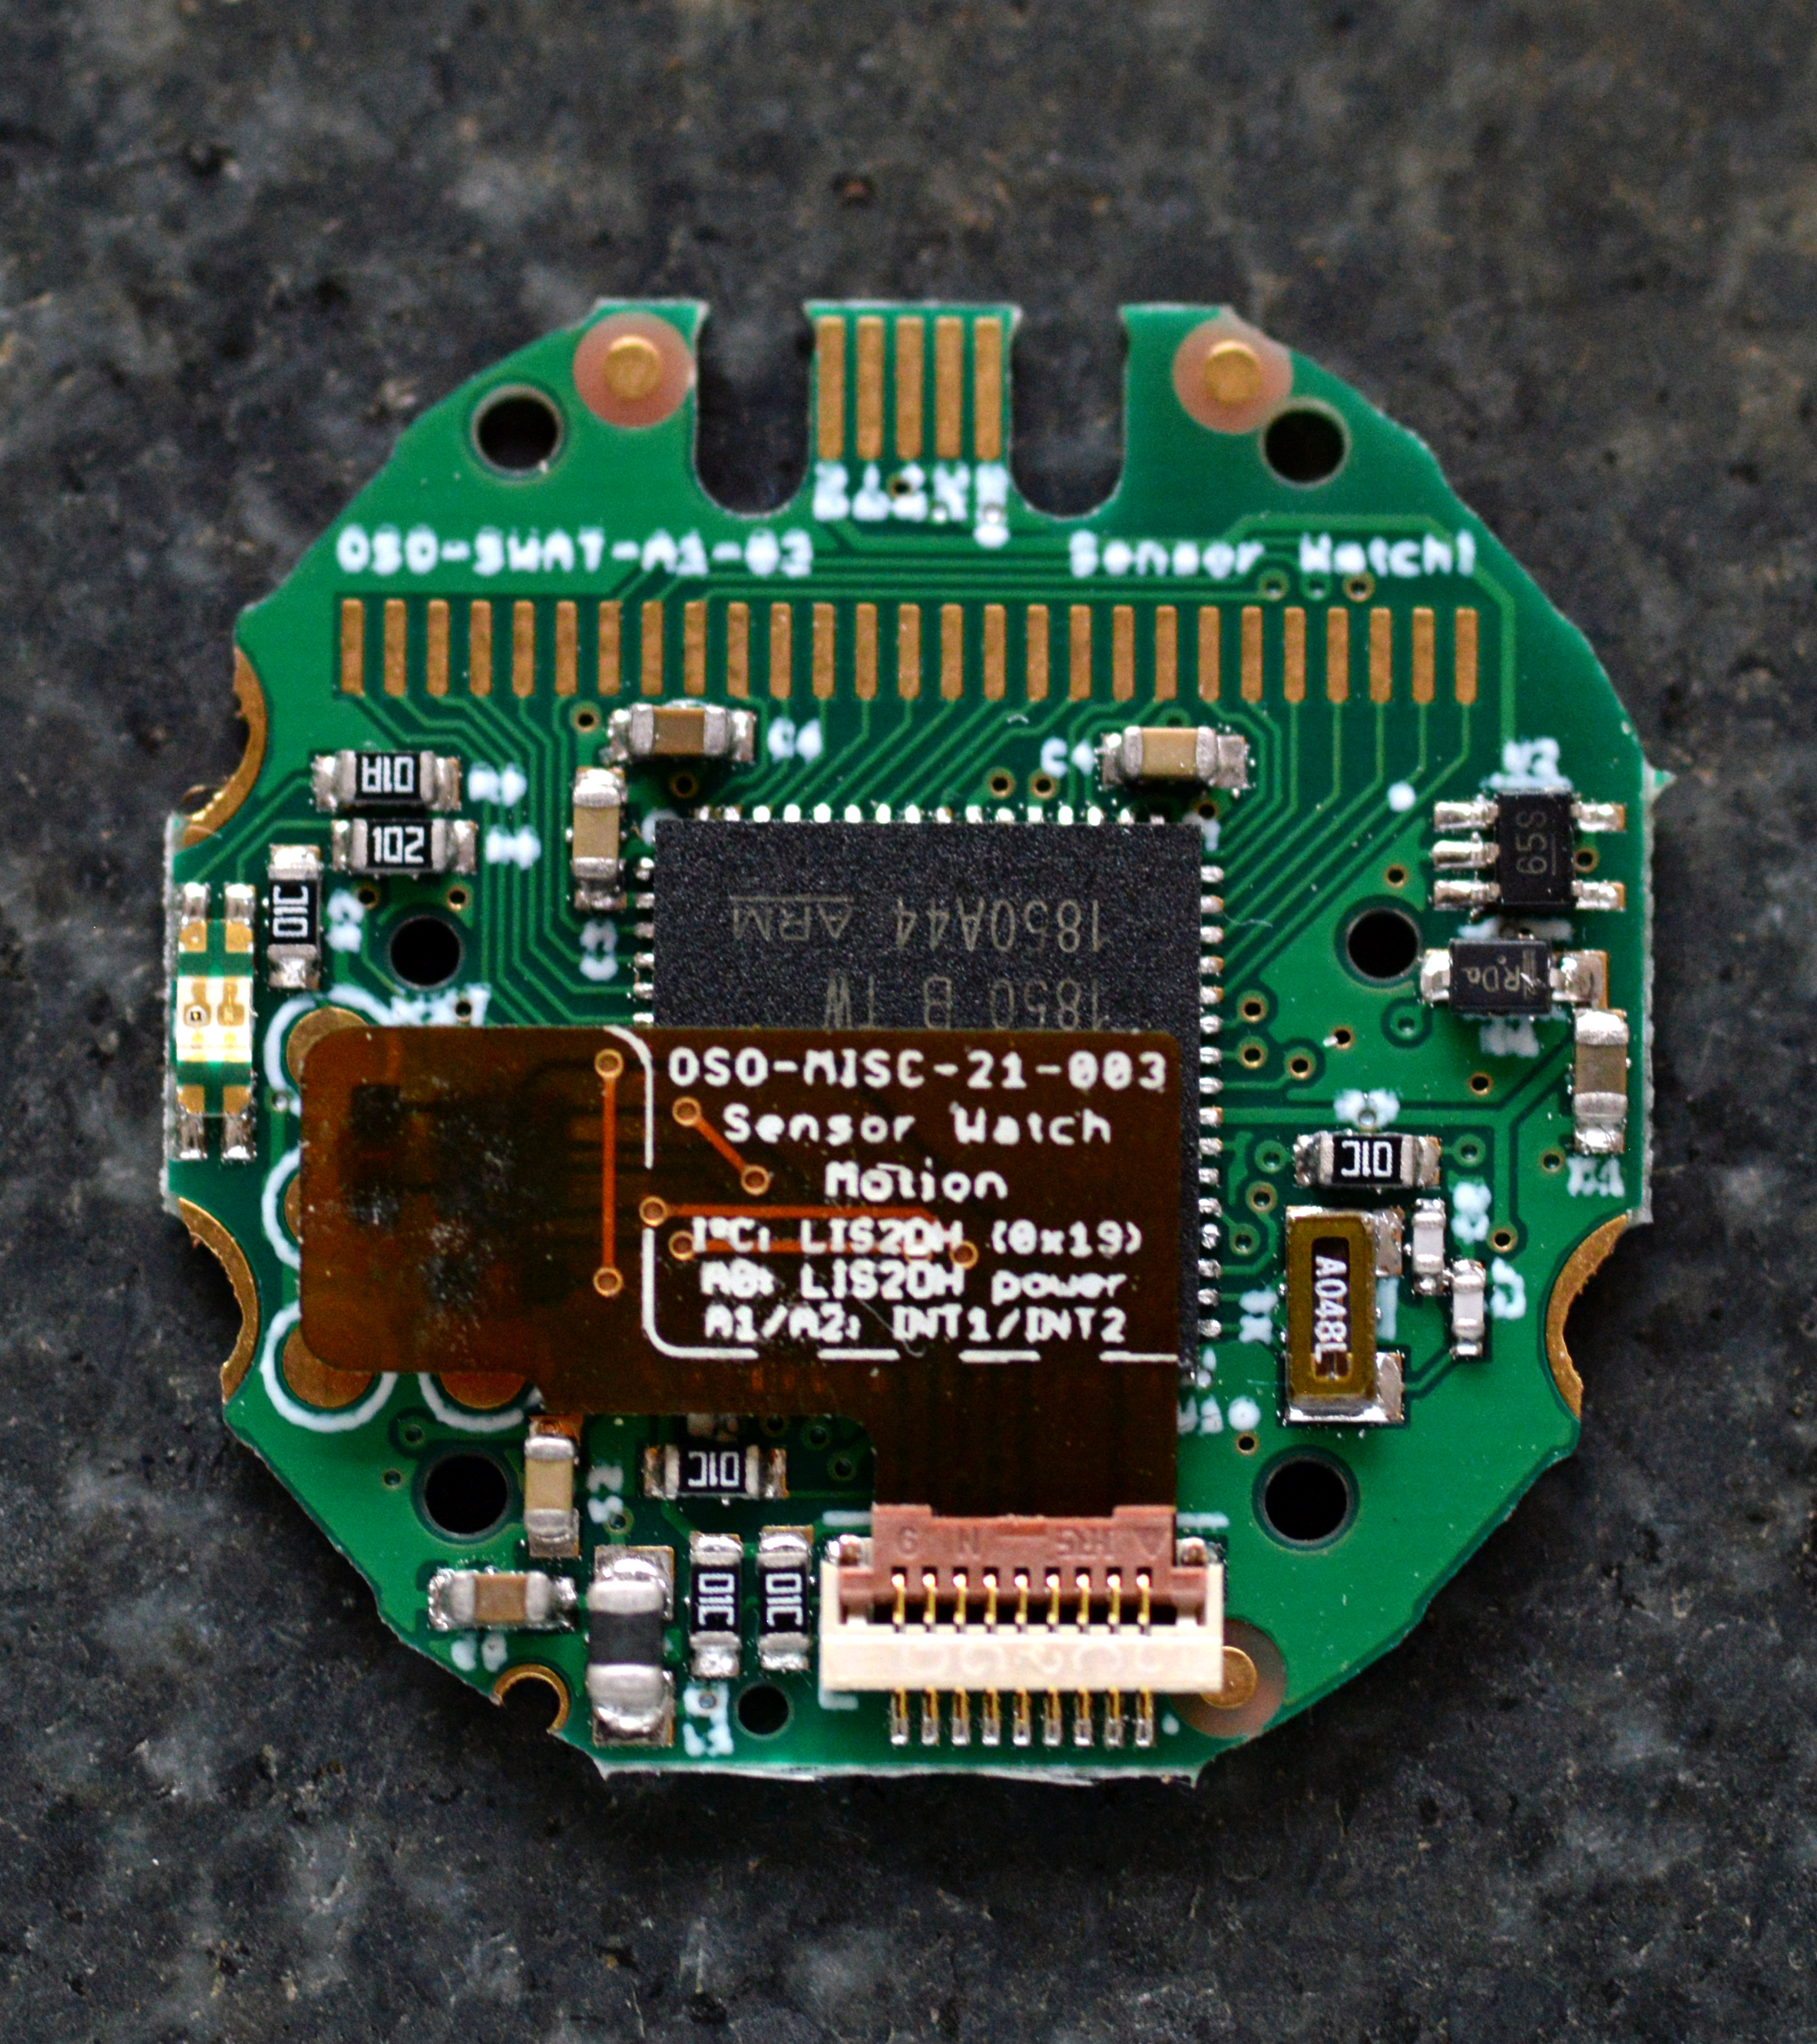
This is the current version. I’m still chasing down one last issue with USB reliability; waiting on one more prototype which I hope to assemble next week. The gadget has reached what I think is a pretty high level of maturity at eight months old. Then again, it’s older than that.
I’ve cribbed so many ideas for this from other smart people, and it builds on ideas I’ve been hacking on for over a year. The 9-pin connector has changed forms, but the pinout? That’s all MONSTER M4SK. This design builds on a foundation I’m not even sure we knew we were building.
Anyway. I’m not sure if this thread covers something that fulfills the question of “process”, except inasmuch as a process is a thing you do, and these are things I did that led to this object. Failed a lot; learned fast. Borrowed ideas; shared alike; shouted out my inspirations.
Mostly tho I feel fortunate to have support from a community, both online & IRL. I didn’t build this alone. 18 months ago I didn’t know half the things I needed to know to make this work. I learned from folks sharing their knowledge freely. That’s a good process; more of that :)
Maybe there are two other lessons actually. There are several things in here where an idea seemed quixotic but I chased it anyway. Maybe it worked out, maybe it didn’t. Either way I learned something. Sometimes that thing proved useful later! But the bigger process thing is this:
You have to do the work. Chasing ideas is fun. But in focusing on this gadget I’ve done five revisions, written lots of code, placed parts with tweezers, spent hours staring at intractable bugs. Sometimes doing the work is repetitive. But the work won’t get done unless you do it.